Download
1 / 61
610 likes | 765 Views
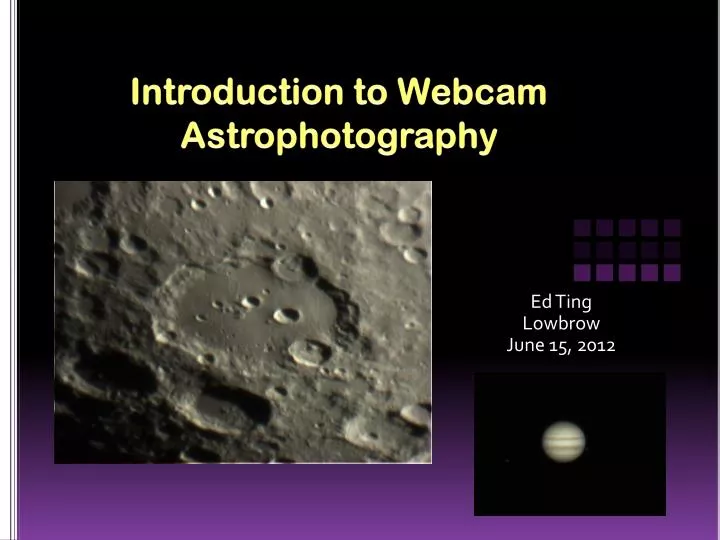
Introduction to Webcam Astrophotography. Ed Ting Lowbrow June 15, 2012. Scale. Scale 2 – 10X Previous Scale. Scale 4 – 2 X Previous Scale. Scale 5 – 5 X Previous Scale. Scale 6 – 10 X Previous Scale. Scale 7 – 20 X Previous Scale. Conventional Wisdom…. Astrophotography is… Expensive

E N D
Introduction to Webcam Astrophotography Ed Ting Lowbrow June 15, 2012
Conventional Wisdom… • Astrophotography is… • Expensive • Time Consuming • Frustrating • Steep Learning Curve
Webcam Astrophotography Is… • Inexpensive • (Relatively) easy • Fun
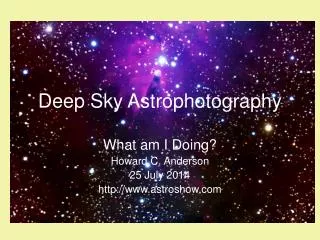
Why Does This Work? • Video is just a series of stills run together. • If you take enough stills, some of them are bound to catch moments of good seeing. • We have software (Registax) that will throw away the images in bad seeing, and keep the good ones. • Stacking the good ones brings out detail in the images.
Imaging, 2011 vs 1981 • C90 Image from 2011
The Hero of This Scenario… • The lowly computer webcam. • Philips ToUcam (L), SPC900NC (R)
On Paper This Doesn’t Look Good… • Resolution is low (640 X 480) • One shot color reduces this even further • Some rows of pixels are masked off, reducing pixel count even more • Jupiter will not even come close to filling the chip (200 pixels across is excellent) • 1 Gb of video one image 7K – 50K
So Then - Why Do This? • Some of the best planetary images EVER have been taken with this method.
Equipmemt – The Low End: CelestronNexImage • A modified Philips ToUcam • $129 list, about $100 street • Uses the Sony ICX098QB chip, 640X480, ¼”
Equipment – Midrange: Imaging Source D*K Series • $350 - $810 depending on model • Uses the Sony ICX098QB chip, 640X480, ¼”
Equipment – High End: Flea3, Atik • $800 - $1000 • Flea uses the 4X more sensitive Sony ICX618 chip
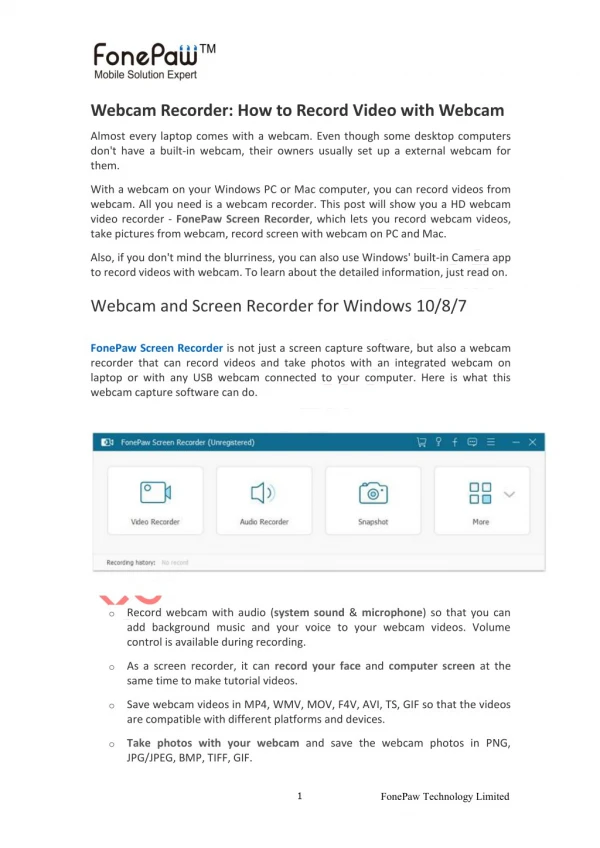
What You Need… • Webcam (NexImage, ToUcam, etc) • Telescope with 1.25” focuser • Laptop running 1) Capture software, 2) Registax (both are FREE) • LOTS of hard drive space
Problems You’ll Face • Centering of the image • Focus • Dust on sensor
Image Scale • 4000 mm to 4500 mm is ideal • 8” f/10 SCT with a 2X barlow • 4” f/8 refractor with a 5 X barlow • 6” f/8 reflector with a 3X barlow • 80 mm f/6 refractor with 3X and 2.5X barlow stacked • Start collecting barlows!
Image Scale • (L to R) – 2400 mm, 3000 mm, 3600 mm, 4000 mm, 4700 mm
The Very First Image I Took • TeleVue Pronto, prime focus, unguided Alt-Az mount
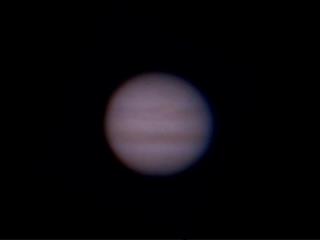
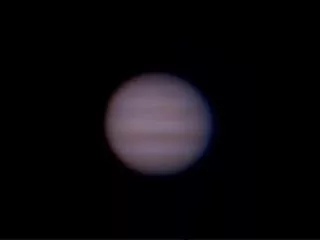
My First Jupiter and Saturn Images! • Oct 19, 2010/ Nov 28, 2010
Jupiter and Saturn • Dec 2, 2010/ Jan 2, 2011
Jupiter and Saturn • January 2012
NexImage (L) vs Imaging Source DFK (R) • Both cameras use the same chip!
Registax • Step 1 – Sorting through individual frames
Raw Image to Final Image • C6 w/ 2X barlow, NexImage, Registax, 1/2/11
Tips • Start with the moon • Venus is easy but not terribly interesting • Jupiter is the next easiest • Saturn is a little more difficult • Mars is not easy • Uranus is hard
Visual vs Webcam Priorities • Visual Priorities – Optical quality, steadiness of mount. • Webcam Priorities – Steadiness of mount, Seeing, Image Scale (Emil Kraaikamp’s imaging rig pictured.)
Ed’s Image Gallery • Celestron C9.25, 1.8X barlow, Imaging Source DBK
Jupiter/ Io Occultation Sequence, Dec 13th 2011 6:31 PM 6:53 PM 6:58 PM 7:01 PM Concord NH, C6, 1.8X , DBK camera
Ed’s Image Gallery • Clavius (143 miles) Plato (62 miles)
Ed’s Image Gallery • Archimedes and the Alpine Mountains (L), Copernicus (R)
Ed’s Image Gallery • Ptolemaeus (90m) Alphonsus (72m) Arzachel (60 m), Straight Wall (72m). Right: Aristarchus (24 m)
Moon Mosaic • C90, DBK @ Prime Focus
Members Image Gallery • Gardner Gerry, Orion XT8, G11
Members Image Gallery • Herb Bubert, C9.25
Members Image Gallery • Pat Adams, C8 – First attempt (L), Much Better (R)
Members Image Gallery • Rich Schueller, C14
Gallery of Master Imagers • Emil Kraaikamp • Christopher Go • Damian Peach • Zac Pujic • Eric Ng
Emil Kraaikamp • Netherlands