Download
1 / 12
120 likes | 134 Views
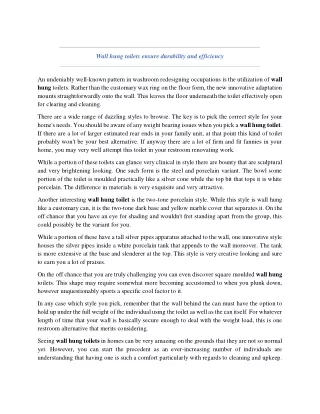
Follow this step by step installation guide to find out how to install your new wall-hung toilet system from Easy Nirman.

E N D
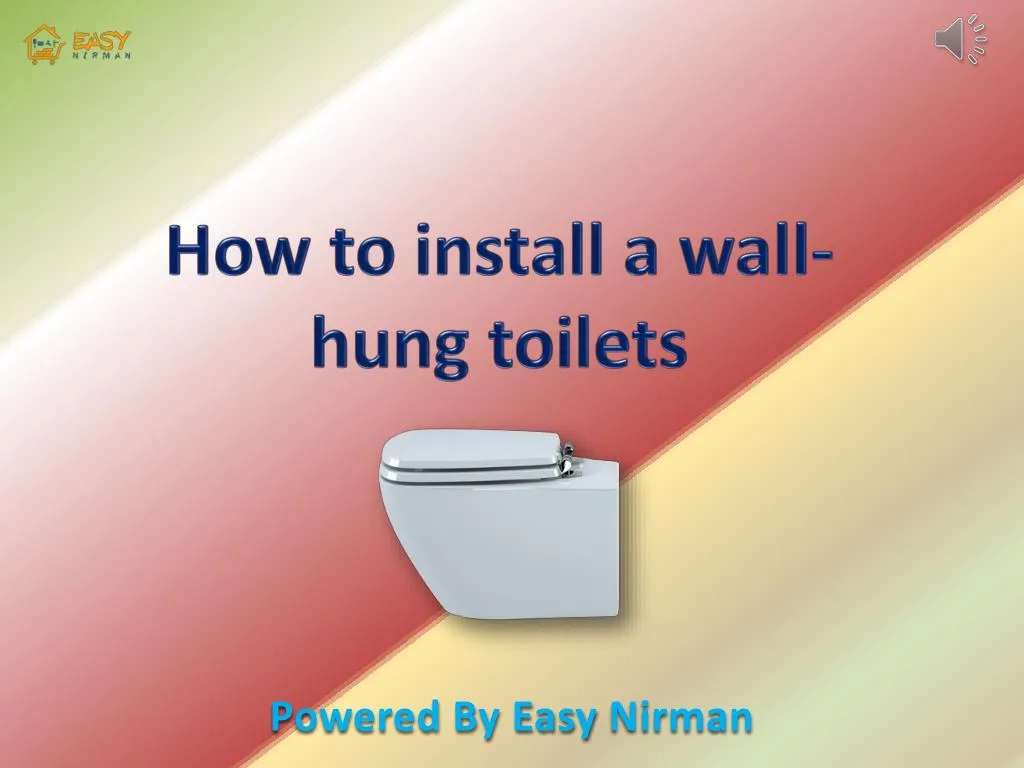
How to install a wall-hung toilets • Powered By Easy Nirman
Step 1: Place the frame against the wall and adjust the feet of the bracket to the desired height.
Step 2: Mark the necessary mounting holes for the frame on the wall and floor and drill the holes. Ensure the bracket is level.
Step 3: Attach the toilet waste pipe to the sewer.
Step 4: • Attach the tank, if it is not already pre-installed onto the frame. • Shut off the water to the tank by placing a float valve and/or placing and/or connecting a (angle) stop valve. • Install the tank and test it for operation. Put a bucket under the tank for this test. Make sure the tank fills up again.
Step 5: Insert the supplied screws into the frame, and then mount the toilet bowl. Connect the toilet bowl to the toilet waste pipe. Connect the water tank with the flush pipe and the supplied tubes.
Step 6: • Flush a few times through, to test if everything works well and is waterproof.
Step 7: • If everything works properly, remove the toilet bowl and then proceed to cover the frame. You can use waterproof plywood (minimum 18 mm), green board or concrete blocks. • Draw the necessary openings in the structure by using the supplied template, and cut it out using a jigsaw.
Step 8: • If you desire you can decorate the covered frame with tiles or mesh. Allow to dry thoroughly.
Step 9: • Apply silicone between the toilet and the wall.
Thanks For Watching Construction was never easy, Before us.