Download

1 / 3
30 likes | 46 Views
Experience seamless connectivity and lightning-fast internet speeds with Wavlink AC750 setup. Transform your home or office into a high-performance network hub with our cutting-edge technology. Say goodbye to dead zones and hello to uninterrupted streaming, gaming, and browsing. Join the Wavlink revolution today!<br>

E N D
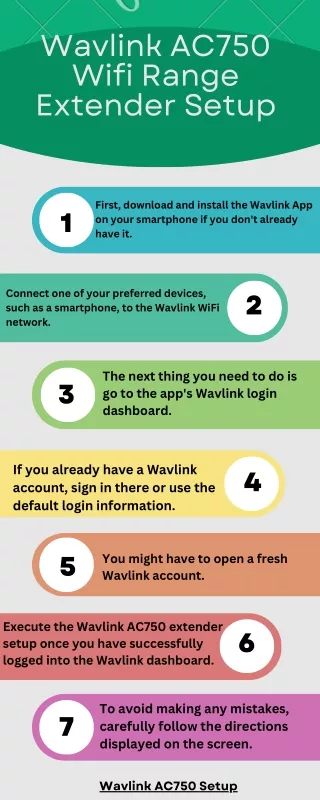
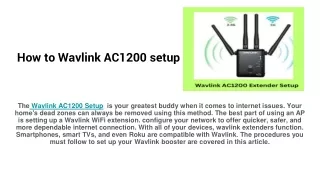
Wavlink AC750 Setup Wavlink AC750 setup is designed to extend your existing Wi-Fi signal to areas in your home that are typically difficult to reach. Specifically, the Wavlink aerial AC750 belongs to the WL-WN575A2 series.
What is the configuration process for the Wavlink AC750? • Connect to the repeater's Wi-Fi network. • Access the configuration page via a web browser using WAVLINK AP EXTENDER SETUP or the default IP address. • Log in using the default username and password. • Select "Repeater" mode. • Choose your existing Wi-Fi network from the scan results. • Enter the Wi-Fi password for your existing network. • Configure network settings or keep the defaults. • Save the changes and wait for the repeater to restart. • Reconnect your devices to the extended Wi-Fi network.
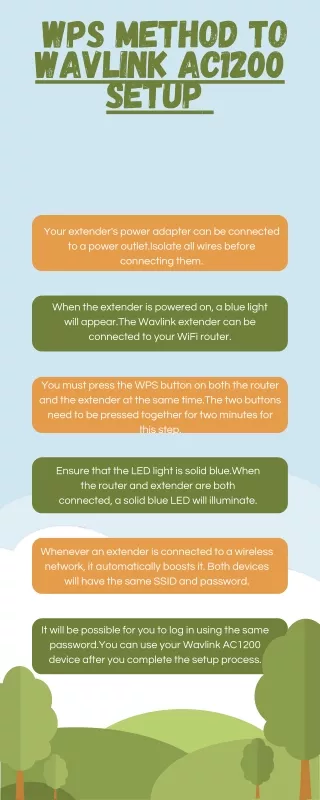
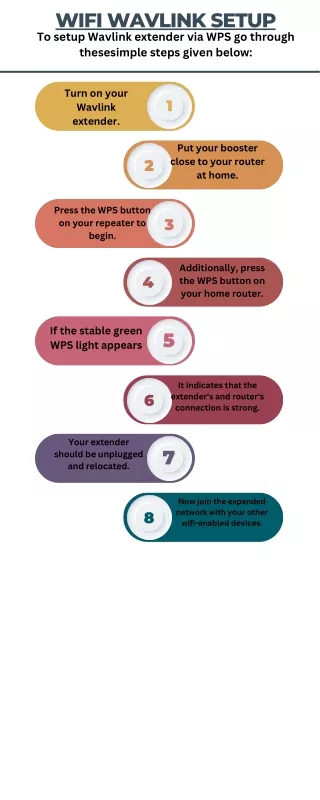
Wavlink AC750 setup using WPS method • Plug in the Wavlink AC750 repeater near your Wi-Fi router and power it on. • Press and hold the WPS button on the repeater for a few seconds until the WPS LED starts blinking. • Press the WPS button on your main Wi-Fi router within a two-minute timeframe. • Wait for the WPS LED on the repeater to stop blinking and remain solid, indicating a successful connection. • Move the repeater to the desired location, ensuring it is within range of your existing Wi-Fi network. • Connect your devices to the extended Wi-Fi network provided by the repeater.