Download
1 / 12
130 likes | 358 Views
SMART Board. An Introduction to using SMART Boards as a Teaching Tool. Learning Objectives. Participants will be able to: Basic Information about the Smart Board and Projector Orienting the Smart Board Use the Basic Smart Board Tools Mouse Skills, Typing, & Writing

E N D
SMART Board An Introduction to using SMART Boards as a Teaching Tool
Learning Objectives Participants will be able to: • Basic Information about the Smart Board and Projector • Orienting the Smart Board • Use the Basic Smart Board Tools • Mouse Skills, Typing, & Writing • List resources to use on Smart Board • Overview of Advanced Tools
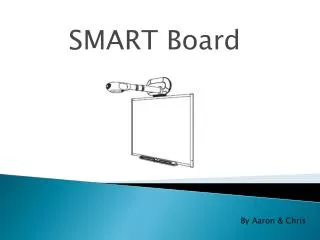
The Hardware • The SMART Board • LCD Projector • Computer
Setting up the equipment Connections: • Computer to Projector using VGA cable • SMART Board to Computer using USB cable USB Cable
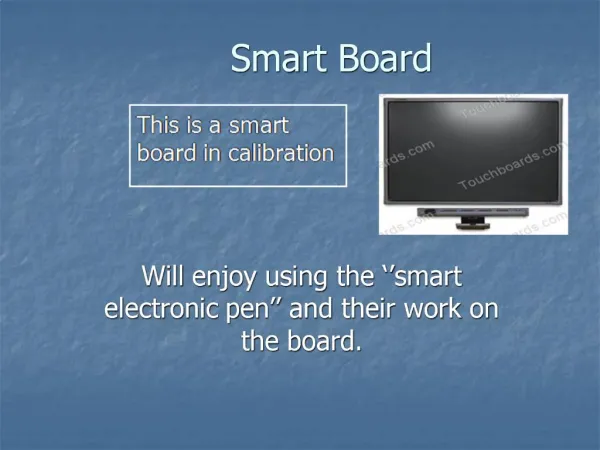
Orient the SMART Board • Press the two big buttons on the pen tray simultaneously • Use any pen from the pen tray. • Place the pen near the target • Draw a line to the center of the target • Lift pen off from center of target • Repeat for all targets.
Basic Skills • Navigation • Touch the Smart Board where you want the mouse arrow/cursor to be. • Clicking • Single Click = Tap once • Double Click = Tap twice • Click and Drag = Tap and hold once, release at desired location • Right Click = Press the button on the pen tray that looks like the mouse, then tap once where a right click is desired.
Typing • Press the button on the pen tray that has a picture of the keyboard. • Tap on the screen in the place where you desire text to be inserted (e.g. address line of internet explorer) • Type using the onscreen keyboard to produce letters, numbers, symbols, etc
Writing/Drawing Select a pen from the pen tray and write! • Notice the “border around your screen now. This is the ink aware digital layer. • When you are ready to move on, replace the marker and touch the board. Choose to: • Save your ink layer for viewing/printing later • Clear the ink layer to get rid of the markings
Smart Board Educational Uses • Classroom Suite • Interactive Books/Activities • http://exchange.smarttech.com/files/ • http://www.pppst.com/index.html • http://www.priorywoods.middlesbrough.sch.uk/resources/programres.htm • www.starfall.com • http://nlvm.usu.edu • www.phxlib.org (then go to kids and Tumblebooks)
The Advanced Tools • Smart Control Panel • Smart Notebook Software • Smart Recorder • Magnifier • Pointer • Screen Capture Toolbar • Screen Shade • Spotlight