Download
1 / 21
220 likes | 252 Views
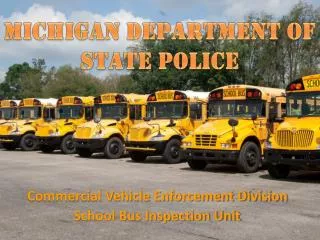
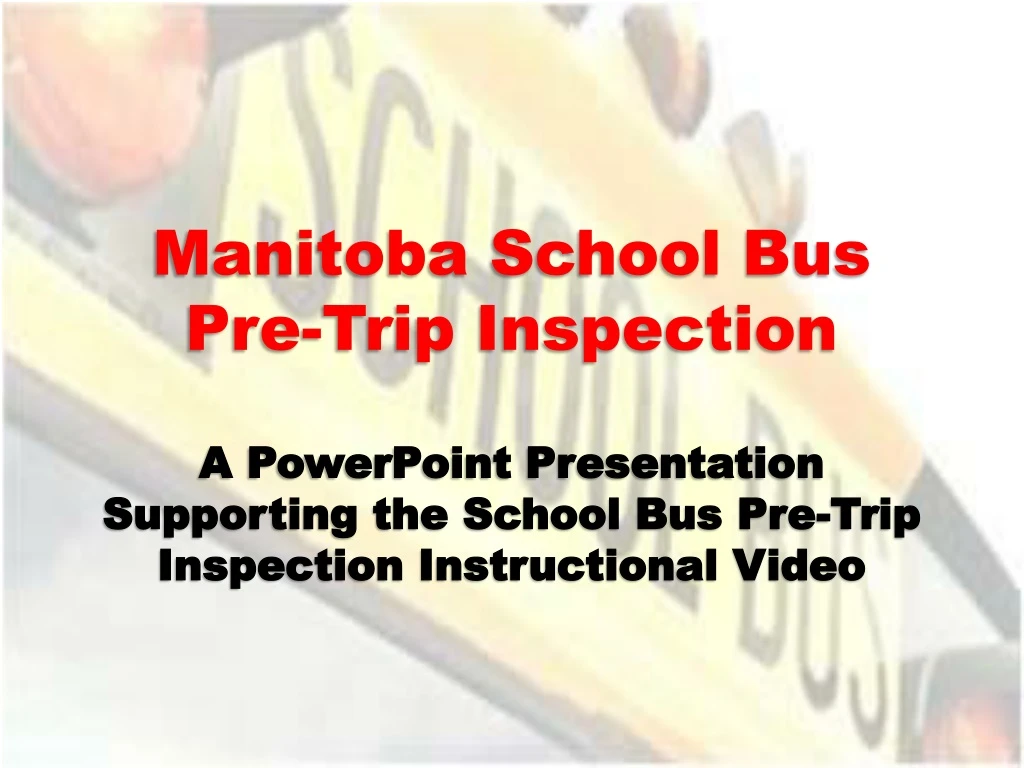
Manitoba School Bus Pre-Trip Inspection. A PowerPoint Presentation Supporting the School Bus Pre-Trip Inspection Instructional Video. Now that you have viewed the school bus pre-trip inspection video, this presentation will:. Enhance what you have just viewed.

E N D
Manitoba School Bus Pre-Trip Inspection A PowerPoint Presentation Supporting the School Bus Pre-Trip Inspection Instructional Video
Now that you have viewed the school bus pre-trip inspection video, this presentation will: • Enhance what you have just viewed. • Further explain how to check components on the bus to ensure they are working correctly. • Highlight areas of the video that were difficult to illustrate – i.e. acceptable condition defects and out-of-service condition defects. • Provide an opportunity to discuss specific requirements relevant to your school division or employer. • Provide an opportunity for Q & A.
Part of being a school bus driver is your responsibility to understand the different components of each make and model of school bus you will operate.
Engine Compartment Checks • Check and grab drive belts for tension, cracks, and wear.
Engine Compartment Checks • Check radiator for security. • Inspect the brackets and supports.
Engine Compartment Checks • Check the cross members and frame rails for bends or cracks.
Engine Compartment Checks • When checking leaf springs, either front or rear, look for cracks, shifting, and missing or broken parts. Crack
Engine Compartment Checks • While inspecting in the engine compartment, check all components for wear, security, or defects (e.g. air filter, compressor, alternator, starter, etc.).
Outside Bus Checks • As you first approach the school bus to begin the pre-trip inspection, check the front licence plate – is it missing? loose? damaged? • As you move around the bus, check reflective tape, licence plate light, hazard lights.
Outside Bus Checks • While looking at the underside, check frame rails and cross members for cracks and bends. Example of drive shaft failure.
Outside Bus Checks • All doors or covers must be secure and closed.
Outside Bus Checks • Check batteries for security, loose connections, and corrosion.
Outside Bus Checks • Fuel tank brackets must be checked for security. • Check fuel lines for leaks.
Outside Bus Checks • When checking air ride suspension, look for cracked or deflated air bags.
Outside Bus Checks • Ensure bumpers are secure by physically checking for looseness and damage.
Inside Bus Checks • There are a large number of components to check from inside the school bus. Some can be checked while the key is on; others will require that the engine is running.
Inside Bus Checks • Several safety devices will incorporate audible signals (buzzers). Understand and listen for signals from roof hatch, rear door, and emergency side window operation. • Interior conditions are important to the safe operation of the school bus. A thorough inspection checks for clutter, loose items, and general cleanliness .
Hydraulic Brake Check &Park Brake Operation • Ensure you are familiar with hydraulic service brake and park brake checks for the makes and models of school buses you will operate. • Understand brake warning indicators (lights and audible indicators). • A service brake and park brake check must be performed during a pre-trip inspection.
Hydraulic Brake Check • Visually inspect warning systems and listen for audible signals. • Apply and maintain moderate foot force to the service brake pedal for one minute. The pedal should not move towards the floor more than 65%. • Engage a forward gear, release foot pressure allowing the bus to move forward slightly and reapply foot pressure, ensuring the bus stops.
Park Brake Operation • To test the park brake system: While applied, select a forward gear; release the service brake; ensure the park brake holds the bus without movement. • Some buses are not capable of gear selection while the park brake is applied. These buses will require slight forward movement before the park brake can be applied. This action should stop the bus. • Do not accelerate in order to test the park brake while applied.
IN SUMMARY Knowledge of Bus Features + Understanding How Bus Operates + Thorough Pre-Trip Inspection = A Safe Bus To Transport Children