Download
1 / 15
140 likes | 158 Views
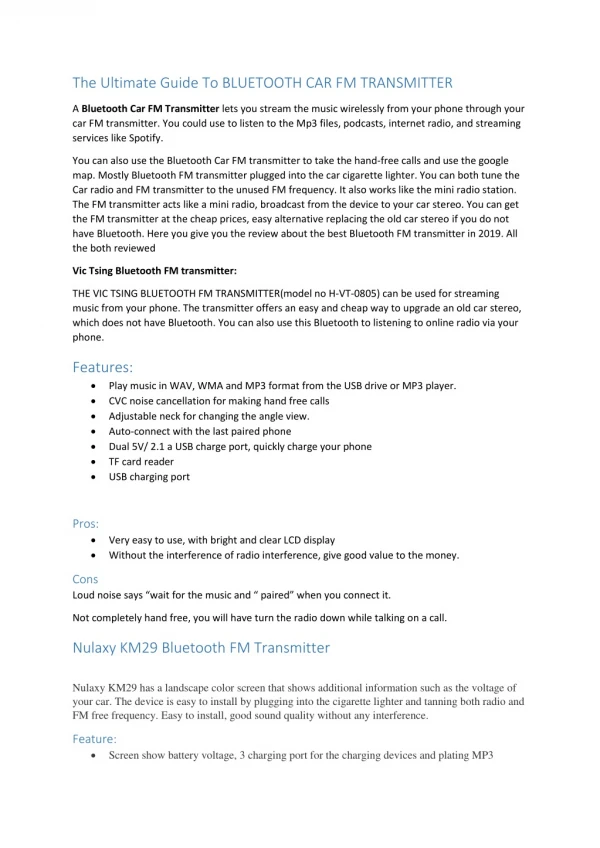
This is a copy of the user manual of FMUSER FU-1000C FM transmitter 1000 watt. Being 100% clear instructions on how to use and technical specs adjustment.

E N D
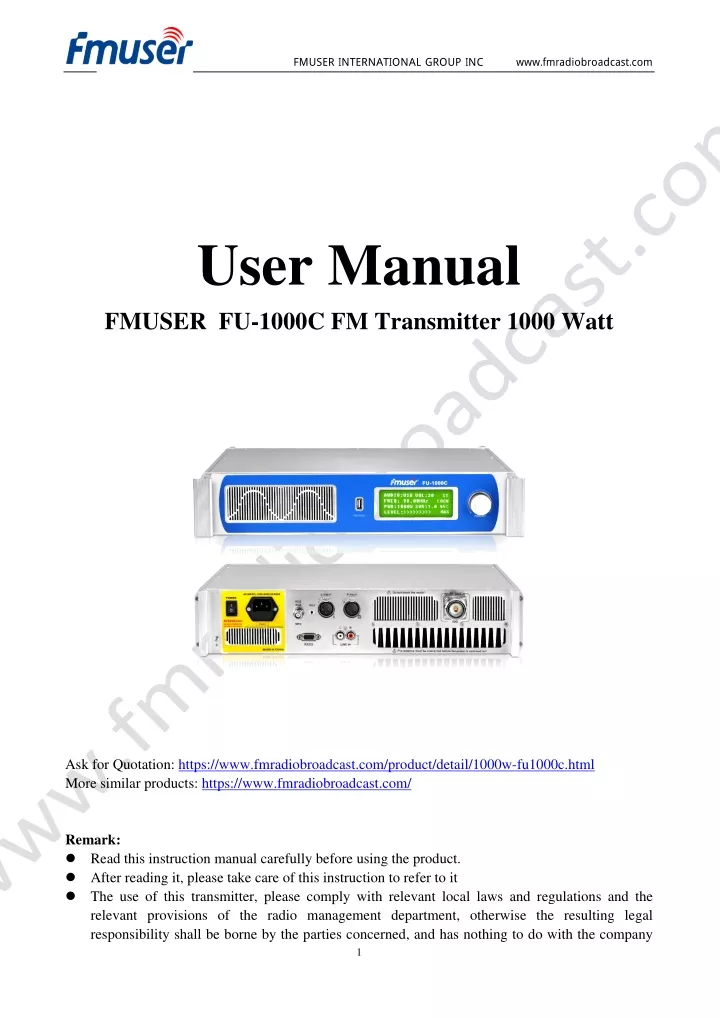
FMUSER INTERNATIONAL GROUP INC www.fmradiobroadcast.com User Manual FMUSER FU-1000C FM Transmitter 1000 Watt Ask for Quotation: https://www.fmradiobroadcast.com/product/detail/1000w-fu1000c.html More similar products: https://www.fmradiobroadcast.com/ Remark: Read this instruction manual carefully before using the product. After reading it, please take care of this instruction to refer to it The use of this transmitter, please comply with relevant local laws and regulations and the relevant provisions of the radio management department, otherwise the resulting legal responsibility shall be borne by the parties concerned, and has nothing to do with the company 1
FMUSER INTERNATIONAL GROUP INC www.fmradiobroadcast.com and the dealer. I. Precautions for use ●Ensure that the supply voltage is within the allowable range. ●Maintenance may only be performed by professional technicians. ●Provide reliable protective grounding for the transmitter. ●Make sure the antenna is set up with lightning protection. ● Do not touch the antenna after the transmitter is powered on. ● Do not turn on the transmitter without the antenna connected. ●Do not use in explosive environments (such as gas stations, gas, steam, etc.). ●Do not use the transmitter in extremely dusty, humid or high temperature places. ●Please make sure to observe the regulations of local radio management agencies. II. Catalogue ●Product Features ●Product configuration ●Product operation instructions ●Product technical parameters ●General troubleshooting guide ●Contact details ●Disclaimer III. Product Features FMUSER FU-1000C is a product with many functions in one, solid structure, reliable and stable performance, easy operation and excellent sound quality, its main features are as follows. ● Mono/dual channel mode selectable. ● transmitting power continuously adjustable from 0W to 1000W. ● recognition of the number of songs on the U disk, sequential playback of songs, and the ability to switch songs at will. ● Large screen LCD display. ● Dual lotus audio inputs for online audio playback. ●RS232 interface to realize timely update of program version. ●One key shuttle can realize the operation of all functions. ●Standing wave protection function, when the antenna is not connected or mismatched, it automatically enters the protection state. ●Temperature protection function, when the transmitter temperature is too high, it will automatically enter the protection state. ● External encoder input interface (external SCA or RDS encoder can be connected). ● Interface d'entrée d'encodeur externe (un encodeur SCA ou RDS externe peut être connecté. IV. Product configuration 2
FMUSER INTERNATIONAL GROUP INC www.fmradiobroadcast.com No. Specification Quantity Unit interface 1 FMUSER FU-1000C 1 piece None 2 straight three-core 1 piece AC Cable V. Product operation instructions 1.Host front panel and back panel schematic Diagram of front panel Diagram of back panel 1 9 Cooling fan air inlet window XLR audio input interface 2 10 USB interface Cooling air outlet window 3
FMUSER INTERNATIONAL GROUP INC www.fmradiobroadcast.com 3 11 LCD display RF output interface 4 12 Coding switch Cooling fan window 5 13 Power switch Cooling fan window 6 14 Power input interface Serial communication interface 7 15 RDS interface Double lotus audio input interface 8 16 RDS volume adjustment Cooling fan window 2.Code switch operation definition and description Operation mode Definition Description Adjustment and switching of the main interface and adjustment interface settings (counterclockwise rotation for decrease, clockwise rotation for increase) the menu options interface to enter, exit Adjustment, switching Rotation Short press confirm Long press reset restore factory settings 3.Operating instructions (1) Power on First, please set up the antenna and link it to the RFOUT port of the transmitter. If you need to test the equipment indicators, please connect the attenuator greater than 1000W, the attenuation value is greater than 50DB, and then access the utility, the power switch to the "I" position for power on, "O" position for power off, as shown in the figure on the right. After power on, the device enters the working status display interface. The display interface is shown as follows. The first page shows the interface. 4
FMUSER INTERNATIONAL GROUP INC www.fmradiobroadcast.com The first page shows the description : Current audio source Current operating frequency : : Current setting power : Audio signal detection Current volume level : : Stereo/mono Lock status : : VSWR : Real-time temperature detection 5
FMUSER INTERNATIONAL GROUP INC www.fmradiobroadcast.com 2) Function and parameter setting Press the rotary code switch to enter the menu control interface. When you turn the rotary code switch, a total of 14 menu options are cyclically displayed on the display. 6
FMUSER INTERNATIONAL GROUP INC www.fmradiobroadcast.com Operating frequency setting In the menu options screen, select "FREQUENCY SET" in "MENU SET" by rotating the rotary code switch, and then press the code switch briefly to confirm the selection. The frequency setting status is displayed as follows. 87.0~108MHZ) in steps of 50.0KHz, and after setting, short press the code switch to confirm and exit the frequency setting state. At this point, turn the code switch to select the desired operating frequency (FREQ: Audio source selection In the menu, select "AUDIO IN SET" in "MENU SET" by rotating the switch, and then press the code switch to confirm the selection. At this point, the audio source setting status is entered and displayed as follows. At this point, turn the code switch, you can set the audio source, USB / RCA / XLR three audio sources to switch at will. When the setting is completed, short press the code switch to confirm and exit the audio source setting state. Audio volume setting In the menu, select "VOLUME SET" in "MENU SET" by rotating the switch, and then press the code switch briefly to confirm the selection. In this case, the audio volume setting status is displayed as follows. 7
FMUSER INTERNATIONAL GROUP INC www.fmradiobroadcast.com At this time, turn the coding switch to set the audio volume, and the settable value range is 0~30. After the setting is completed, short press the code switch to confirm and exit the audio volume setting state. Transmit power on and off setting In the menu, select "RF ON/OFF" in "MENU SET" by rotating the switch, and then press the code switch briefly to confirm the selection. At this point, the power setting state is entered, and the following is displayed. At this point, turn the code switch to turn off (POWER OFF) and on (POWER ON) the transmitting power, and observe the current power output. When the setting is complete, press the code switch to confirm and exit the power setting state. USB operating status setting In the menu, select "USB PLAY/PAUSE" in "MENU SET" by turning the switch, and then press the code switch briefly to confirm the selection. In this case, the USB operating status is set as follows. At this time, turn the code switch to set the USB working status, and pause (PAUSE) / play (PLAY) can be switched. When the setting is completed, short press the code switch to confirm and exit the USB working state setting state. USB song switching In the menu, select "PLAY MUSIC SET" in "MENU SET" by turning the code switch, and then press the code switch briefly to confirm the selection. At this 8
FMUSER INTERNATIONAL GROUP INC www.fmradiobroadcast.com point, you can switch between songs on the USB port, and the following display appears. At this point, turn the code switch to switch the USB song at will, turn one frame counterclockwise to play the previous song, and turn one frame clockwise to play the next song. After the setting is complete, short press the code switch to confirm and exit the USB song switching. Stereo/mono switching In the menu options screen, select "ST/MO SET" in "MENU SET" by turning the code switch, and then press the code switch to confirm the selection. At this point, the audio mode is set, and the following display appears. At this point, turn the code switch to switch the audio mode setting to STEREO/MONO at will. When the setting is completed, press the code switch to confirm and exit the audio mode setting state. Pre-emphasis switching In the menu, select "PRE-EMPHAISI SET" in "MENU SET" by rotating the rotary code switch, and then press the code switch to confirm the selection. At this point, the pre-emphasis switching mode is set and displayed as follows. At this time, turn the coding switch to switch the pre-emphasis, 0 US/50 US/75 US at will. When the setting is finished, press the code switch to confirm and exit 9
FMUSER INTERNATIONAL GROUP INC www.fmradiobroadcast.com the pre-emphasis switching state. Temperature protection setting In the menu, select "TEMP SET" from "MENU SET" by turning the rotary code switch, and then press the code switch briefly to confirm the selection. In this case, the temperature protection setting status is displayed as follows. At this point, turn the code switch to set the protection temperature, and the set temperature range is 50~75℃. When the setting is completed, press the code switch to confirm and exit the temperature protection setting state. Log record inquiry In the menu, select "LOG SET" in "MENU SET" by turning the rotary code switch, and then press the code switch to confirm the selection. The following display shows the status of the log query. At this point, you can clearly check the alarm and usage status (alarm time / alarm number / total number of alarms / alarm type / operating time / temperature / VSWR / power) of the machine until now. After the query is completed, press the code switch to confirm and exit the log record query status. VSWR standing wave scan, selection In the menu, select "SCAN SET" in "MENU SET" by rotating the rotary code switch, and then press the code switch briefly to confirm the selection. At this point, the machine enters the standing wave scanning state and the following display appears. 10
FMUSER INTERNATIONAL GROUP INC www.fmradiobroadcast.com After a short wait, the machine will automatically scan the full-band VSWR and give you the three best VSWR values at the end of the scan. Customers can also select the corresponding low standing wave frequency according to the chart drawn for their own use. After the scan is completed, press the code switch once more to exit the interface. Machine lock screen password setting In the menu options screen, select "PASSWORD SET" from "MENU SET" by rotating the rotary code switch, and then press the code switch briefly to confirm the selection. At this point, the machine enters the lock screen password setting state, and the following display appears. At this time, turn the code switch, you can turn the machine lock screen password on (ON) or off (OFF), long press the code switch to change the machine lock screen password, the specific operation: first enter the old password (original password: 1234), and then enter the new password to be set, set the completion of the code switch to confirm and exit the machine lock screen password setting state. Machine working status inquiry and setting In the menu, select "WORKING STATUS" in "MENU SET" by rotating the rotary code switch, and then press the code switch briefly to confirm the selection. In this case, the following display appears: At this time, the interface shows: "FMUSER1000W 100% 100%" indicates that 11
FMUSER INTERNATIONAL GROUP INC www.fmradiobroadcast.com the 1000W machine power output and the RF signal detection in the primary (RD01) and secondary (RD15) RF amplifier circuit is 100%; "V1.0.0 2022- 05-11" indicates that the program version is V1.0.1 and the last modified time of the program is 2022-05-11; "2022-06-26 12:23:35" indicates that the current date is 2022-06-26 and the current time is 12:23:35, the date and time can be modified by long press on the code switch. When the setting is finished, press the code switch to confirm and exit the machine working status inquiry and setting status. Return to main interface Under the menu options screen, select "EXIT" in "MENU SET" by rotating the code switch, and then press the code switch to confirm the selection: 12
FMUSER INTERNATIONAL GROUP INC www.fmradiobroadcast.com VI. Technical parameters No. Item Technical parameters Working voltage (AC) AC220V/50Hz/60Hz 1 Working current (DC) <26A 2 Frequency range 87.0~108MHz 3 Frequency stability ±10PPM 4 Frequency step 50KHz 3 -10℃~45℃ Ambient working temperature 4 Output impedance 50Ω 5 RF output power range 0W~1000W 6 ≤-70dB Harmonics, spurious radiation 7 Audio distortion 0.2% 8 Frequency response 50Hz~15000Hz 9 Separation degree ≥60dB 10 Input level ≤15 dBV 11 Modulation frequency deviation ±75KHZ 12 Signal-to-noise ratio ≥70dB 13 53cm(L)*34 cm(W)*10 cm(H) Machine size 14 Machine weight About 10.0kg 15 13
FMUSER INTERNATIONAL GROUP INC www.fmradiobroadcast.com VII. general troubleshooting guide No. Bad phenomenon cause 1) whether the socket has power. 2) whether the power cord is plugged in 3) whether the fuse in the power block is intact. 1 can not be turned on 1) the antenna is not connected. 2) the antenna does not match, resulting in too large standing waves. 2 standing wave alarm 3) Too many reflections next to the antenna installation position.。 1) the fan does not turn. 2) the antenna does not match the standing wave is too large, resulting in temperature rise. 3) There are obstructions in the air inlet and outlet, resulting in obstructed air flow. 3 temperature alarm 1) the antenna is not connected. 2) antenna mismatch. 3)Too many reflections beside the antenna installation position. standing wave value is large 4 1) feed line loss is large. 2) poor transmitting environment. 3) the output power is not adjusted large. 4) antenna installation height is not high enough. 5) antenna mismatch. 6) low sensitivity of the receiver. transmitting near distance 5 1) power amplifier circuit burned out. 2) the machine is not turned on. 6 no power output 1) the host volume is not turned up. 2) the input audio signal is normal. 7 audio no sound 1) whether the microphone is normal. 2) microphone volume is not turned up. 3) whether the microphone is a dynamic microphone. 4) whether the microphone is inserted well. 8 microphone no sound 1) microphone quality is not good. 2) the input audio sound quality is not good. 3) incorrect antenna installation method. 4) audio signal or machine volume is not well adjusted. 9 poor sound quality VIII. Contact details If the above instructions still do not solve your problem, please contact our after-sales engineer email address: support@fmuser.com 14