Download
1 / 11
110 likes | 419 Views
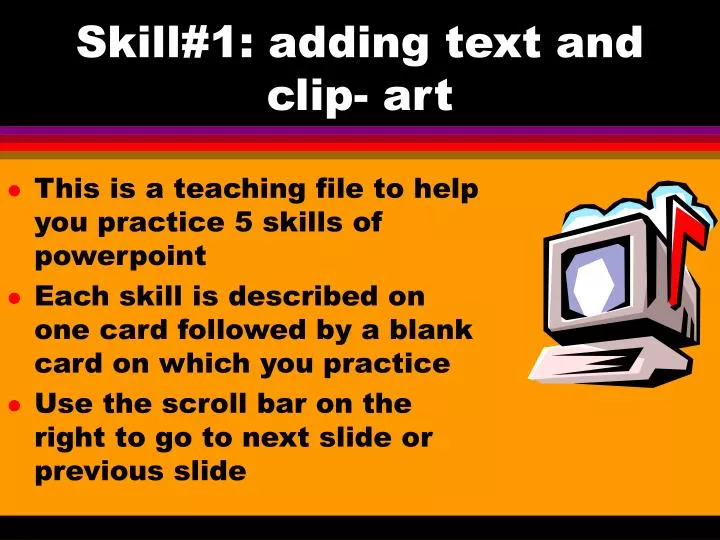
Skill#1: adding text and clip- art. This is a teaching file to help you practice 5 skills of powerpoint Each skill is described on one card followed by a blank card on which you practice Use the scroll bar on the right to go to next slide or previous slide.

E N D
Skill#1: adding text and clip- art • This is a teaching file to help you practice 5 skills of powerpoint • Each skill is described on one card followed by a blank card on which you practice • Use the scroll bar on the right to go to next slide or previous slide
Your turn to add text and clip art (skill #1) • Type here and add clip art on the right
Skill#2: get a graphic from the web • Make sure you have saved this file and you know the folder you have saved into • Go to the web and navigate to www.summercore.com; go to the CHART and click on Don’t Think Y2K • when you see the graphic on the right on the web, save it into the same folder as this powerpoint presentation (how to save? Click on the graphic with the right-mouse button on a PC or click and hold on a mac) • now go to the next card and try it! How to go to the web? “Minimize” powerpoint (PC users) or “hide powerpoint” (Mac users)
This card is for you to practice skill #2 • How to bring your graphic in? • choose INSERT • choose FROM FILE • choose PICTURE • You type here and see if you can figure how to “indent”
Skill#3: Turning some text into a hyperlink • When you type text, you can turn certain words into “hyperlinks” • A hyperlink can be defined as a word or set of words that go to a web page when you click • Here are several examples: • commercial sites end in COM, e.g. visit the yahoo site which has an address of www.yahoo.com • government sites ends in GOV, e.g. visit the white house web site at www.whitehouse.gov • colleges generally end in EDU, e.g. Yale at www.yale.edu while K-12 schools generally end in ORG, e.g. Greenhill School at www.greenhills.org
Skill#3: creating hyperlinks to the web • Type in your sentences, then highlight a word or word phrase and choose HYPERLINK under the INSERT menu
Skill#4: Making words fly in (or drive in) • Highlighting text, you can then choose the feature under SLIDE SHOW called PRESET ANIMATION; you can have up to a DOZEN choices for that text • For example, here are potential problems for January 1, 2000 that illustrate choices • no flights (fly in) • gas stations will be closed (drive in) • everything melts in your freezer (dissolve) • Go to the next card and you try it; rememeber ONE TYPE OF ANIMATION PER CARD!
Your turn to practice skill #4 • Under the SLIDE SHOW menu you will find PRESET ANIMATION • to check it try ANIMATION PREVIEW under the same menu • If you want to get fancy afterwards, try CUSTOM ANIMATION
The 5 Views of Word • Under VIEW you will find HEADER and FOOTER with many AUTOTEXT options to save typing time • Try to understand each of 5 LAYOUTS under VIEW (click to reveal each one) • And of course it is very easy to turn your text into COLUMNS
Time to practice skill #5 • Arrange these graphics so that they look like on the previous slide • Then see if you can animate them so they DRIVE IN or FLY IN using PRESET ANIMATION • test with Animation Preview!
All set! • A QUICK REVIEW OF WHAT YOU’VE DONE • adding text and clipart (SKILL#1) • adding graphic from the web (SKILL#2) • making text be hyperlinked to the web (SKILL#3) • making text animate when it comes in (SKILL#4) • making graphics animate when they come in (SKILL#5) • NOW ONE MORE TASK • Run your presentation (VIEW SHOW under SLIDESHOW) • Or make your presentation be SELF-RUNNING • Use SET-UP SHOW under SLIDESHOW to LOOP CONTINUOUSLY • Use SLIDE TRANSITION under SLIDESHOW to ADVANCE AUTOMATICALLY after 3 seconds