Download
1 / 19
310 likes | 1.98k Views
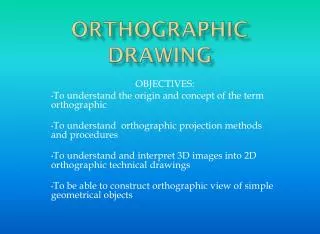
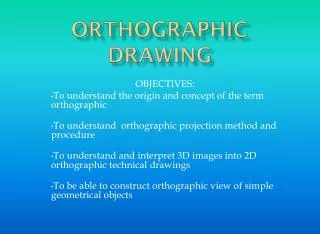
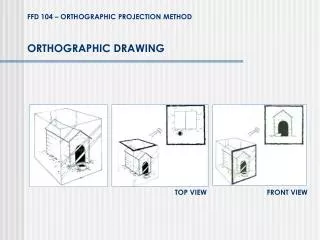
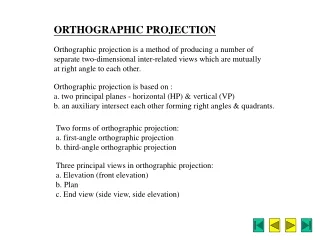
Orthographic Drawing Practice. GSMST. Creating the Orthographic Projection Sketch. Front View Right Side View Top View. Use very light lines for drawing in the construction lines. Step 1 – Lightly Block Three Views. Step 2 – Lightly Block Major Features. Holes Arcs Cutouts.

E N D
Creating the Orthographic Projection Sketch • Front View • Right Side View • Top View
Use very light lines for drawing in the construction lines Step 1 – Lightly Block Three Views
Step 2 – Lightly Block Major Features • Holes • Arcs • Cutouts Use very light lines for drawing in the construction lines
Step 3 – Refine and Locate Features in All Views Use very light lines for drawing in the construction lines
Step 4 – Add Final Lines Use very light lines for drawing in the construction lines
Add the Left Side View • Sketch the left side view of the object • Compare your view with the others at your table
Add The Left Side View • Does yours look something like this?
Practice Exercise • Draw three orthographic views of a classic curved top tombstone. Remember to include all lines: visible, hidden, and center, where appropriate • Add a bullet hole (large caliber) concentric within the top arc. Adjust the views for this new feature.
Practice Exercise • Complete three orthographic views of the object shown on the next slide. • Include visible, hidden, and center lines where appropriate. • Use the grid paper in the back of your book or your engineering sketch pad. • You will be given 7 minutes.
Post Assessment Test • Use a clean sheet of paper to sketch orthographic views of the object. • You will be given 5 minutes to complete the drawing individually
Post Assessment Test • Use a clean sheet of paper to sketch orthographic views of the object. • You will be given 5 minutes to complete the drawing individually
Post Assessment #2 • Sketch orthographic views on clean sheet of paper