Download
1 / 2
30 likes | 168 Views
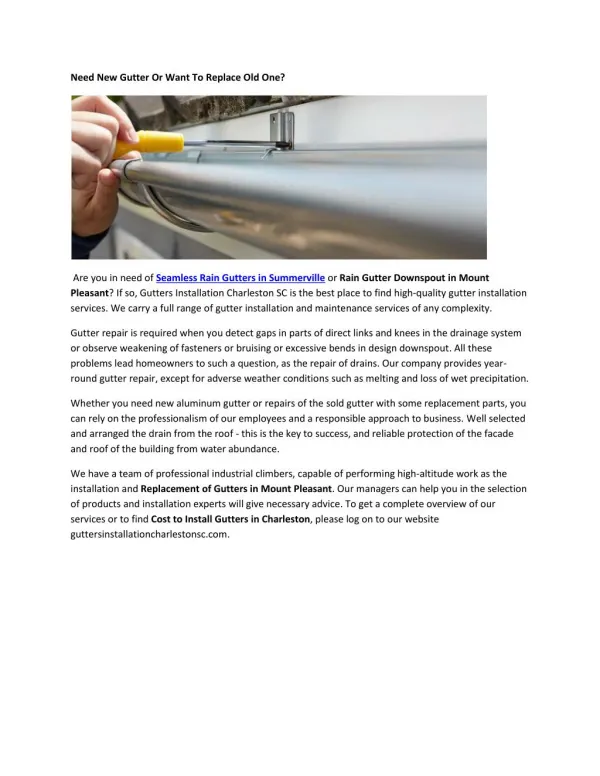
Guttering and rainwater pipe is designed to carry and divert the rainwater away from your house, building, office and various other places. It helps to maintain the integrity of the construction of your home.

E N D
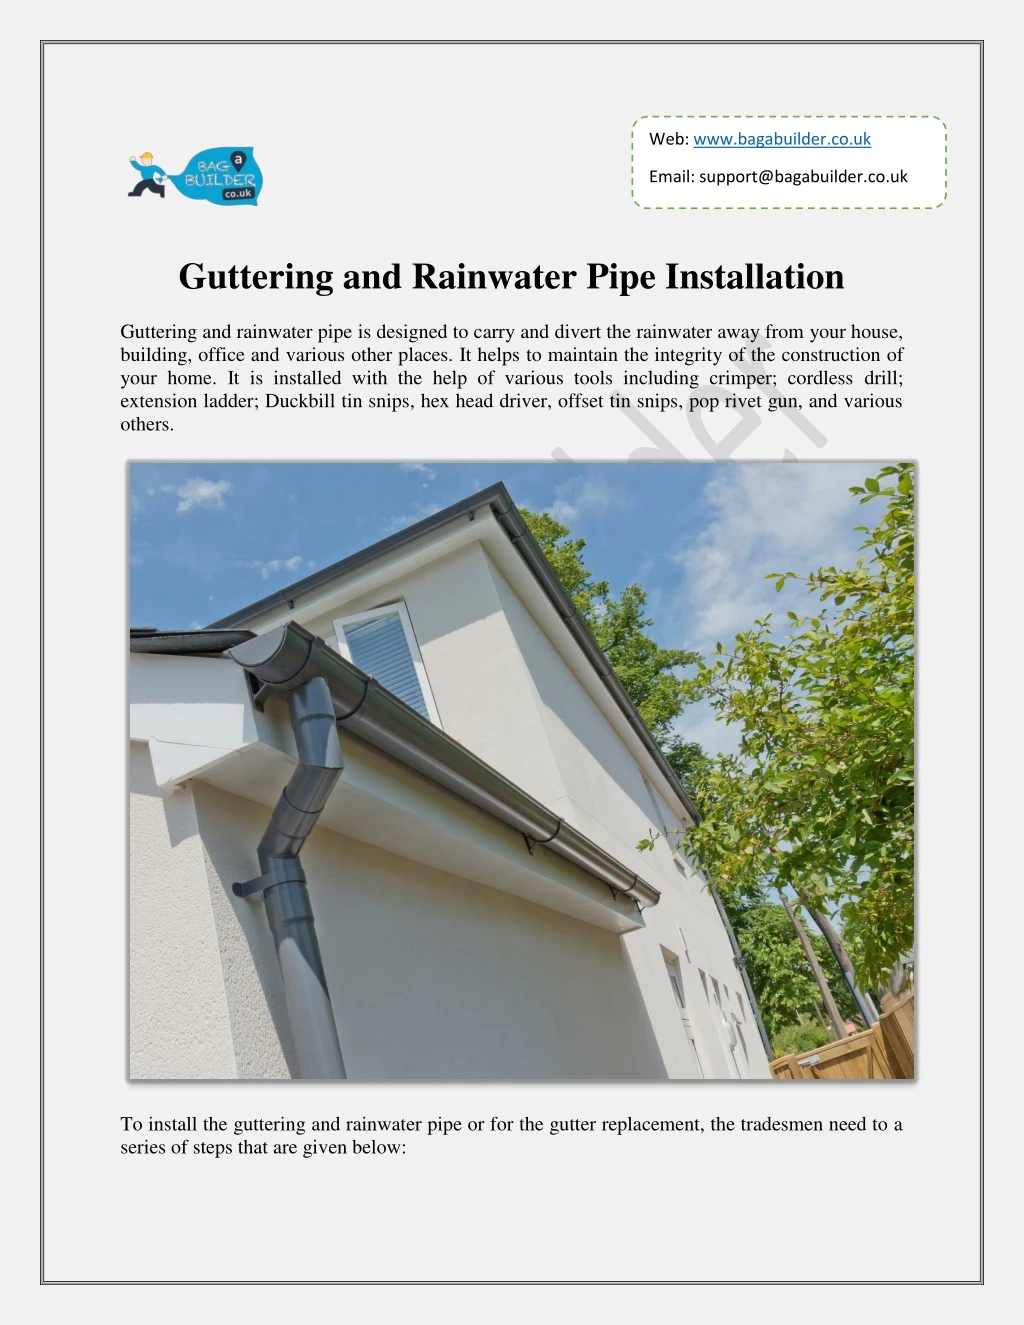
Web: www.bagabuilder.co.uk Email: support@bagabuilder.co.uk Guttering and Rainwater Pipe Installation Guttering and rainwater pipe is designed to carry and divert the rainwater away from your house, building, office and various other places. It helps to maintain the integrity of the construction of your home. It is installed with the help of various tools including crimper; cordless drill; extension ladder; Duckbill tin snips, hex head driver, offset tin snips, pop rivet gun, and various others. To install the guttering and rainwater pipe or for the gutter replacement, the tradesmen need to a series of steps that are given below:
The first step is to measure the length of the roof on which you have to install the rain gutters. After measuring the roof, buy a gutter of the same length that you have measured according to your roof. Along with the gutter, purchase the additional materials that will be needed in installing such as fascia brackets, downspout and others. After purchasing, mark the starting point of the gutter under the eaves flashing. After marking the starting point, determine the end-point of the gutter. And after marking both the points, snap a line between these two with the help of chalk. On the line that you have made, mark the location of the rafter tail. Along with this, mark the location of the outlet of the downspout. And eradicate the hole of the outlet with the help of offset tin snips. After removing the hole, attach the outlet into it and waterproof it with the help of silicon glue. Once the outlet is attached to the hole, join the end cap to the gutter with the help of silicon screws and sealant. Once the end is joined, cut the size that you needed from the gutter with the help of hacksaw and tin snips and various other tools that is needed for cutting. After cutting, attach it to the fascia bracket to the rafter tails. Once the gutter is attached, mount it to the fascia bracket and secure it with the help of machine screws. After securing it, attach the gutter to the fascia. After attaching the gutter to the fascia, attach the downspout to the gutters with the help of a downspout outlet. After following all these steps, you will be able to install your guttering and rainwater pipe. But as you have seen the process of installing, it is very difficult and there are various tools that can harm a normal person. Finding a certified tradesman is very difficult. Therefore, for the installing of this, a professional is needed who have rich experience in using these tools. You can find the professional with the help of Bag a Builder. It is a platform that helps you in finding the best and certified professional for you. You can choose the tradesmen by comparing them according to your needs and requirements. All you have to visit our website and search for the tradesmen and you will get a list of certified professionals who can get your work completed of gutter replacement.