Download
1 / 2
0 likes | 4 Views
Discover the step-by-step process of eyebrow tinting application. Learn how to achieve perfectly tinted brows, including preparation, technique, and aftercare.

E N D
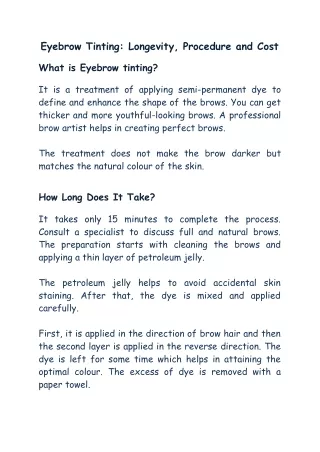
The Complete Guide To Eyebrow Tinting Application Eyebrow tinting has become a popular beauty treatment for anyone looking to enhance their natural brows. Whether you're tired of filling in your brows every day or simply want to darken them for a more defined look, eyebrow tinting is a fantastic option. In this guide, we’ll walk you through the process of eyebrow tinting application, from preparation to aftercare, ensuring you get beautiful, lasting results. 1. Choose the Right Shade Before starting the application, selecting the right eyebrow tint shade is crucial. Choose a color that matches your natural hair color or is a shade darker for a more defined look. Avoid going too dark, as overly bold brows can appear harsh and unnatural. If you’re unsure, many professional eyebrow tinting kits come with multiple shades to try out. 2. Gather Your Supplies You’ll need a few essential tools to ensure a smooth application: Eyebrow tint kit (containing the dye and developer) A small brush or applicator Cotton pads or swabs for cleaning up Petroleum jelly or a brow barrier cream to protect your skin A timer to track processing time A brow comb to shape your brows 3. Protect Your Skin To avoid staining your skin, apply a thin layer of petroleum jelly or a special brow barrier cream around your eyebrows. This creates a protective barrier so that the dye only targets the brow hairs and doesn’t leave stains on your skin. 4. Apply the Tint Mix the dye and developer according to the instructions on the tint kit. Using a small brush, gently apply the tint to your brows in the direction of hair growth. Start from the arch and work your way to the tail, and then fill in the front section. Be sure to stay within the natural shape of your brows for the most natural result. 5. Wait for the Tint to Process Leave the tint on for the recommended time (usually around 5-10 minutes) to achieve your desired color. The longer the tint sits, the darker the result. Check the color occasionally to ensure you don’t go too dark. It’s always better to start with a shorter time and build up if needed.
6. Remove the Tint Once the processing time is up, gently wipe off the tint using a cotton pad soaked in warm water. Be careful not to rub too hard, as this can disturb the shape of your brows. Check the result and repeat the application if needed for a deeper color. 7. Aftercare To make your tinted brows last longer, avoid excessive rubbing or using harsh cleansers on the area. For the first 24 hours, avoid exposure to water, steam, or makeup to allow the tint to set properly. After that, you can continue your regular skincare routine, but try to use gentle products around your brow area. Conclusion With the right tools and techniques, applying eyebrow tint can be easy and rewarding. Whether you do it at home or visit a professional, the key to perfect results is precision and patience. Eyebrow tinting can give your brows a fuller, darker look with minimal effort, saving you time on makeup every day.