Download
1 / 30
300 likes | 330 Views
Explore the history, physics, and design of rocketry by building your own re-usable rocket using plastic soda bottles, compressed air, and water. Learn about safety, parts, and flight analysis for an exciting scientific experience!

E N D
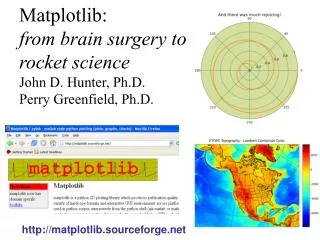
Brain Surgery and Rocket Science By Howard Botting and Benjamin Mitchell
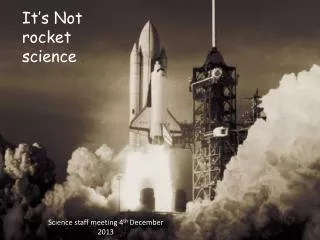
What’s the Difference Between Brain Surgery and Rocket Science? • One of these activities we can do in middle school, and one we can’t!!! • Brain Surgery? • NO!! • Rocket Science? • YES!!!
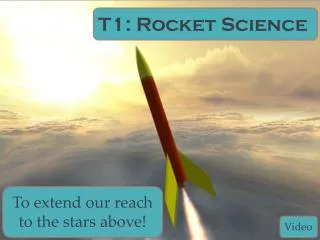
Introduction • Have you ever seen a space rocket launch? • Didn’t you wonder how it worked? • You may even have thought “I want to do that”
Task • In this assignment we will be investigating Rocketry and building our own re-usable rocket (max 10-15 uses) • Rocket bodies will be plastic soda bottle (s) • Rocket fuel will be compressed air and water
Process We will make informed decisions regarding building our rocket after gathering information from the Internet. We will first look at: • Rocket history • What are soda bottle rockets • Physics behind soda bottle rockets • Safety with rockets • Parts of a soda bottle rocket • Designs for a soda bottle rocket
Rocket History Lets first look to how and when rockets were developed. Please choose (click) the following link to learn about Robert Goddard: Rocketry Pioneer
What are soda bottle rockets? • Time line of Rockets • How do these compare to real rockets? • Parts that make the rocket Here’s a clip of one in action Movie clip one
Physics behind soda bottle rockets So what is the science behind how a simple soda bottle can be converted into a high flying rocket with only water and air as a fuel? Click on the links below Newton’s Third Law and bottle rockets Principle of the rocket by NASA
Safety with Soda Bottle Rockets • Always wear safety glasses in the lab • Never pressurize rockets indoors • Never stand over the rocket on the launch pad • Maintain a 5 meter “Safety Zone” during liftoff • Limit pressure to no more than 80psi • More NASA Safety tips
Parts of a soda bottle rocket • To assemble our rockets we will need the following parts • Nose cone • Fins • Body • Parachute
Design Ideas Investigate the following web sources to see how others before you have built soda bottle rockets • Water Rocket Index • Bottle Rocket pdf • 2 Stage Rocket
ESSENTIAL QUESTION • What is the procedure for solving a problem? • - As a team you and your partner will consider the six steps to solving a problem as you complete your bottle rocket activity! • When you have finished reading each slide you may go on.
PROBLEM SOLVING MODEL Step 1 • Identify the problem!
STEP 2 • SET GOALS - who - what - when - where - why - how
STEP 3 • Brainstorm - Use your imagination to come up with many possible solutions
STEP 4 Select the optimum Solution
STEP 5 • Implement the solution • Models • prototypes
STEP 6 • Evaluate the results -Was the desired result achieved? - Is the problem solved?
Build Procedure Part 1: Lets get started! • Prepare the body of the rocket. - click on this link to see what shapes increase altitude and speed. Body Modifications
Build Procedure Part 1: 2. Preparing The Nose Cone. Materials that you could use: -athletic cone - manila paper - plastic bottle material
Build Procedure Part 2: 3. Cutting and shaping fins. • click on this link to see what fin shapes increase altitude and speed. Fins
Build Procedure Part 1: 3. Recovery System. • click on this link to see how to build and install a recovery system. Recovery System
Build Procedure Part 1: • Construction time! Put this thing together. • click on the hardhat to see how to construct your rocket
Record Your Teams Flight Charting the altitude of your flight. • click on the chart below and calculate your altitude from a NASA system.
Flight Analysis • As a team compare and contrast what was successful about your flight and what could have been improved. • What was the altitude? • Was the Outcome unexpected?
Build Part 2: • Make improvements to your rocket: • Record how the changes that you made will improve the flight of the rocket.
Record Your Teams Flight Part 2: Charting the altitude of your flight. • click on the chart below and calculate your new altitude from a NASA system.
Conclusion This activity has been a fun technological experience. Discovery of how the forces of nature can be overcome by the problem solving of a team. You and your partner now have a better understanding of tools, materials, safety, flight and the steps to solving a problem, congratulations on a successful flight.
Related Activity for Home • Students can build a easy to make “bubble” rocket at home without a compressed air supply NASA’s Bubble powered rocket