Download
1 / 6
60 likes | 72 Views
Learn the basics of shape tweening, motion tweening, and using guide paths to create a simple flash animation intro. This tutorial covers the necessary tools and techniques, with step-by-step instructions and screenshots.

E N D
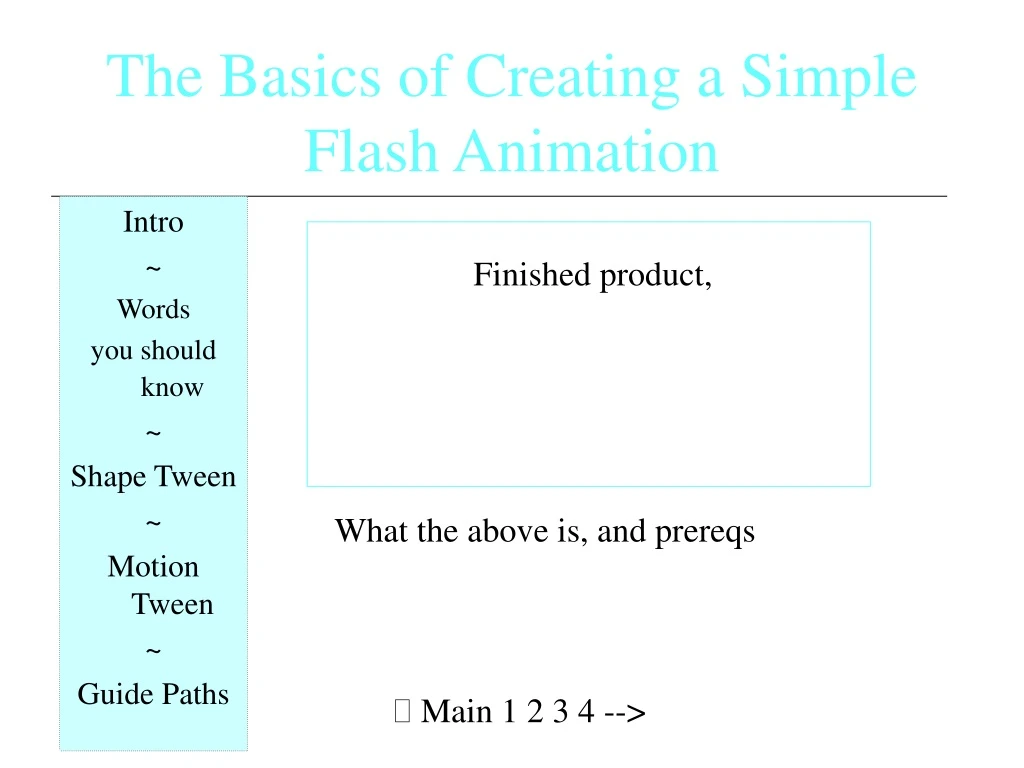
The Basics of Creating a Simple Flash Animation Intro ~ Words you should know ~ Shape Tween ~ Motion Tween ~ Guide Paths Finished product, What the above is, and prereqs Main 1 2 3 4 -->
What working with Flash will look like Intro ~ Words you should know ~ Shape Tween ~ Motion Tween ~ Guide Paths Screenshot, with arrows pointing at things • Layers • Timeline • Frames • Keyframes, etc. Main 1 2 3 4 -->
Shape tweening Intro ~ Words you should know ~ Shape Tween ~ Motion Tween ~ Guide Paths • What it is • 1) Make sure that frame 1 of layer 1 is selected in the Timeline. • 2) Create a simple shape of any kind, using any drawing tool, or import (File>Import) a previously made one. • 3) Put a keyframe in frame 10 (right-click or F6). (screen shot?) • 4) At frame 10, select the shape (make sure the arrow tool is selected) and change it in whatever way you want it to end up • Shape, Color, Opacity, position • 5) Delete the old and place the new one in the 2nd keyframe • 6) Select any frame between 1-10 • 7) In the properties inspector, select the shape from the tween menu (screen shot) • 8) Select either Distributive or Angular • Distributive for the intermediate shapes to be smoother • Angular to preserve apparent corners and straight lines • 9) Hit enter to test the animation Main 1 2 3 4 -->
Motion Tweening Intro ~ Words you should know ~ Shape Tween ~ Motion Tween ~ Guide Paths • What it is • 1) Select the 1st frame in layer 1 • 2) Create the graphic • 3) Modify>Convert to Symbol • a. Rename and select Movie Clip (screenshot) • b. Must be a symbol in order to be motion tweened! • 4) Select frame 10, create 2nd keyframe. • a. At 10, move it, or modify its size or skew • 5) Click any frame between 1-10, and in the Properties tab set the Tween to Motion • 6) Adjust the ease -- the higher the value the smoother the transition • To rotate, select CW or CCW, or adjust the color and size. Main 1 2 3 4 -->
Using a Guide Path Intro ~ Words you should know ~ Shape Tween ~ Motion Tween ~ Guide Paths 1) Right-click on layer containing animation and select Add Motion Guide Path. (screenshot) 2) Use pencil/pen/etc to draw desired path 3) Make sure that Orient to Path is selected, and the center of the object is aligned with the beginning of the path in the first frame (screen shot) Set tween to motion as before Main 1 2 3 4 -->
Congrats! • What you can do with it • Resources to go further • Problem-solving Main 1 2 3 4 -->