Download
1 / 13
140 likes | 190 Views
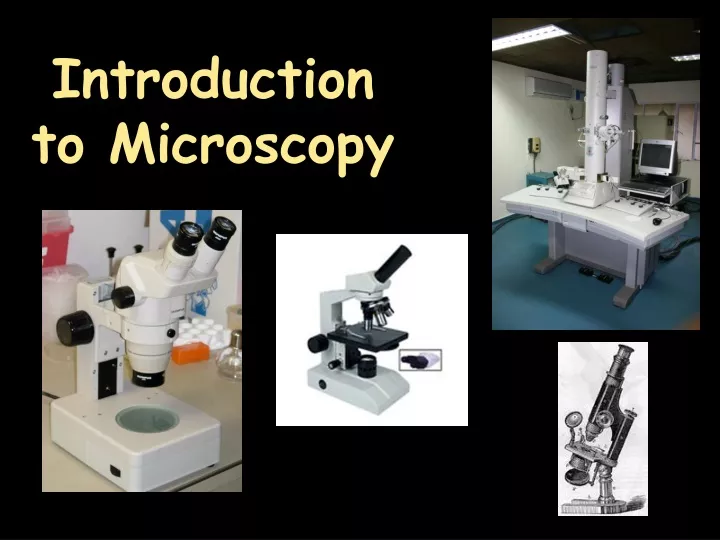
Introduction to Microscopy. Parts of the microscope. Eyepiece (9)- the lens you look through, magnifies your specimen – 10x Body tube (1)-supports the eyepiece Arm (10)-supports body tube. Nose piece (2)- holds objective lenses Objectives (3, 4, 5)- magnify by different powers

E N D
Parts of the microscope • Eyepiece (9)- the lens you look through, magnifies your specimen – 10x • Body tube (1)-supports the eyepiece • Arm (10)-supports body tube
Nose piece (2)- holds objective lenses • Objectives (3, 4, 5)- magnify by different powers • Low power objective=4X • Medium power objective=10X • High power objective=40X • Stage Clips (6)- holds the slide in place
Aperature-allows light to show through (draw it on the diagram) • Stage (11)- supports the slide being used • Diaphragm (7)- controls the amount of light passing through the opening of the stage (light adjustment wheel)
Course Adjustment knob (12)- moves body tube up and down for focusing, low power • Light source (8) • Fine Adjustment knob (13)- moves body tube up and down for finer focusing, high power
On/Off Switch (draw it on the diagram) • Base (14)- supports the microscope
COMPOUND LIGHT MIRCROSCOPE • Microscopes use lenses to make small objects look larger. • Microscopes must combine magnification and resolution. • Magnification - the ability to make objects look larger than they are • Resolution -the ability to clearly distinguish the individual parts of an object
Safety and Proper Use • ALWAYS carry microscope with two hands – one on the arm and one under the base • Report any problems with microscope first thing • Never touch lenses with finger/hand • Remove slides before returning microscope • NEVER use the Coarse adjustment knob on high power
Total Magnification • What is total magnification? • The sum power of all the lenses you are viewing the specimen with. • How do you calculate total magnification? • Eyepiece x objective lens = total mag. • Ex. Our microscopes using medium power. 10 x 10 = 100x (objects appear 100 times larger than they are.)
Using the Microscope • When using the scopes to view slides it is important to remember to keep the specimen centered! • Keep in mind your field of view • Field of View-the area visible through the microscope lens. Field of view DECREASES as magnification INCREASES. • Adjust the diaphragm as you increase magnification, field of view gets darker.
Using the Microscope • Because the light rays from an object cross before reaching your eye, the image you see through our light microscopes will be inverted and upside down as well as larger and more detailed.. Letter “b” as seen on the stage Letter b as seen through the eyepiece
Image inversion • Because of this image inversion it is important to remember -When you move your slide right it will move left in the field of vision -When moving the slide up it will move down in the field of vision
Dissection Scope • A dissection microscope is light illuminated. The image that appears is three dimensional. It is used for dissection to get a better look at the larger specimen. You cannot see individual cells because it has a low magnification.