Download
1 / 21
260 likes | 606 Views
West Point Bridge Designer. Capstone Course Orientation . West Point Bridge Designer. Purpose of this orientation 1. Create a guide for WPB 2. Introduce basic design functions in WPB 3 . Define structural members of Truss Bridge 4. Define test measurements and applications

E N D
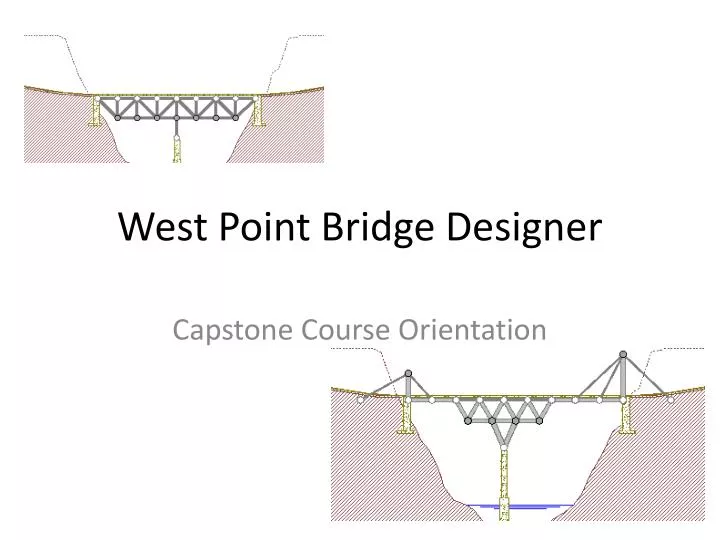
West Point Bridge Designer Capstone Course Orientation
West Point Bridge Designer Purpose of this orientation 1. Create a guide for WPB 2. Introduce basic design functions in WPB 3. Define structural members of Truss Bridge 4. Define test measurements and applications 5. Procedure for creating a template for practice 6. Steps for design and testing of bridge
Component Parts of a Truss Bridge 3 Dimensional View Elevation (Side) View
Load Test Animation After designing a bridge click the test icon under ‘Report’ menu. The design will animate and test the integrity of the bridge.
Oops Areas that are under lots of stress turn red. The main support beam (red) was not strong or thick enough. The truss beam was not supported and collapsed.
Load Combinations • Total Load = • 1.25Ws + 1.5Ww + 1.75T (1+ DLA) Load Combinations factor several different types of load at the same time IE A bridge must carry its own weight at the same time carry traffic and pedestrians It might also have special considerations for wind, snow, ice and sometimes earthquakes All Testing
Determining Engineering Properties • Materials • Yield Stress -Modulus of elasticity -Mass Density • Cross Section • Cross-section area - moment of inertia • Graph • Strength v. length for • Tension and compression
Follow this design tree To check for organization
Begin creating your design. This page describes the process of creating a bridge.
Step 2 Select no unless otherwise given instructions by your teacher and click next.
Step 3 Choose the design for your bridge. Keep in mind the weight and cost.
Completing a Bridge • Follow the steps in the program • Assessments- See assessments loaded to this lesson • Test the bridge using engineering design properties