Download
1 / 10
100 likes | 116 Views
Learn the art of drawing candles on a cake with our step-by-step guide. From visualizing your design to adding intricate details, this tutorial will help you create beautifully crafted candles that will elevate any cake. Get ready to impress your loved ones with your cake decorating skills and bring an extra touch of magic to your celebrations. Let your creativity shine and master the art of drawing candles on cake today!

E N D
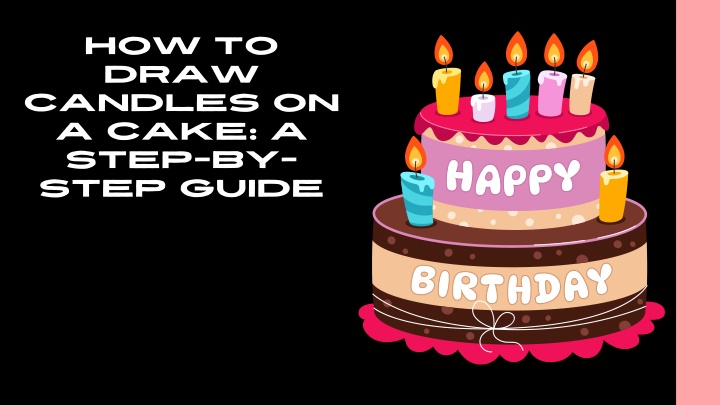
How to Draw Candles on a Cake: A Step-by- Step Guide
Adding candles to a cake is a delightful tradition that brings joy and excitement to any celebration. If you've ever wondered how to draw candles on a cake like a pro, you're in the right place! In this guide, we'll walk you through simple steps to create beautifully drawn candles that will impress your friends and family. Let's get started!
Step 1: Gather Your Supplies Before you begin, make sure you have the supplies: A cake (preferably smooth icing) Food-safe markers or edible gel pens in various colors Toothpicks (optional, added precision) following with for
Step 2: Visualize Your Design Decide on the number of candles you want to draw and their arrangement. You can go for a classic straight line, a zigzag pattern, or get creative with shapes. different
Step Placement Lightly mark the positions candles on the cake using a toothpick. This step helps you plan the spacing and symmetry in your design. 3: Mark the of the ensures
Step 4: Draw the Outline Using your food-safe edible gel pens, start drawing the candle outlines. Begin at the base of each candle, creating a straight or slightly curved line to represent the candlestick. adding a simple rectangular shape on top to depict the candle itself. markers or Continue by
Step 5: Add Details To make your candles more realistic, add details like a wick and melted wax dripping down the sides. Draw extending from the candle's top edge to represent the wick. For the melted wax effect, draw small, curved lines around the top of the candle. a thin line
Step 6: Color and Decorate Color in the candles using your markers or edible gel pens. You can stick to traditional candle colors like white, red, or yellow, or get creative with a rainbow of hues. Feel free to add additional decorations like small flames at the candle tops or personalized messages.
Step 7: Final Touches Once your candles are drawn and colored, step back and evaluate your work. Make any necessary touch-ups or adjustments to ensure your design is exactly how you envisioned it.
Drawing candles on a cake is a fun and creative way to personalize your celebratory desserts. With these easy-to-follow steps, you'll be able to master the art of candle drawing and make your cakes truly shine. Get ready to impress your loved ones and ignite the joy of any occasion! Happy cake decorating! ?? Visit Us : https://unrivaledcandles.com/product/cak e-candles/