Download
1 / 6
60 likes | 223 Views
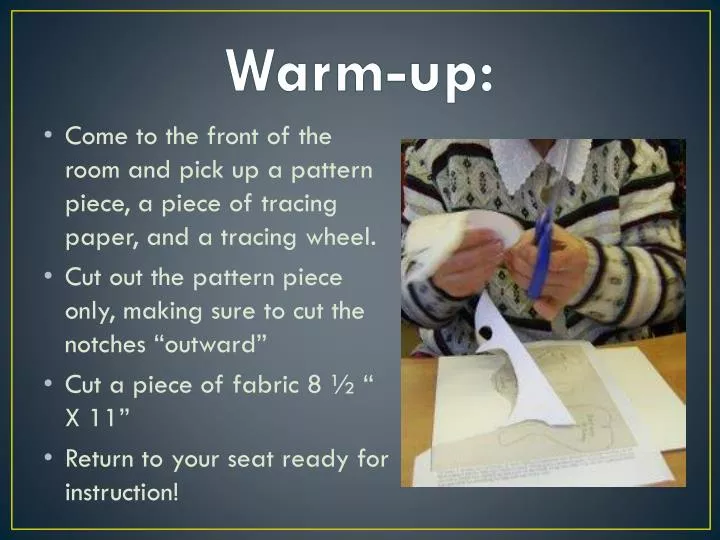
Warm-up:. Come to the front of the room and pick up a pattern piece, a piece of tracing paper, and a tracing wheel. Cut out the pattern piece only, making sure to cut the notches “outward” Cut a piece of fabric 8 ½ “ X 11” Return to your seat ready for instruction! .

E N D
Warm-up: • Come to the front of the room and pick up a pattern piece, a piece of tracing paper, and a tracing wheel. • Cut out the pattern piece only, making sure to cut the notches “outward” • Cut a piece of fabric 8 ½ “ X 11” • Return to your seat ready for instruction!
Pinning, Marking and Cutting Apparel I Objective 4.03
Pinning • Place all pattern pieces on the fabric before pinning any of them • Pin grainlines first • Pins should be placed perpendicular to the cutting line, (right angle) but not over the cutting lines. Pin about ever 6”. • Place pins closer on curves or on slick or slippery fabric. • Now pin your pattern piece to your piece of fabric
Cutting • Dressmaker/bent handled shears should be used to cut through tissue pattern and fabric. • Notches should be cut out and away from the seam allowance-Double notches should be cut out with one long edge. • Cut in long smooth strokes not short choppy snips. • Now cut your piece of material out, making sure to cut notches outward, to match your pattern piece.
Marking • Pattern lines and symbols should be marked on the wrong side of the fabric. • Fabric Marking Pens use disappearing ink that will fade within 8 hours. If more time passes between marking and sewing the lines will have disappeared. Some have water-soluble ink that will disappear when fabric is wet. • Never iron over markings because it may make them permanent. • Now mark the button line and the dart lines on your pattern piece using tracing paper and the tracing wheel.
Student Project: • Make a Tic-Tac-Toe board following the directions provided. • You will be using all the skills we learned about today, so make sure and pin, cut, and mark appropriately! • ENJOY!!!!