Download
1 / 16
190 likes | 498 Views
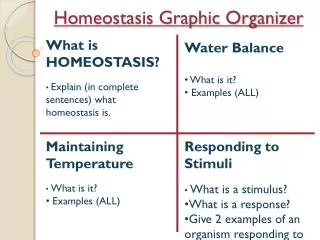
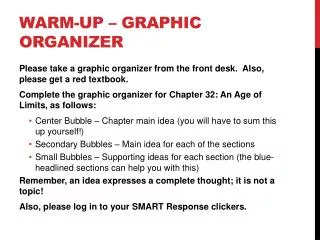
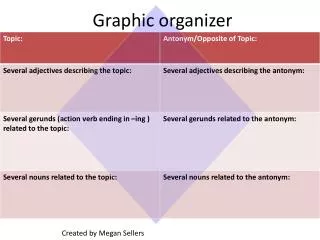
Graphic Organizer . How to take notes Part 1:. Graphic organizer. This is what we have been using all first quarter. It breaks up information into boxes that clearly define show the separation of different themes, and information. Example: Frayer Model. Outlining . How to take notes Part 2:.

E N D
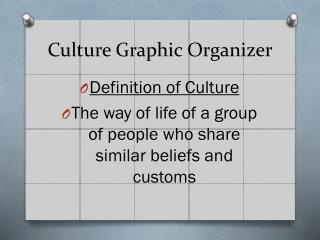
Graphic Organizer How to take notes Part 1:
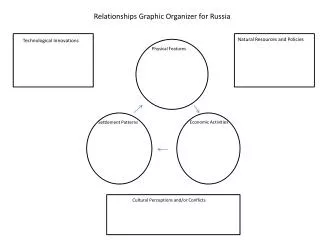
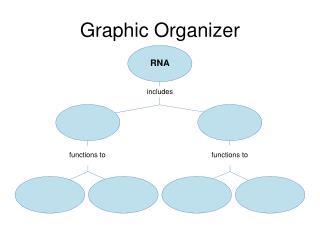
Graphic organizer • This is what we have been using all first quarter. It breaks up information into boxes that clearly define show the separation of different themes, and information. • Example: Frayer Model
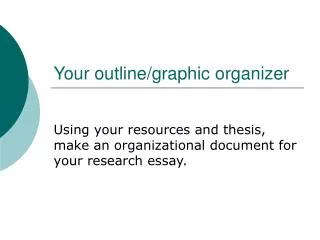
Outlining How to take notes Part 2:
Why Outline I. Big idea A. Sub-idea 1. supports a. sub-supports/ vocabulary 2. supports B. Sub- idea II.
Mind Mapping How to take notes Part 3:
How to make a mind map • Start with your paper in landscape position • Use an image or picture for your central idea and place it in the center of the page • Draw branches off the image that are curvy. Place key ideas that relate to the central idea on the branches. Only use one word/ phrase or a picture. Length of branch depends on length of word. • Connect your main branches to sub-branches. Make sure lines stay curvy and flow • Make sure that you are using color, and images throughout the mind map.
Let’s try setting up a mind map! http://www.youtube.com/watch?v=0UCXalYcoko&feature=related
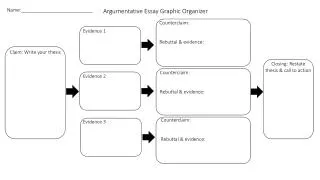
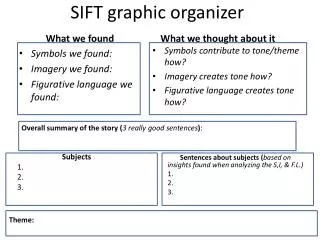
Short Hand and Paraphrasing How to take notes Part 4:
How to be successful at short hand and paraphrasing • DO NOT write everything down. • You can shorten words with abbreviations you know. Ex: w/ instead of with • In this method phrases or sentences is fine, but you should never copy word for word. • Think back to outlining. Use the same idea, but instead do bullets or paragraphs without the roman numerals. This method is used for more lecture/class notes. • Make sure at the end of short hand notes you go back and highlight key parts of the notes from the day. OR summarize at the end the overall take away information from the class/chapter
Cornell Notes How to take notes Part 5:
Cornell Notes • These notes are great to help you study without a study guide. • As the learner you are coming up with strong questions that are important to your learning, thus deepening the understanding of the topic. • Notes go on one side of the paper. Then on the other side of the paper are questions or key ideas from the notes. Finally at the bottom there is a summary of the whole chapter. • Suggestion, if right-handed but notes on right, if left-handed put notes on left.