Download
1 / 9
90 likes | 243 Views
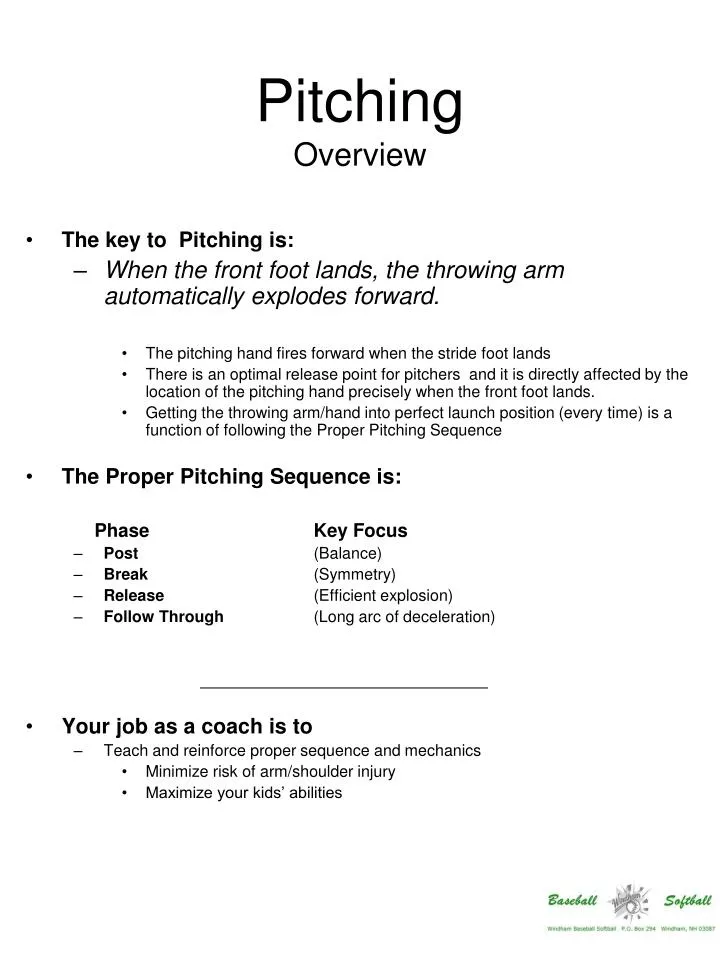
Pitching Overview. The key to Pitching is: When the front foot lands, the throwing arm automatically explodes forward. The pitching hand fires forward when the stride foot lands

E N D
PitchingOverview • The key to Pitching is: • When the front foot lands, the throwing arm automatically explodes forward. • The pitching hand fires forward when the stride foot lands • There is an optimal release point for pitchers and it is directly affected by the location of the pitching hand precisely when the front foot lands. • Getting the throwing arm/hand into perfect launch position (every time) is a function of following the Proper Pitching Sequence • The Proper Pitching Sequence is: Phase Key Focus • Post (Balance) • Break (Symmetry) • Release (Efficient explosion) • Follow Through (Long arc of deceleration) • Your job as a coach is to • Teach and reinforce proper sequence and mechanics • Minimize risk of arm/shoulder injury • Maximize your kids’ abilities
PostBalance • The role of the Post position is to: • Create a repeatable and solid starting position for all pitches • Keys • Head above posting leg, in balance • Shoulders square to target • Landing Knee PULLED up and tight • Hands collected near chest
BreakSymmetry • The role of the Break phase is to: • Get the throwing hand into perfect launch position – by getting the hand in proper position exactly as landing foot lands • Keys • Hands go DOWN, then circularly into position • Elbows ABOVE shoulders at end of this phase • Landing foot goes directly and forcefully to home plate
ReleaseEfficient Explosion • The role of the Release phase is to: • Maximize rotational and linear forces to the delivery • Keys • Elbow ABOVE Shoulder! • Glove Tuck in unison with throwing arm explosion • Extension
Follow ThroughLong Arc of Deceleration • The role of the Follow Through is to: • Provide Long Arc of Deceleration for throwing arm • Be the constant ending position to an efficient delivery • Keys • Throwing elbow past knee • Flat Back • Throwing shoulder to target • Eyes on target
Pitching Drills • Post Drill • Have the kid(s) go from rocker step to post. • Have them hold position for varying periods – the longer the better • Make a contest out of it • FencePost Drill • Have the kid(s) go from rocker step to post – only have them brace their lift KNEE on Fence. • Have them hold position for varying periods – the longer the better
Pitching Drills • Break Drill • Either from the Post position, or from the beginning (rocker step), have the kids break their hands and stride toward plate with landing leg • Ball to the ground (thumbs in and down) • Circular path to launch position • Hide ball through entirety of drill • Elbows above shoulders • Repeat, repeat, repeat – build muscle memory • Watch the stride leg. Make sure: • It fires directly to the plate (or a little closed to it) • Watch the stride (landing) foot. Make sure: • He lands on the BALL of it • Variations • Put your hand down at the desired spot his hands should be in during the initial breaking motion (down below waist). • His hand and/or ball should hit your hand. • Stand at pitcher’s back and guide his arms through motion • If he’s not striding far enough (roughly his height) – put a target out there for him to hit with his landing foot
Pitching Drills Release Drills One Knee Drill • Isolates upper body • ‘Slap me Five’ Drill • To get your pitchers more aggressively extended, put your hand out in front of the pitcher and have him go through the throwing motion – he should hit your hand when he’s extended. • Too easy? Move your hand further toward home plate • Too hard? Ditto in reverse • Long Toss • Have pitchers use proper pitching motion – • Have them throw 75-150 feet – on a LINE DRIVE. No arcs!!! It’s better that the ball bounces to the other player.
PitchingDo’s and Don’ts DO DON’T Post • Be in Balance • Lift knee high and tight • Hands gathered anywhere near chest Break • At beginning of backswing, be sure the hand and ball break the plane of the waist (first motion is toward the ground, below the waist) • Let the arm develop a circle action behind body during backswing • Hide the ball (keep the back of the hand between the ball and the head) • Point front shoulder directly at target • Step DIRECTLY to plate, land on ball of foot • End Break phase with BOTH elbows ABOVE shoulders!!! Release • Release with elbow even with or HIGHER than shoulder • Release ball at full extension • Enhance rotational power with glove pull • Finish (wrist flip @ release) Follow Through • Finish with throwing elbow over landing knee • Flat back if possible • Throwing shoulder points to target • Post • “Rush” • Kick knee up • Kick leg out (toward 3rd base if RHP) • Break • Keep the throwing hand above the waist during backswing • Land flat footed OR on heel • End this phase with EITHER elbow below the shoulders • Release • Pitch with the elbow below the shoulder • Pitch with dead glove arm (no glove pull) • Follow Through • Intentionally slow the arm down after release