Download
1 / 7
80 likes | 266 Views
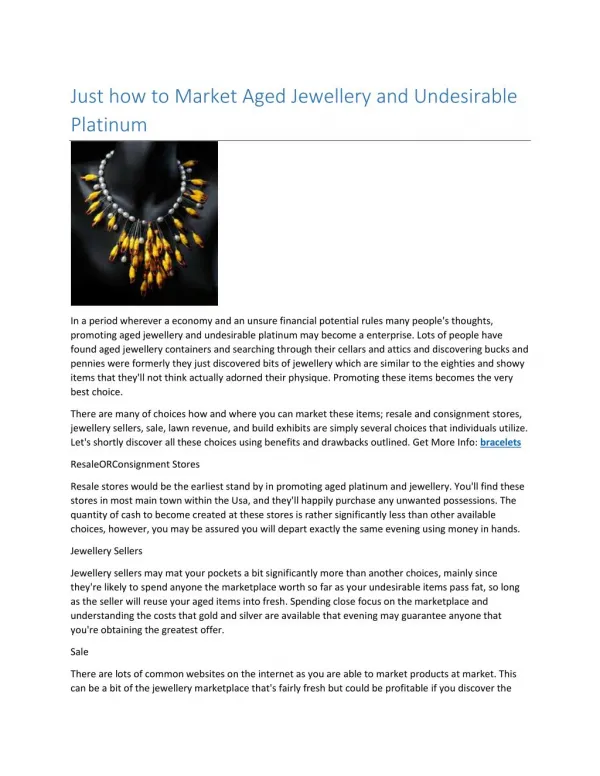
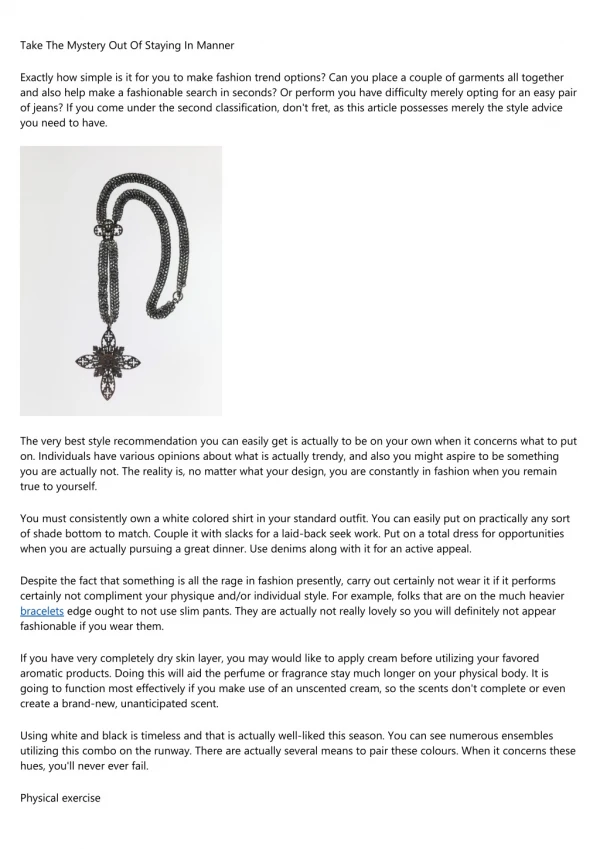
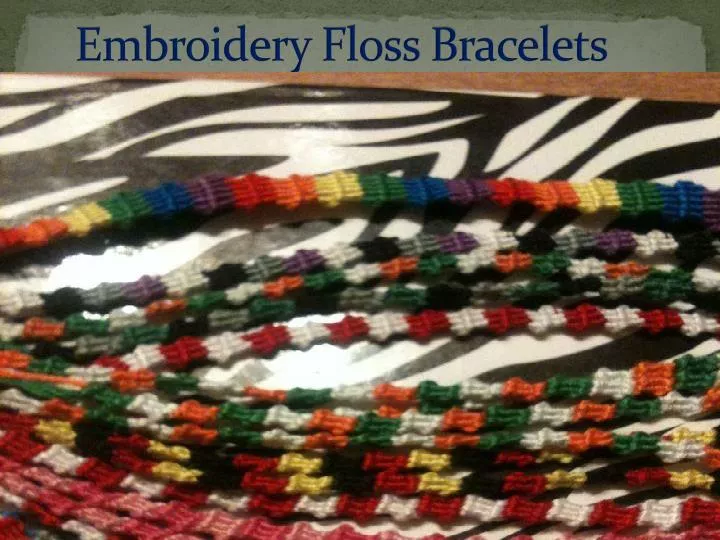
Embroidery Floss Bracelets . Materials: . Various Colors of Embroidery Floss Scissors Measuring Tape or Ruler to measure length of floss. Tape or a Clip Board to hold the embroidery floss in place. Your creativity in choosing the colors as well as length of color on the bracelet.

E N D
Materials: • Various Colors of Embroidery Floss • Scissors • Measuring Tape or Ruler to measure length of floss. • Tape or a Clip Board to hold the embroidery floss in place. • Your creativity in choosing the colors as well as length of color on the bracelet.
How to make Embroidery Bracelets: • Choose what colors you would like to use to make your bracelet. • Cut each color of embroidery floss a length of about 24 inches long. • Tie the three colors together with a knot at the top to keep the floss together. • Tape the embroidery floss to the table to ensure it will stay in place. • Start with the left piece of floss and place it over the middle length of floss making a shape of the number 4. • Tie a knot with the first two pieces of string. Repeat this step three or more times depending on the color length you would like. • Continue this for each string from left to right to left until you have completed your bracelet.
Objectives & Assessment: Objective: • Students will use their creativity to make their own design for the embroidery floss bracelet. • This project will help visual, kinesthetic learners, read-write and auditory learners because students will read the directions, visually and listen see the video, and compete the project manually. Assessment: • Students will be assessed by completing the bracelets using the instructions that were presented at the beginning of the activity.
Follow-up: Students will wear the Bracelets when completed to ensure they completed the project. • Resources:http://www.ehow.com/how_4622007_make-friendship-bracelets-embroidery-floss.html • References: http://www.pdesas.org/Standard/Views#113|797|0|0 • Technology:http://www.youtube.com/watch?v=PX-UbOdziHs