Download
1 / 2
20 likes | 23 Views
Compact laminate wall cladding is durable and requires low-maintenance. Some simple regular cleaning with a solution of water and mild soap goes a long way to keep the wall panels free from dirt and discoloration. If your facade wall panels experience serious scratches and cracks, you must reach out to a specialist for the best restoration.@ https://www.greenlamindustries.com/what-we-do/compact-solutions.html

E N D
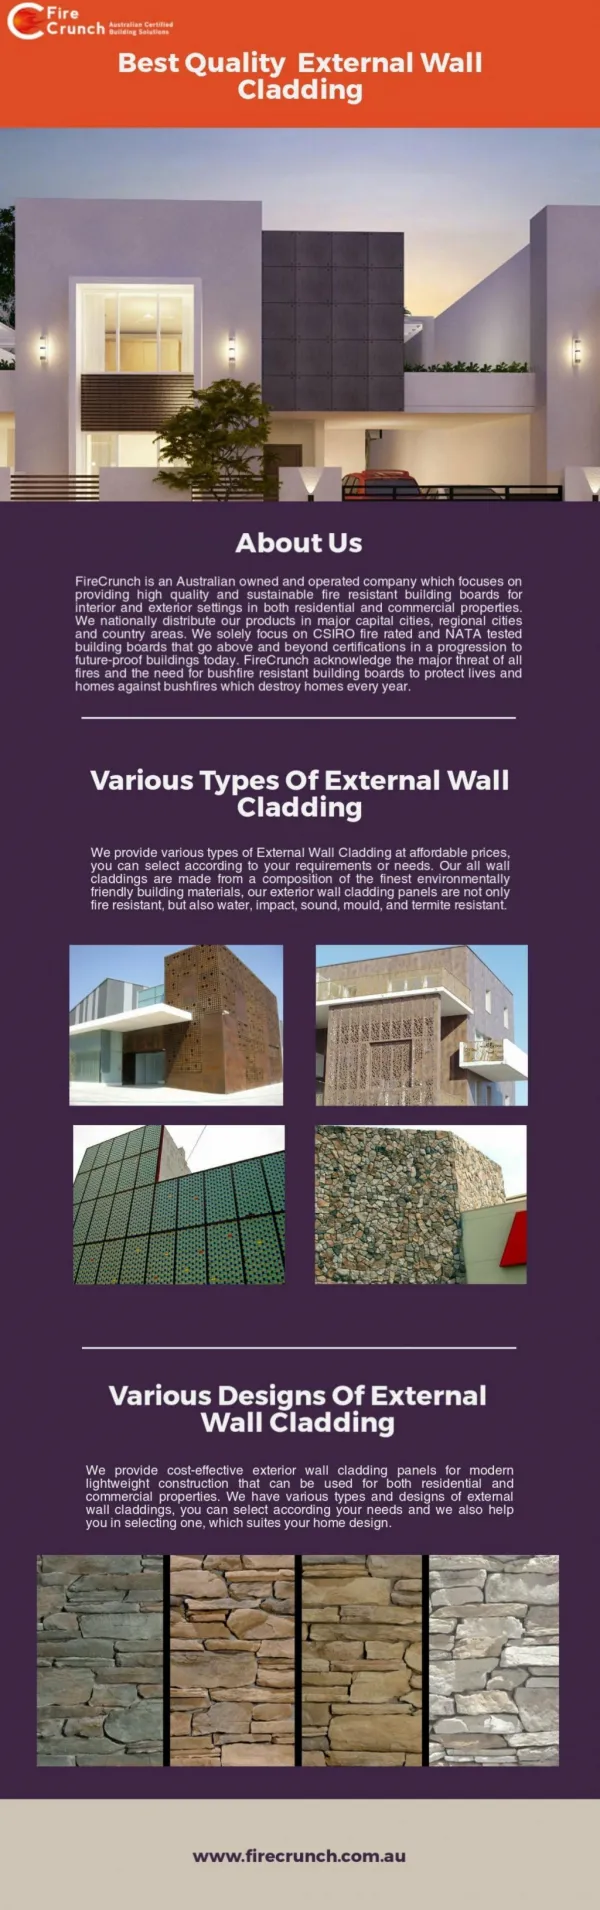
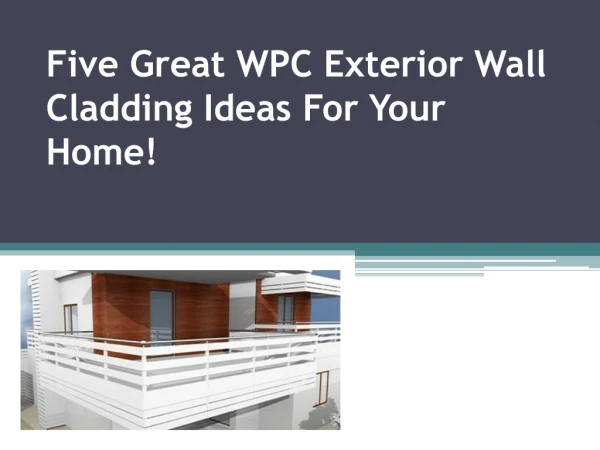
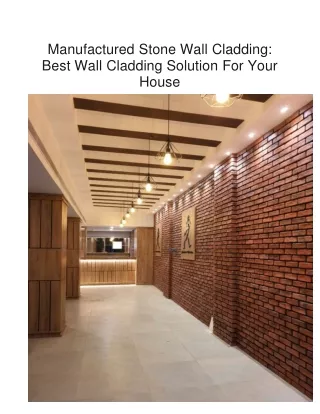
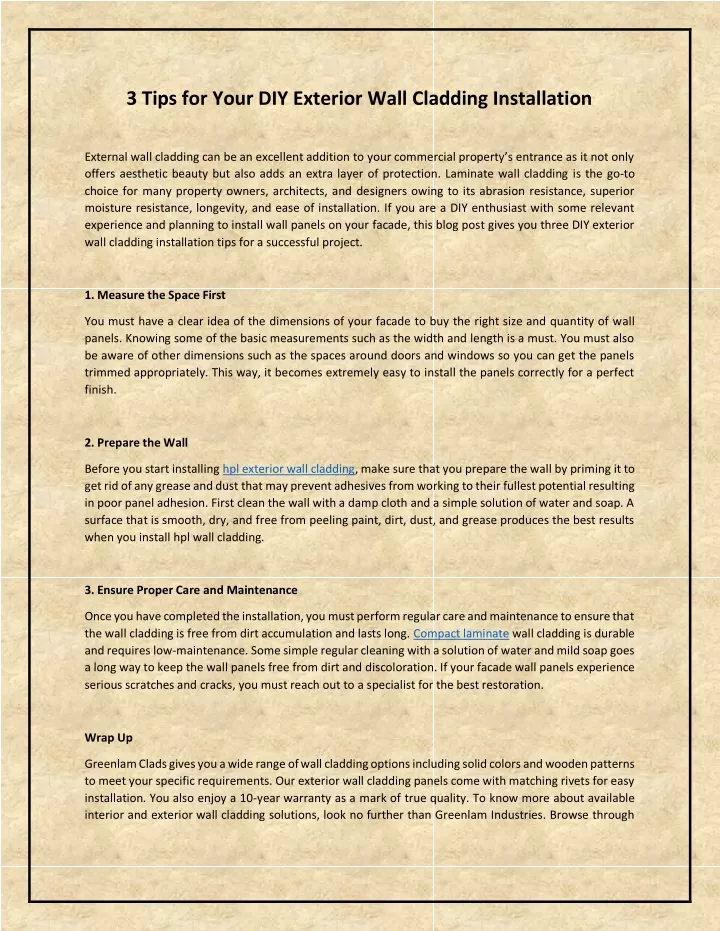
3 Tips for Your DIY Exterior Wall Cladding Installation External wall cladding can be an excellent addition to your commercial property’s entrance as it not only offers aesthetic beauty but also adds an extra layer of protection. Laminate wall cladding is the go-to choice for many property owners, architects, and designers owing to its abrasion resistance, superior moisture resistance, longevity, and ease of installation. If you are a DIY enthusiast with some relevant experience and planning to install wall panels on your facade, this blog post gives you three DIY exterior wall cladding installation tips for a successful project. 1. Measure the Space First You must have a clear idea of the dimensions of your facade to buy the right size and quantity of wall panels. Knowing some of the basic measurements such as the width and length is a must. You must also be aware of other dimensions such as the spaces around doors and windows so you can get the panels trimmed appropriately. This way, it becomes extremely easy to install the panels correctly for a perfect finish. 2. Prepare the Wall Before you start installing hpl exterior wall cladding, make sure that you prepare the wall by priming it to get rid of any grease and dust that may prevent adhesives from working to their fullest potential resulting in poor panel adhesion. First clean the wall with a damp cloth and a simple solution of water and soap. A surface that is smooth, dry, and free from peeling paint, dirt, dust, and grease produces the best results when you install hpl wall cladding. 3. Ensure Proper Care and Maintenance Once you have completed the installation, you must perform regular care and maintenance to ensure that the wall cladding is free from dirt accumulation and lasts long. Compact laminate wall cladding is durable and requires low-maintenance. Some simple regular cleaning with a solution of water and mild soap goes a long way to keep the wall panels free from dirt and discoloration. If your facade wall panels experience serious scratches and cracks, you must reach out to a specialist for the best restoration. Wrap Up Greenlam Clads gives you a wide range of wall cladding options including solid colors and wooden patterns to meet your specific requirements. Our exterior wall cladding panels come with matching rivets for easy installation. You also enjoy a 10-year warranty as a mark of true quality. To know more about available interior and exterior wall cladding solutions, look no further than Greenlam Industries. Browse through
available options, or speak to our team for assistance at +91 11 4279 1399 or +91 11-4950 1499. You can also email info@greenlamindustries.com or fill out our contact form.