Download
1 / 20
230 likes | 616 Views
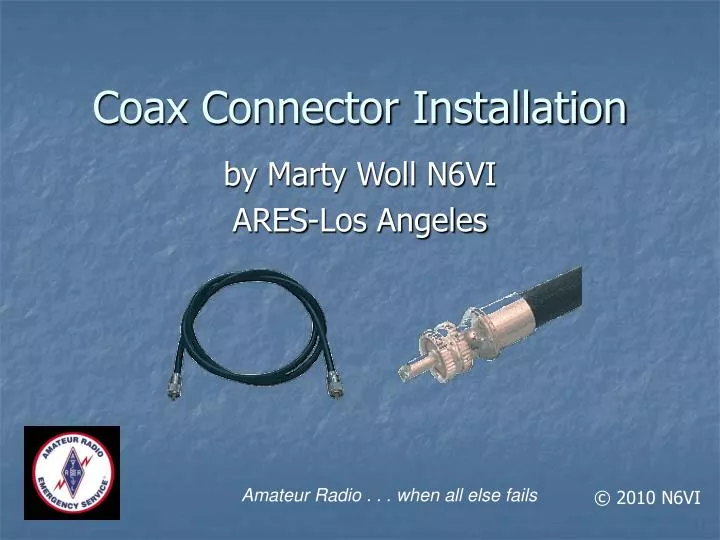
Coax Connector Installation. by Marty Woll N6VI ARES-Los Angeles. Amateur Radio . . . when all else fails. © 2010 N6VI. Common coax connector types. TNC. BNC. UHF. Type N. SMA. Amateur Radio . . . when all else fails. Coax connector type PL-259. ”UHF connector” is a misnomer

E N D
Coax Connector Installation by Marty Woll N6VI ARES-Los Angeles Amateur Radio . . . when all else fails © 2010 N6VI
Common coax connector types TNC BNC UHF Type N SMA Amateur Radio . . . when all else fails
Coax connector type PL-259 ”UHF connector” is a misnomer non-constant impedance raises SWR not inherently weatherproof lossy at VHF and UHF frequencies reasonably durable in the field ubiquitous on commercial ham gear right vs. wrong way to install on the cable Amateur Radio . . . when all else fails
Why install your own connectors? Less expensive than store-bought assemblies Get exactly the length you need Easier to route cable without connector Lets you make field repairs Help recognize improperly installed connector Satisfaction of knowing how to do it Amateur Radio . . . when all else fails
Pardon me, your braid is showing(a sure sign of trouble) Amateur Radio . . . when all else fails © 2010 N6VI
PL-259 has rear threads These threads make a good mechanical connection with the coax jacket Amateur Radio . . . when all else fails © 2010 N6VI
Installing a PL-259 the factory way (courtesy of ARRL) Amateur Radio . . . when all else fails
Round-jaw pliers To do it right, use the right tools Tubing cutter Silicone grease Heavy iron Amateur Radio . . . when all else fails © 2010 N6VI
Line it up and trim the jacket Amateur Radio . . . when all else fails © 2010 N6VI
Tin the braid before assembly Amateur Radio . . . when all else fails © 2010 N6VI
Trim braid with a tubing cutter Amateur Radio . . . when all else fails © 2010 N6VI
After trimming the braid Amateur Radio . . . when all else fails © 2010 N6VI
Thread the body onto the coax A light dab of silicone grease on last ½” of jacket makes threading easier Be sure the shell is on! Lightly clamped round-jaw pliers aid threading and won’t damage connector body. Seat firmly. Amateur Radio . . . when all else fails © 2010 N6VI
Heat braid and body, then add the solder. Do all 4 holes. Work quickly! Ready to solder! Solder tip first and let cool Perform a body-to-tip continuity check before and after soldering Amateur Radio . . . when all else fails © 2010 N6VI
Soldering completed Amateur Radio . . . when all else fails © 2010 N6VI
And for the solder-phobic,there are crimp connectors Body Ferrule Amateur Radio . . . when all else fails © 2010 N6VI
No “eyeballing” here; measure it! Amateur Radio . . . when all else fails © 2010 N6VI
Crimp tip and rear ferrule (which bonds braid to body) with the proper tool Be sure the ferrule is on before you crimp the tip Amateur Radio . . . when all else fails © 2010 N6VI
Here’s the finished product Amateur Radio . . . when all else fails © 2010 N6VI
Thank you! Marty Woll N6VI ARES-Los Angeles © 2010 N6VI Amateur Radio . . . when all else fails