Download
1 / 11
110 likes | 219 Views
Advanced Wood Final Table Cabinet. Bryce Johle. To begin construction, I used the radial arm saw to cut the stiles to build the face of our cabinet, which I assembled using biscuits . I also attached the sides to the bottom piece. I then glued and nailed the face to the sides and bottom.

E N D
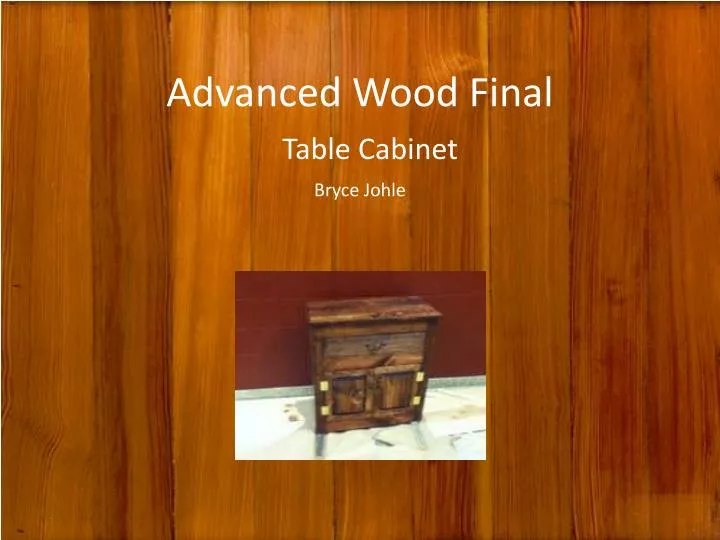
Advanced Wood FinalTable Cabinet Bryce Johle
To begin construction, I used the radial arm saw to cut the stiles to build the face of our cabinet, which I assembled using biscuits . I also attached the sides to the bottom piece. I then glued and nailed the face to the sides and bottom.
Next, I used the table router to make an edge for the back to be inset. Then I cut the plywood to fit in between the sides to make the back of the cabinet.
I cut shelves to be placed on the inside, and braces for the shelves to rest on for reinforcement. I made sure the braces were both even and level and glued and nailed them to the sides, then glued and nailed the shelves to the braces.
Next I made raised-panel doors. To make these, I cut a piece for the center of the door and used the table router to bevel the sides of it. Then I cut four pieces for each of the doors to be placed around the edge of the center piece to finish them. The edges were attached using a drill and dowel rods.
To attach the doors to the face of the cabinet, I drilled holes into the door and the side stiles of the cabinet to match the hinge holes, and screwed in the screws.
To make the drawer, I simply cut four sides and a bottom, and glued and nailed them together. I had to put guides on the inside of the drawer shelf so that the drawer wouldn’t get caught or stuck while drawing it out.
Next I attached handles to the doors and drawer. To do so I drilled holes for the screws, and screwed them into the other side of the handles.
Next I made the table top of the cabinet. To make it wide enough, I cut three even pieces of wood and attached them with glue and biscuits. I wanted to cover up the end grain on the sides, so I used the compound miter saw to make a neatly connected trim around the edge of the top.
Before screwing the top on with screws for strength, I cut and attached braces around the inside edge to be sure the top would be stuck strong to the rest of the cabinet.
The last few things I did to complete my project was choose a stain that I liked and matched the hardware, apply polyurethane finish, and wax it to make a smooth surface all over.