Download
1 / 12
0 likes | 22 Views
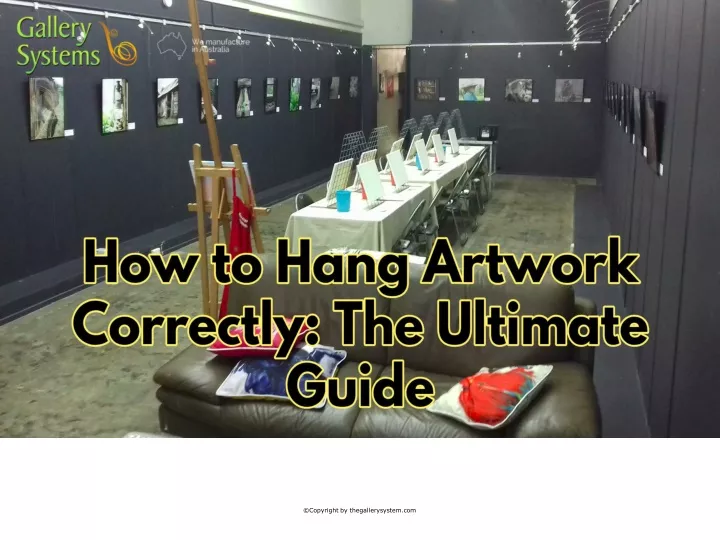
In this article, we'll guide you step-by-step on how to hang artwork correctly using picture hanging systems, so whether you're an art enthusiast, a homeowner, or an interior designer, here's the knowledge and techniques you need to know about in order to create stunning wall displays.

E N D
Hanging artwork can fraught with challenges, especially if you're hoping to achieve a professional and visually appealing display. Fortunately, with the help of photo hanging systems, hanging art has become easier and more flexible. In this article, we'll guide you step-by-step on how to hang artwork correctly using picture hanging systems, so whether you're an art enthusiast, a homeowner, or an interior designer, here's the knowledge and techniques you need to know about in order to create stunning wall displays. ©Copyright by thegallerysystem.com
Now close your eyes and imagine..... your artworks presented in their best light, making your space come alive with their vibrant stories! If that thought puts a smile on your face and you're ready to get started, let's get on with learning about using picture hanging systems to hang your artwork correctly. ©Copyright by thegallerysystem.com
Picture Hanging Systems: A Brief Overview Before diving into the nitty gritty of hanging your artwork, let's take a moment to understand picture hanging systems and how they work. These innovative systems consist of rails or tracks that are discreetly attached to the walls and from which your art pieces are hung. They offer flexibility and durability, allowing you to easily hang, reposition, and replace artwork without damaging your walls ©Copyright by thegallerysystem.com
Step 1: Prepare Your Artwork and Tools The first step in hanging artwork correctly is to gather all the necessary tools and materials for the job. On hand, you will need a measuring tape, a pencil, a level, picture hooks or wires, and, of course, your artwork. Ensure your artwork is securely framed or mounted and ready to be displayed. ©Copyright by thegallerysystem.com
Step 2: Determine the Placement Next, you need to determine the appropriate placement for your pieces. Consider the size of the wall, the height of the room, and the surrounding furniture or decor. Generally, as a rule of thumb, artwork should be hung at eye level, around 150 - 152 cm from the floor. However, if you have high ceilings or a large amount of wall space, you can experiment with different heights for a more dramatic effect. ©Copyright by thegallerysystem.com
Step 3: Measure and Mark Using a measuring tape, measure the dimensions of your artwork, and then mark the preferred placement of the piece on the wall using a pencil. Make sure your markings are level and align with the overall aesthetic of the room. Picture hanging systems often have guidelines or markers on the rail, making this process even more convenient. ©Copyright by thegallerysystem.com
Step 4: Install the Picture Hanging System Now, it's time to install the picture hanging system. Follow the manufacturer's instructions to securely mount the rail or track. As these systems are designed to be lightweight and easy to install, you're ensuring there will be minima damage to your walls. Once installed, you'll then have the freedom to hang and rearrange artwork at your whim and convenience. ©Copyright by thegallerysystem.com
Step 5: Hang Your Artwork With the picture hanging system in place, it's time to hang your artwork. Depending on the system you choose, you can use hooks, wires, or a combination of both. Follow the specific guidelines provided by the system manufacturer for best results. Remember to use a level to ensure your artwork is perfectly straight. Additionally, consider using multiple systems to create a gallery wall or to display a number of your art pieces precisely and in a way that looks great! ©Copyright by thegallerysystem.com
Step 6: Adjust and Finetune Once your artwork is hanging, step back and assess the overall look and feel. Use your artistic eye to determine if any adjustments need to be made. Now, this is where the flexibility of picture hanging systems truly shines, because you can easily reposition or replace pieces without leaving unsightly holes or marks on your walls. ©Copyright by thegallerysystem.com
Conclusion Hanging artwork correctly is an art form in itself. By using picture-hanging systems, you can achieve professional results with ease. Remember to prepare your artwork and gather your tools, determine the ideal placement, measure and mark accurately, and install the hanging system, all of which will allow you to hang your artwork with precision. ©Copyright by thegallerysystem.com
Incorporating elegant and functional picture hanging systems fromwww.thegallerysystem.com is guaranteed to make a huge difference to your interior design. Say goodbye to traditional methods of hanging artwork and embrace the efficiency and versatility that these systems provide. Happy hanging! CONTACT INFORMATION ADDRESS: Unit 3, 6 Technology Drive, Warana, Queensland, 4575, Australia PHONE: +61 7 5493 8400 info@thegallerysystem.com https://thegallerysystem.com ©Copyright by thegallerysystem.com