Download
1 / 2
0 likes | 11 Views
Here are the basic guidelines that anyone can follow to get started with the inverted flare fittings.

E N D
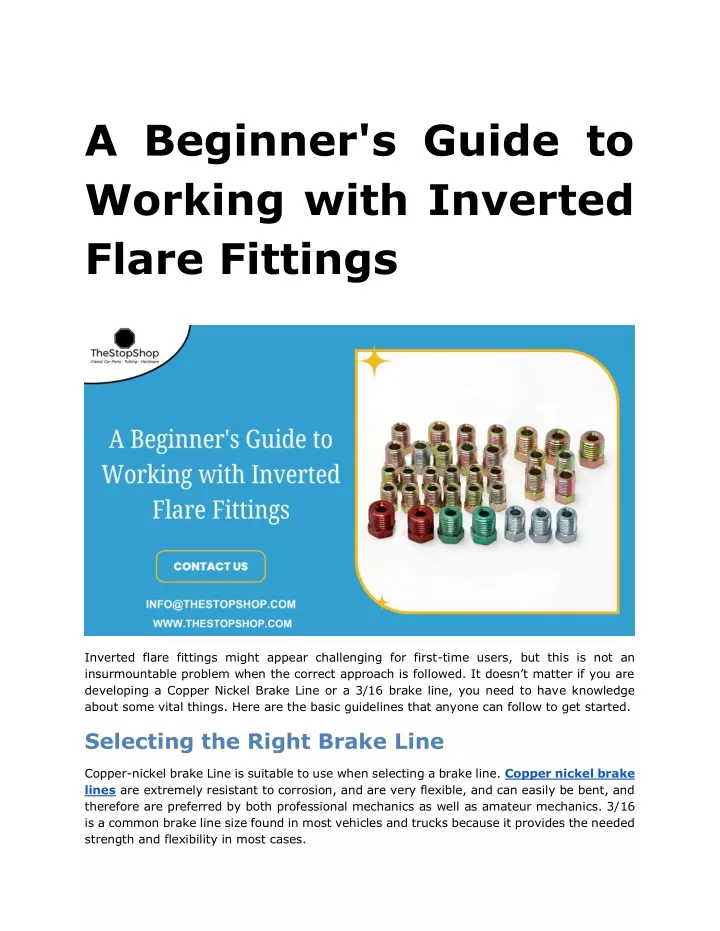
A Beginner's Guide to Working with Inverted Flare Fittings Inverted flare fittings might appear challenging for first-time users, but this is not an insurmountable problem when the correct approach is followed. It doesn’t matter if you are developing a Copper Nickel Brake Line or a 3/16 brake line, you need to have knowledge about some vital things. Here are the basic guidelines that anyone can follow to get started. Selecting the Right Brake Line Copper-nickel brake Line is suitable to use when selecting a brake line. Copper nickel brake lines are extremely resistant to corrosion, and are very flexible, and can easily be bent, and therefore are preferred by both professional mechanics as well as amateur mechanics. 3/16 is a common brake line size found in most vehicles and trucks because it provides the needed strength and flexibility in most cases.
Preparing the Brake Line Begin by making a proper measurement of the brake line and then cut it. When cutting across the tubing’s width, use the greatest care to make a straight, clean cut. Remember to deburr the interior and exterior of the brake line cutting to get rid of sharp edges or digs that may compromise the seal. Flaring the Brake Line The next process is the flaring of the end of the brake line. This process involves making a conical funnel at the end of the tube. Insert the brake line into a flaring tool and make sure that it has been properly positioned. Twist the tool to make a double flare which is very crucial in joining the tool with the inverted flare fittings. Assembling the Fittings Before flaring, slide the inverted flare nut onto the brake line. After flaring, the brake line has to be inserted into the inverted flare fitting. Using a wrench, you should then turn the nut until it is rather tight but not too tight because this may harm the fitting. Testing the Connection Last but not least, one must ensure that there are no leaks in the connection. Add some brake fluid and pump the brake to determine whether there is any fluid leakage. If there are any leaks, then try to tighten the fittings more or re-flare the line if that is required. Conclusion Working with inverted flare fittings can seem intimidating at first, but by following these steps, you can achieve a reliable and secure connection. Whether you're using a Copper Nickel Brake Line or a 3/16 brake line, the key is to take your time and ensure each step is done correctly. With practice, you'll gain confidence and expertise in handling brake lines and fittings.


![Download Book [PDF] Handwriting Analysis � A Beginner�s Guide](https://cdn7.slideserve.com/12651894/slide1-dt.jpg)