Download
1 / 13
130 likes | 152 Views
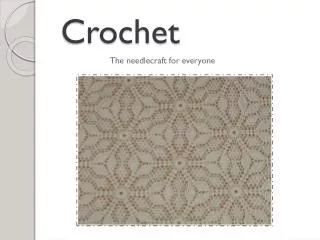
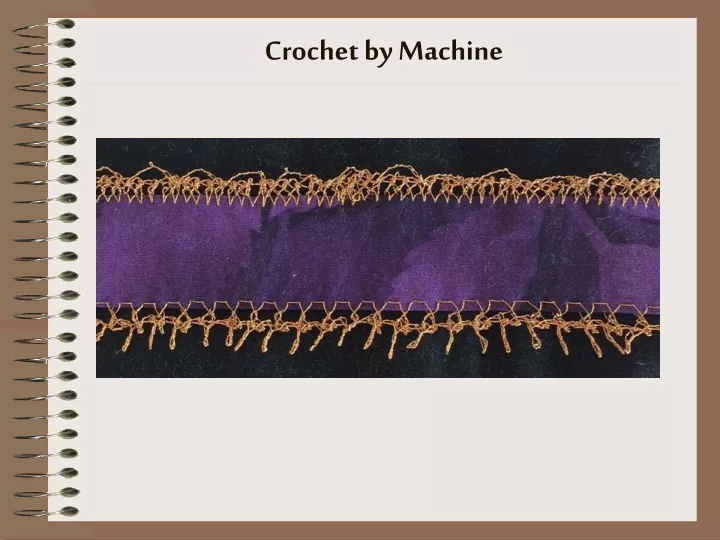
Learn machine setup tips for crochet using metallic threads on Baby Lock or Bernina machines. Stitching instructions and step-by-step guide for a unique crocheted fabric finish. Rinse stabilizer away for a beautiful result.

E N D
Machine Setup • Size 90/14 universal point, embroidery (preferred), topstitch or jeans needle • Metallic (preferred) or regular thread in top • Metallic thread in bobbin (wind slowly) • Presser foot for Baby Lock:- "N" foot (preferred) -or- Open Toe • Presser foot for Bernina in order of preference:- #39D / #39C / #39 (Clear Embroidery)- #6 (Embroidery)- #20D / #20C / #20 (Open Toe)- #34D / #34C / #34 (Clear Zig Zag)- #1D / #1C / #1 (Regular Zig Zag)
Fold purple fabric longways so that centers meet and press • Pick sergerstitch shown • Increase width to as wide as possible and increase length if desired • Decrease tension
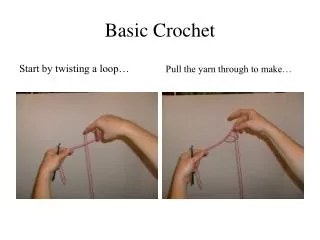
Place water soluble stabilizer under the edge • Sew slowly, catching edge of fabric with stitch
Choose Triple Straight Stitch • Sew, catching edge of previous stitch
Choose serger stitch again and sew on water soluble stabilizer, catching edge of previous stitch
Choose serger stitch again and sew, catching edge of previous stitch • Don’t wash yet, but this is what it will look like:
Choose Honeycomb stitch • Change width to as wide as possible • Lower tension • Change balance so that stitches overlap
Sew, catching edge of fabric • Use Triple Straight Stitch to sew, catching edge of previous stitches • Use a running Serpentine stitch to sew, catching edge of previous stitches
Rinse away the water soluble stabilizer, using warm to hot water