Download
1 / 8
80 likes | 89 Views
There can be several reasons for taking a quick screenshot with your phone or computer. It can be for anything for saving a cool post, chat, or document.

E N D
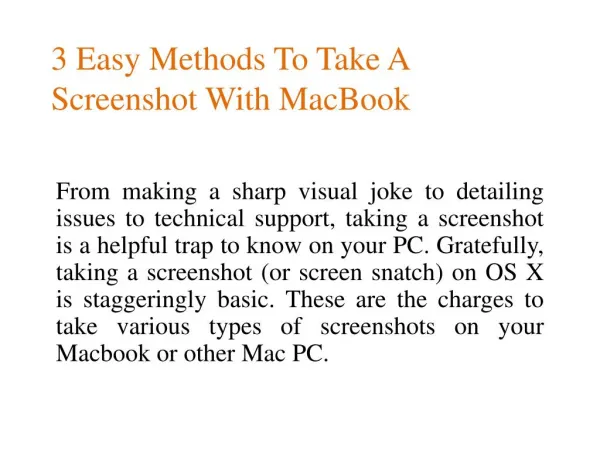
There can be several reasons for taking a quick screenshot with your phone or computer. It can be for anything for saving a cool post, chat, or document. • Taking a screenshot on a MacBook or other Mac computer is easy but somewhat tricky as there are many commands to take different types of screenshots. • So, if you want to grab different ideas for how to take screenshot on mac then this post will be loved by you all as in this post, we will be discussing – How to take screenshot on mac effortlessly in different ways and they are as follows –
Taking a screenshot of the whole complete screen. • Taking a screenshot of some specifically selected content. • Taking a screenshot of a window. • Saving a screenshot to the clipboard. • METHOD 1 – Taking a screenshot of the whole complete screen • - For taking a screenshot of the whole complete screen means everything that can be seen on the screen, then you just need to press three-button together, and i.e. command + shift + 3. It is the most common method of taking a screenshot. The image of the screenshot is saved on the desktop you can fetch it from there.
METHOD 2 – Taking a screenshot of some specifically selected content • - In this method also you need to press three buttons the same as method 1but here the buttons are different. In this, you have to hold down the keys i.e. command + shift + 4. Just after pressing the keys, you will see a cropping cursor then with the help of your mouse or trackpad, drag the cursor to select any area of your screen that you wish to screenshot. Your image will be saved on your desktop. • METHOD 3 – Taking a screenshot of a window • - For taking a screenshot of a window you need to press buttons. This time you have to press four buttons altogether i.e. command + shift + 4 + space. As soon as you do this your cursor will turn into a camera icon and whatever window you are operating over will turn blue.Thus, selectthe window you want to screenshot and your file will be saved on your desktop.
METHOD 4 – Taking a screenshot to the clipboard • - For this just press the Ctrl key and execute any of the above commands. If you do this process then your screenshot will be saved to the clipboard instead of as a file on the desktop. You can paste the screenshot anywhere you want just by pressing the command + v keys or selecting the paste options. • Now I think you can say that taking a screenshot on the mac is as easy as ABC right? Well, I hope it should be yes but still if you want to read more about how to take screenshot on mac then you can visit how to take screenshot on mac.