Download
1 / 8
80 likes | 181 Views
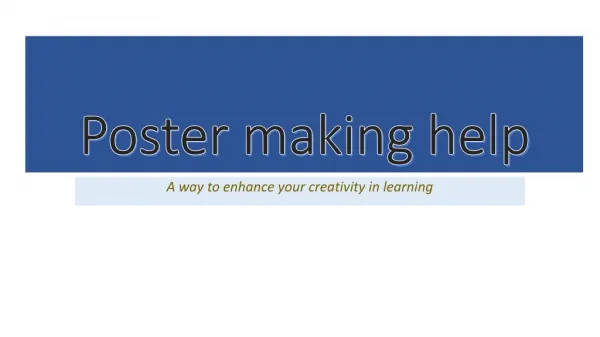
Making your own Length at First Maturity Poster. A Step-by-step Guide. Making your own Length at First Maturity Poster. Step 1- Download the Poster template. Step 2 – Add the title and a short message. Step 3 – Layout the fish pictures. Step 4 – Add the Names and Lengths.

E N D
Making your own Length at First Maturity Poster A Step-by-step Guide
Making your own Length at First Maturity Poster • Step 1- Download the Poster template. • Step 2 – Add the title and a short message. • Step 3 – Layout the fish pictures. • Step 4 – Add the Names and Lengths. • Step 5 – Add the logo of sponsors and partners. • Step 6 – Add Acknowledgement
Step 1- Download the Poster template • The template is an editable Photoshop file. You can change its color and add content to your liking. • You can download the template from [url]
Step 2 – Add the title and a short message. • You can add a short message in the local language.
Step 3 – Layout the fish pictures • Resize the fish pictures to actual length at first maturity. • You can use the ruler and the lines as guides. • Layout the fish pictures, leaving space for the names and lengths. • Leave space for sponsor logos. • A map of the area covered may also be added.
Step 4 – Add the Names and Lengths • Add the names of the species and their lengths at first maturity. • Put the local names before the scientific names.
Step 5 – Add the logo of sponsors and partners • Add the logos of your sponsor or partner institutions.
Step 6 - Acknowledgement • Acknowledgement for pictures, data and funds can be added along the margins of the poster.