Download
1 / 76
770 likes | 1.02k Views
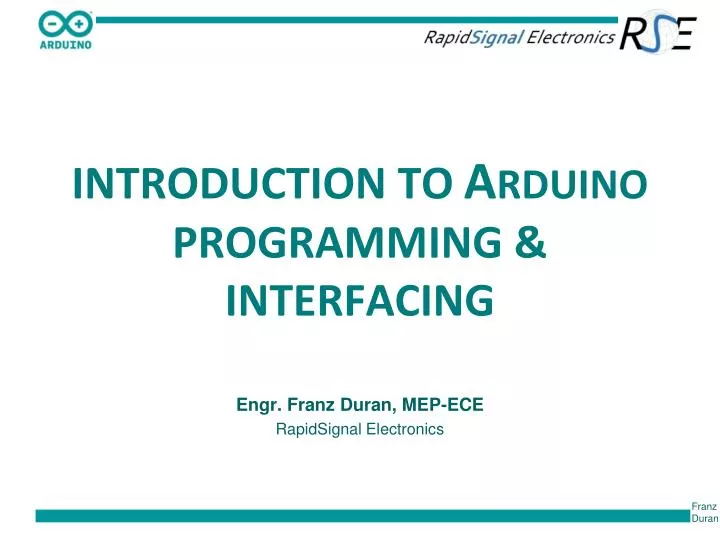
INTRODUCTION TO A RDUINO PROGRAMMING & INTERFACING. Engr. Franz Duran, MEP-ECE RapidSignal Electronics. OVERVIEW. OVERVIEW. DAY 1 ( Morning ) Introduction to Microcontroller Technology Introduction to Arduino m icrocontroller board

E N D
INTRODUCTION TOARDUINO PROGRAMMING & INTERFACING Engr. Franz Duran, MEP-ECE RapidSignal Electronics
OVERVIEW Microcontrollers & Robotics
OVERVIEW • DAY 1 (Morning) • Introduction to Microcontroller Technology • Introduction to Arduinomicrocontroller board • Introduction to RapiDuino Microcontroller Learning Module • Basic Arduino Programming and Interfacing • Interfacing with LEDs, switches, & LCD Microcontrollers & Robotics
OVERVIEW • DAY 1(Afternoon) • Interfacing with 4x4 keypad • Interfacing with Analog Sensors • Interfacing with Serial Communication Microcontrollers & Robotics
OVERVIEW • DAY 2 (Morning) • Introduction to P-BOT mobile robot trainer • Maze mobot programming • Line follower mobot programming Microcontrollers & Robotics
OVERVIEW • DAY 2 (Afternoon) • Line follower mobot race • Android-controlled mobot • DIY line follower mobot Microcontrollers & Robotics
MICROCONTROLLER BASICS Microcontrollers & Robotics
What is a microcontroller? • MCU • A single-chip computer • Invented in the 1970’s • Used as “embedded” controller Microcontrollers & Robotics
Where are MCUs used? • used as dedicated controllers in: • Home and office appliances • Consumer & Personal electronics • Medical equipment • Industrial equipment • Automotive electronics • Naval/Avionics/Aerospace Microcontrollers & Robotics
Why use a microcontroller? • Low-cost • Flexible • Small outline • Low-power Microcontrollers & Robotics
Why use a microcontroller? • Low-cost • Typical price range: P50 to P1000 • Flexible • Small outline • Low-power Microcontrollers & Robotics
Why use a microcontroller? • Cheap • Flexible • Re-programmable • High-integration devices • Small outline • Low-power Microcontrollers & Robotics
Why use a microcontroller? • Cheap • Flexible • Small outline • small physical size = low PCB footprint • tiny packages: DIP, SOP • Low-power Microcontrollers & Robotics
Why use a microcontroller? • Cheap • Flexible • Small outline • Low-power • Battery-operated application • Use SLEEP/low-power operation Microcontrollers & Robotics
ARDUINO MICROCONTROLLER Microcontrollers & Robotics
What is an Arduino? • A microcontroller board + programming IDE Microcontrollers & Robotics
What is an Arduino? • A complete MCU board • ATMEGA microcontroller • USB circuit • Power supplycircuit • Reset button • Female header connectors Microcontrollers & Robotics
What is an Arduino? • Easy-to-use Arduino Development environment • Program is called Sketch Microcontrollers & Robotics
Arduino ECOSYSTEM • Arduino Board • Simple, open-hardware design • Arduino Programming IDE • C/C++-based, open-source • Built-in functions • Arduino Community • Design Arduino-compatible circuits (Shields) • Software and hardware collaboration Microcontrollers & Robotics
Rapiduinosword3 Microcontrollers & Robotics
RapiDuino Sword3 ARDUINO BOARD Microcontrollers & Robotics
RapiDuino Sword3 gizDuino Arduino Uno Microcontrollers & Robotics
RapiDuino Sword3 2x16 Character LCD Microcontrollers & Robotics
RapiDuino Sword3 Button Switches Microcontrollers & Robotics
RapiDuino Sword3 4x4 Keypad Microcontrollers & Robotics
RapiDuino Sword3 4x4 Keypad Microcontrollers & Robotics
RapiDuino Sword3 7-segment displays Microcontrollers & Robotics
RapiDuino Sword3 Light-emitting diodes Microcontrollers & Robotics
RapiDuino Sword3 Real-time clock w/ back-up battery Microcontrollers & Robotics
RapiDuino Sword3 Serial EEPROM Microcontrollers & Robotics
RapiDuino Sword3 buzzer Microcontrollers & Robotics
RapiDuino Sword3 Serial Communication Circuit Microcontrollers & Robotics
RapiDuino Sword3 Bluetooth Transceiver Module Microcontrollers & Robotics
RapiDuino Sword3 Analog voltage sources Microcontrollers & Robotics
RapiDuino Sword3 Temperature sensor Microcontrollers & Robotics
RapiDuino Sword3 light-dependent resistor Microcontrollers & Robotics
RapiDuino Sword3 Power Supply Circuit Microcontrollers & Robotics
BASIC ARDUINO PROGRAMMING & Interfacing Microcontrollers & Robotics
LED Interfacing • Build an LED circuit • Interface the LED circuit to the Arduino • Create an Arduino program that will turn on the LED Microcontrollers & Robotics
What is an LED? • Light-emitting diode • An electronic device that emit visible light when activated. • Typically used as electrical status indicators Microcontrollers & Robotics
LED Interfacing Circuit schematic Microcontrollers & Robotics
LED Circuit Circuit on breadboard Microcontrollers & Robotics
LED Circuit on Rapiduino • Connect LED1 to Arduino Pin 7 Microcontrollers & Robotics
Arduino Environment • Open the Arduino programming environment Microcontrollers & Robotics
Writing the Sketch Example #1 void setup() { } void loop() { } Microcontrollers & Robotics
Writing the Sketch Example #1 void setup() { pinMode(7, OUTPUT); //Pin 7 is output pin. digitalWrite(7, HIGH); //LED is on. } void loop() { } Microcontrollers & Robotics
Writing the Sketch Example #1 void setup() { pinMode(7, OUTPUT); //Pin 7 is output pin. digitalWrite(7, HIGH); //LED is on. pinMode(5, OUTPUT); digitalWrite(5, HIGH); } void loop() { } Microcontrollers & Robotics
Writing the Sketch • Click the Verify button Verify button Microcontrollers & Robotics
Steps for Uploading the Program • Connect the USB cable Note: Make sure USB-to-serial driver is installed first Microcontrollers & Robotics
Steps for Uploading the Program • Power up the Rapiduino board Microcontrollers & Robotics