Download
1 / 20
200 likes | 351 Views
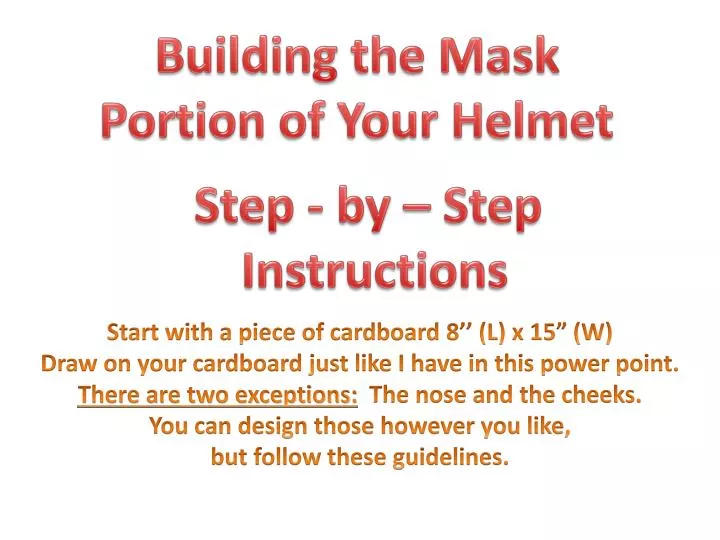
Building the Mask Portion of Your Helmet. Step - by – Step Instructions. Start with a piece of cardboard 8’’ (L) x 15” (W) Draw on your cardboard just like I have in this power point. There are two exceptions: The nose and the cheeks. You can design those however you like,

E N D
Building the Mask Portion of Your Helmet Step - by – Step Instructions Start with a piece of cardboard 8’’ (L) x 15” (W) Draw on your cardboard just like I have in this power point. There are two exceptions: The nose and the cheeks. You can design those however you like, but follow these guidelines.
15” Top edge of your Cardboard Before you start! Set up you cardboard like I have here. 8”
15” (total from left to right) 5” (this is not to scale) 5” (this is not to scale) 1” 5” 2” 1” Then measure 5” toward the center - from the left and the right side. Measure 1” down from the top of the cardboard. Now draw the 1” x 5” box like I have.
15” (total from left to right) 5” (this is not to scale) 5” (this is not to scale) 5” 1” 3” this measurement may vary for each student. Start with 3“ you can always trim it later . 2” Continue to draw on your cardboard like I do throughout the power point.
15” (total from left to right) 5” (this is not to scale) 5” (this is not to scale) 5” 1” 3” this measurement may vary for each student. Start with 3“ you can always trim it later . 2”
15” (total from left to right) 5” (this is not to scale) 5” (this is not to scale) 5” 1” 3” this measurement may vary for each student. Start with 3“ you can always trim it later . 6” 2”
15” (total from left to right) 5” (this is not to scale) 1” 5” (this is not to scale) 5” 1” The tip of your nose can be shaped however you like. 3” this measurement may vary for each student. Start with 3“ you can always trim it later . 6” 2”
15” (total from left to right) 5” (this is not to scale) 1” 5” (this is not to scale) 5” 1” The tip of your nose can be shaped however you like. 3” this measurement may vary for each student. Start with 3“ you can always trim it later . 6” This area is not to scale. Your personal design will determine how this looks. 2”
15” (total from left to right) 5” (this is not to scale) 1” 5” (this is not to scale) 5” 1” The tip of your nose can be shaped however you like. 3” this measurement may vary for each student. Start with 3“ you can always trim it later . 6” This area is not to scale. Your personal design will determine how this looks. 2”
15” (total from left to right) 5” (this is not to scale) 1” 5” (this is not to scale) 5” 1” The tip of your nose can be shaped however you like. 3” this measurement may vary for each student. Start with 3“ you can always trim it later . 6” This area is not to scale. Your personal design will determine how this looks. 2”
15” (total from left to right) 5” (this is not to scale) 1” 5” (this is not to scale) 5” 1” The tip of your nose can be shaped however you like. 3” this measurement may vary for each student. Start with 3“ you can always trim it later . 6” This area is not to scale. Your personal design will determine how this looks. Your cardboard should now look something like this before you start cutting.
The tip of your nose can be shaped however you like. This area is not to scale. Your personal design will determine how this looks. Without measurements your cardboard should now look something like this BEFORE you start cutting
The tip of your nose can be shaped however you like. This area is not to scale. Your personal design will determine how this looks. These are the lines you want to cut on to produce the mask
Diagram of the Helmet You can see how each piece will fit together. There are also pictures of two helmets.
Old Ball Cap w/ no bill Top Piece Head band Piece Brads Connecting Pieces Back Piece Support Piece Mask Piece