Download

1 / 17
210 likes | 477 Views
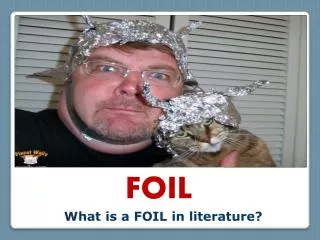
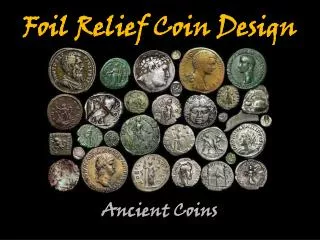
Foil Relief Sculpture. Symbol. A symbol is something such as an object , picture , written word, sound, or particular mark that represents something else by association, resemblance, or convention. For example, a red octagon may stand for "STOP". -definition from Wikipedia.

E N D
Symbol • A symbol is something such as an object, picture, written word, sound, or particular mark that represents something else by association, resemblance, or convention. For example, a red octagon may stand for "STOP".-definition from Wikipedia
Characteristics of Symbols & Logos • Represent or ‘stand for’ something • Use of colour & shape • Usually large, simple shapes (limited detail) • Clear; quick and easy to understand
Middle Ages Heraldry Knights Shields • Symbols were used to decorate shields with a knight's coat of arms (heraldic design) • Symbols were also used to decorate the clothing, or surcoat, worn over the knight's armor for recognition purposes • Quick recognition of knights was necessary on the battlefield, so shapes, colors, designs and symbols on their shields and surcoats were important for identification.
Medieval Heraldry & ShieldsUse of symbols, shapes and colours Images
OR… Use modern symbols that tell about you • Hobbies, interests, favourites… • Animals, places, arts, sports, subjects, activities… Think of clear, simple shapes that will represent your ideas.
Start with Ideas… • Think of a topic, themes or symbols that tell about you OR that were popular in Medieval Times • Sketch your ideas/plan using LINES and BASIC SHAPES • Use the SPACE well; your design should be clear and easy to interpret TIPS… • Avoid small details (needs to be clear for quick understanding) • Leave some empty ‘space’ in your design
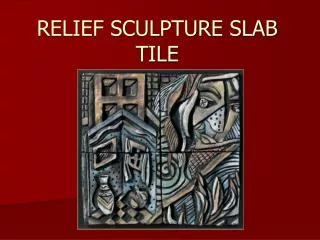
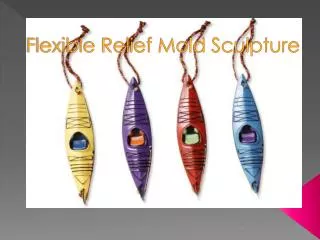
Relief Sculpture: Foil… • Squeeze or drizzle white glue around the surface of your shield • Gently spread the glue with your finger to cover the entire surface • Quickly wipe your fingers • Lay a sheet of aluminum foil on top of the glued surface (SHINY or MATTE side up – you choose!) • STARTING NEAR THE MIDDLE ON A RAISED PART, GENTLYrub the foil to press and attach it securely around your relief design (With care… avoid rips) • Extra foil gets ‘wrapped’ around to the back of the shield
Inking Process… At the Inking Station… • Lightly dip your brush in the ink • Apply a light, even layer (WASH) of ink over the surface of your shield • Take your shield back to your work space to dry for just a few moments
Polishing… At your work space… • With a square of felt, use a LIGHT, CIRCULAR motion to polish your shield relief sculpture • The foil should start to show through as the ink is lifted from the raised parts of the design • Sign your name on the back with Sharpie • Please return felt and Sharpies to bins • Complete an ART LABEL for your shield.
Clean-Up • Shields to display area with LABEL • All supplies returned/away • Wash hands • Free drawing/sketching time