Download
1 / 14
140 likes | 296 Views
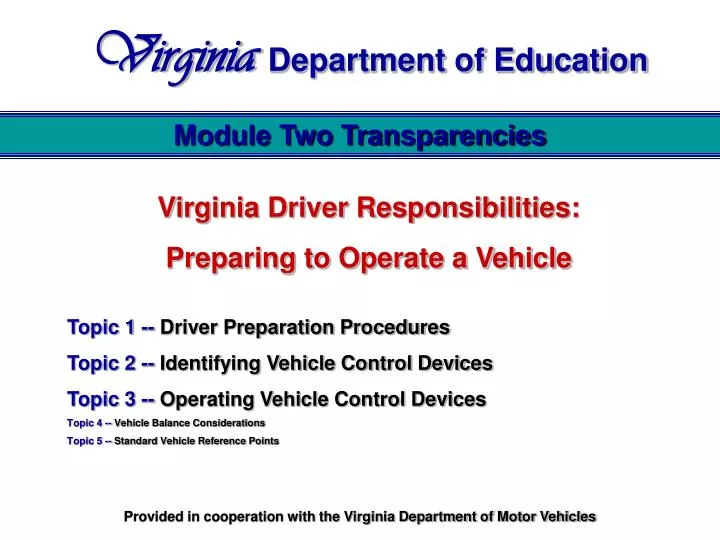
Virginia Department of Education. Module Two Transparencies. Virginia Driver Responsibilities: Preparing to Operate a Vehicle Topic 1 -- Driver Preparation Procedures Topic 2 -- Identifying Vehicle Control Devices Topic 3 -- Operating Vehicle Control Devices

E N D
VirginiaDepartment of Education Module Two Transparencies Virginia Driver Responsibilities: Preparing to Operate a Vehicle Topic 1 --Driver Preparation Procedures Topic 2 --Identifying Vehicle Control Devices Topic 3 --Operating Vehicle Control Devices Topic 4 --Vehicle Balance Considerations Topic 5 --Standard Vehicle Reference Points Provided in cooperation with the Virginia Department of Motor Vehicles
Pre-DriveTasks Topic 1 Lesson 1 Check around the outsideof the vehicle for broken glass (windows, lights,etc.), body damage, condition of tires, fluid leaks, direction of front tires, or debris on the ground that could interfere with movement. Check forsmall children or pets near vehicle. T – 2.1
Pre-DriveTasks Topic 1 Lesson 1 Store personal items in trunk of vehicle • Sliding books or book bags on seats when slowing or stopping will distract the driver. • Food or beverages also distract the driver from the driving task. • Valuables visible in the car may attract a thief. When parked at the curb • Approach vehicle from the front to monitor oncoming traffic. • Approach driver’s door with key in hand. When parked in parking lot • Approach vehicle from the rear to observe people or objects near the car. • Approach driver’s door with key in hand. T – 2.2
Pre-DriveTasks Topic 1 Lesson 1 • Unlock Doors • Check traffic flow • Enter the vehicle T – 2.3
Under the Hood Checks Topic 1 Lesson 2 4 11 7 1. Engine Coolant Reservoir 2. Windshield Washer Fluid Reservoir 3. Engine Oil Filler Cap 4. Transmission Fluid Dipstick (Automatic Transmission) 5. Engine Oil Dipstick 6. Brake Fluid Reservoir 7. Clutch Fluid Reservoir (Manual Transmission) 8. Battery 9. Power Steering Fluid Reservoir 10. Drive Belts 11. Air Filter Assembly 8 6 10 9 1 2 5 3 T – 2.4
Tires Tire pressure Check recommendation in owner’s manual Tread wear, damage, or bars showing Cuffing (uneven wear on inside or outside tread areas) Bald spots Cuts, stones, metal fragments, or other damage Vehicle Safety, Communication Devices & Accessories Headlights, tail lights, and turn signals Emergency lights and markers Emergency kit Windshield wiper blades, operation, and washer fluid HVAC Safety warning lamps (brake, ABS, air bag, safety belts) Weekly Self-Checks Topic 1 Lesson 2 T – 2.4a
Under the Hood Checks Topic 1 Lesson 2 • Self-Check • Check every 1-2 Months • All interior and exterior lights • Engine oil level, brake fluid level, and engine coolant level • Lap/shoulder belts and seat latches for wear and smooth function • Check Twice Per Year • Air pressure in spare tire • Power steering fluid level • Parking brake for proper operation • Hinges, latches, door weather strips, and outside locks (check and lubricate) • Body and door drain holes (check and clean) • Cooling system coolant strength • Battery connections (clean if necessary) • Transmission fluid level • Professional Service • Every 3,000 - 5,000 Miles • Oil change/filter replacement • Tire rotation/balance • Every 15,000 Miles • Automatic transmission fluid level • Brake pads/shoes/rotors/drums, brake lines, hoses, and parking brake system • Engine cooling system • Steering linkage, suspension and, if equipped, drive shaft and ball joints • Cabin air filter replacement, if equipped • Every 30,000 Miles • Exhaust system and heat shield • Engine air filter and fuel filter replacement • Accessory drive belts • Automatic transmission/transaxle service, if equipped T – 2.4b
Driver ReadinessTasks Topic 1 Lesson 3 Security • Check passengers for safe entry • Lock doors • Place key in appropriate location Driver’s Seating Position • Adjust so driver’s heel can pivot smoothly between foot pedals • Adjust to allow at least 10” between driver’s chest and the steering wheel • Adjust seat back for driver’s visual needs T – 2.5
Driver ReadinessTasks Topic 1 Lesson 3 Restraints • Safety belt positioned across chest and over pelvis (strongest skeletal bones) • Sit at least 10” from the steering wheel and side air bags • Head restraint – middle of the back of theskull Adjusting Safety Belt for Proper Fit • Adjust the seat, place your lower back firmly against the seat and sit up straight (if equipped with adjustable center post mountings for shoulder belt height, adjust height setting so the belt does not rub against your neck) • grab the bracket above the latch plate and pull the belt across your pelvis (make sure it is not twisted) • push the latch into the buckle until you hear it click (check to make sure the latch is locked) • snug the lap belt by pulling down on the buckle end as you pull up on the shoulder belt T – 2.6
Driver ReadinessTasks Topic 1 Lesson 3 Mirrors • Set rear view mirror to see 200 feet to the rear. • Set side view mirror 15 degrees out to view adjacent lane. • NOTE: If rear view is blocked, adjust side view mirrors to see the side of vehicle and area behind the vehicle. This mirror setting will increase your blind spot. T – 2.6a
Starting Tasks Topic 1 Lesson 3 • Check/set parking brake • Place foot on service brake • Put key in ignition and unlock • Move shifter to park/neutral T – 2.7
Starting Tasks Topic 1 Lesson 4 • Activate choke/fuel injection • Turn ignition to the on position • Check gauges • Adjust ventilation (HVAC) • Set needed accessories (defroster, wipers, etc.) T – 2.8
Securing Tasks Topic 1 Lesson 4 • Stop in a legal, safe parking space • Park an appropriate distance from a fire hydrant, intersection, RR crossing, loading zone, etc. • Keep foot on service brake. • Set Parking Brake Recommended in most new vehicle owner’s manuals to protect transaxle and constant velocity joints. • Place gear selector in (P)ark. Or place in recommended gear (Reverse or First gear) for manual shift transmission. • Turn off any vehicle accessories Check that all systems are functioning and ready to use next time. T – 2.9
Securing Tasks Topic 1 Lesson 4 • Turn ignition switch to “off” • The engine and all accessories should shut off. • Lock ignition switch and remove key • This is a safety feature for removing the key in most vehicles. • Remove occupant restraints • In some older cars, the shoulder restraints operate when the door is opened. • Check traffic and exit the vehicle • Check traffic flow to rear prior to opening the door. • Rear child safety door locks may need to be opened from the driver’s door. • Secure doors and windows - Protects valuables and unauthorized entry by others. T – 2.10