Download
1 / 68
820 likes | 1.24k Views
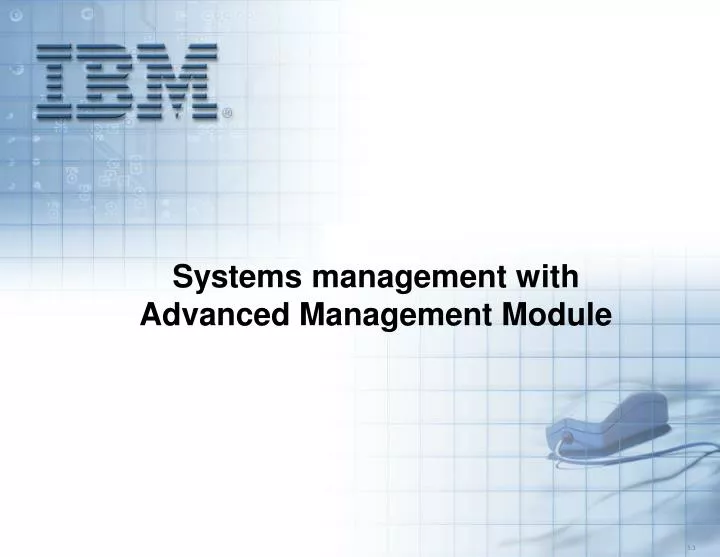
Systems management with Advanced Management Module. Unit objectives. After completing this unit, you should be able to: List the features of the BladeCenter Advanced Management Module Describe the role of the Advanced Management Module in BladeCenter chassis and component management

E N D
Unit objectives After completing this unit, you should be able to: • List the features of the BladeCenter Advanced Management Module • Describe the role of the Advanced Management Module in BladeCenter chassis and component management • List the tasks available through the Advanced Management Module GUI Interface • List the procedures for BladeCenter resource control and configuration provided by the Advanced Management Module • Identify and select the procedure to update the Advanced Management Module firmware
Hot-swappable module Powerful and robust systems management Proxy for expansion modules Controls all aspects of power, connectivity, and communication Reliability, availability, and serviceability (RAS) Advanced Management Module Center point for IBM BladeCenter’ infrastructure intelligence:
BladeCenter management core Chassis • VPD • Status • Events/Alerts • Configuration • Control • Indicators Management Server IBM Director Chassis Power Presence, VPD Control, Fault • Group/Association • Topology/Discover • Events/Alerts/Actions • Logs/Inventory • Deployment/Updates Presence, Tachometer Speed Control, Fault LED Advanced Management Module Enet Blower Configuration Status Enet Temperature, Status LEDs Control Panel Ethernet Switch Module • Presence • VPD • Events/Alerts • Control • Configuration Presence, Arbitration CDROM Floppy Blade • Control • Configuration • Events/Alerts • Inventory • VPD Service Processor • Configuration • Watchdog • Control • VPD • LEDs • Voltage • Temperature • CPU Interface • Flash Update Enet CPU PCI Bus Processor Blade
Video from Blade M I D P L A N E VideoConnector RS485 to Blade(s) VIDEO/FPGA Nor Flash RTC RS485 USB USB - K/M Connector PPC 440GP USB 1.1/2.0 - Blade K/M & Media CPLD Memory MM –LEDs Flt,Actv,Pwr Chassis identification and other functions… I2c Serial Port Local MM i2c USB Media Tray Debug Port (hidden) uDOC Nand Flash NIC-2 OS Filesystem, persistent storage NIC-1 SM ENET Mgmt Ports 100 MB Switch (mezzanine) ENET Jack Advanced Management Module: Block diagram
USB virtualization in Management Module II ( Switched Solution ) USB Management Module II DVD Drive Remote USB USB USB Presence Device Keyboard Host Controller Software Chip USB Mouse USB Switching Mechanism e e e e e e e d d d d d d d a a a a a a a l l l l l l l B B B B B B B USB virtualization for keyboard, mouse and media
Advanced Management Module: Installation Hot-swappable management module Key way Blade Chassis Rear Bay IDs
Advanced Management Modules: Connections and indicators Activity LEDS Error LEDS Power-on LEDS Serial Console Connector RJ45 Release handle Video Connector 10/100 Ethernet Connector RJ45 Port Link LED Port Activity LED USB Dual Stack Advanced Management Module LEDS Pin-hole Reset MAC Address
To establish the physical connection to the Advanced Management Module use one of the following methods: Establishing a physical connection • Use a Category 5 UTP straight through cable to connect the Ethernet port on the management module to a switch in a network that has an networked management station (PC or notebook). • Use a Category 5 cross-over Ethernet cable to connect the Advanced Management Module to a standalone management station (PC or notebook).
Secure management network An optional second Advanced Management Module in Bay 2 connected to the “Private LAN” will offer redundancy Management Console Private LAN Internal connection IBM Director / DHCP Server Connection to Primary Advanced Management Module in Bay 1.
Advanced Management Module: Login The initial user name and password for the management module are: • User Name: USERID (all capital letters) • Password: PASSW0RD (all capital letters and note the zero, not O, in PASSW0RD)
Advanced Management Module: Menu The menu appears in the left-hand frame of your browser. The menu is divided into five main sections for easy navigation. These sections are: • Monitors • Blade Tasks • I/O Module Tasks • MM Control • Service Tools
Advanced Management Module: Monitors • Monitors • Blade Tasks • I/O Module Tasks • MM Control • Service Tools
Monitors: Remote Chassis Discovery Selection Display
Monitors Blade Tasks I/O Module Tasks MM Control Service Tools Advanced Management Module: Blade Tasks
Blade Tasks: Power and restart Power Button
Remote Control: Blade server console Remote Control Task Bar
Advanced Management Module: I/O Module Tasks • Monitors • Blade Tasks • I/O Module Tasks • MM Control • Service Tools
Advanced Management Module: MM Control • Monitors • Blade Tasks • I/O Module Tasks • MM Control • Service Tools