Download
1 / 30
300 likes | 452 Views
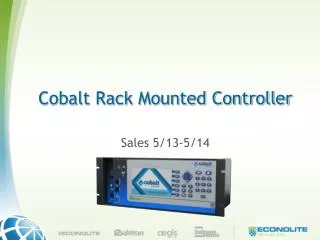
Cobalt NASRaQ. Technical Overview. for the. NASRaQ Hardware. “Files best served reliably”. Hardware Specifications. 10/100 Ethernet External Ultra Narrow SCSI 45W max power LED status lights; front and back 1 RU form factor enables up to 40 units in a standard rack

E N D
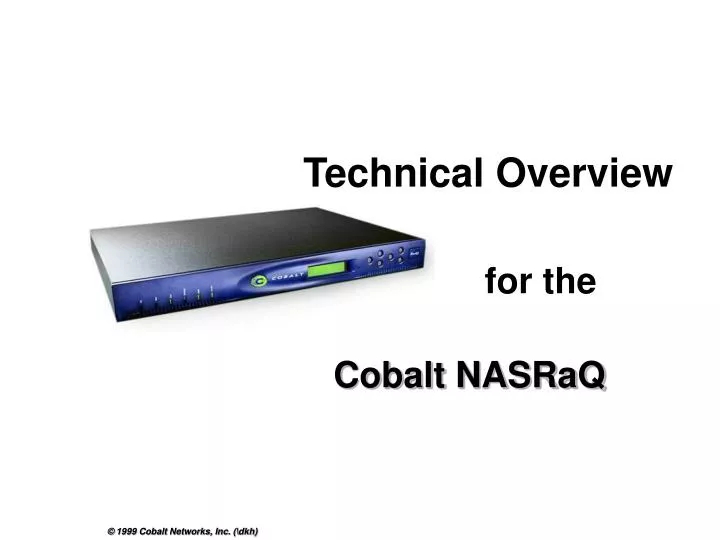
Cobalt NASRaQ Technical Overview for the
NASRaQ Hardware “Files best served reliably”
Hardware Specifications • 10/100 Ethernet • External Ultra Narrow SCSI • 45W max power • LED status lights; front and back • 1 RU form factor enables up to 40 units in a standard rack • Various RAM sizes (upgradeable) • Various hard drive configurations • Serial Console Interface
LCD Panel • Set IP number* (ifconfig) • Set subnet mask (ifconfig) • Set gateway (ifconfig) • Can restart or shutdown system (shutdown) • Note: Panel has “root”-level access • Small pinhole resets admin password *DHCP server can assign IP number
Software Specifications “LINUX…Cobalt’s Way”
Software Specifications • Cobalt LINUX ported from Red Hat LINUX to MIPS platform • Kernel 2.0.34 (with Cobalt enhancements) • Samba for Windows Files Sharing • Netatalk for AppleShare IP
NASRaQ Initial Setup The Welcome Screen and Setup Wizard
“Welcome” From ANY html browser access the RaQ 2 using the IP number (Windows, MacOS, LINUX, etc.)
Setup hostname Setup other network settings Click NEXT button Web Setup – Page 1/6
Input password for administrator twice Web Setup – Page 2/6 By inputting an email address, the system can notify the admin of system status
Decide on what services to use Web Setup – Page 3/6
Set the time and input an NTP server if desired Web Setup – Page 4/6
Decide if the NASRaQ will use login accounts locally or from a Windows NT Server Primary Domain Controller (PDC) This dialogue confirms your choice Web Setup – Page 5/6 WARNING!Your choice of user authentication mode cannot bechanged after completing the setup wizard.
Decide whether to stripe or mirror the hard drives - Striping allows faster access and larger, single-volume storage space - Mirroring allows for better data security replicating drive contents between the two drives This dialogue confirms your choice Web Setup – Page 6/6
Click here to enter administrative mode or use the URL as represented here
NASRaQ Administration “Reducing work…”
Control Panel: Services The Control Panel | Services allows services control and configurations
Control Panel: RAID RAID settings cannot be modified…to change the RAID setting, the NASRaQ requires rebuilding
Control Panel: Access Rights Default setting has telnet access off
To add a user, click on Add User Screen changes to add users Add Users Here, a couple of users have already been added
Only lowercase alphabetic, digits, (.), (-) and (_) are allowed in group names. Same for adding groupsClick on Add Group Add Groups
Add Shares A self-explanatory way to add sharesShares create folders for users to utilize either through Network Neighborhood or Chooser
To backup, select Enable, choose who to backup, and click Save Changes Maintenance: Backup NASRaQ creates a share called Backup and includes a file named etc.tar. Once mounted, a backup server, like Legato Networker, will backup the folder and its contents
E.g. Click on Shares/Volumes to see this System Status: Disk System Status reports on various tolerance levels
System Status: RAID RAID system status
Active Monitor Active Monitor quickly gives notice of pending problems
User Self Administration Users can change their own passwords and email addresses without contacting the admin users