Download
1 / 26
260 likes | 298 Views
Explore the fascinating history of microscopes from ancient Greeks to modern innovations. Learn about key inventors and how microscopes work, including parts and functions. Discover tips on caring for and using microscopes effectively.

E N D
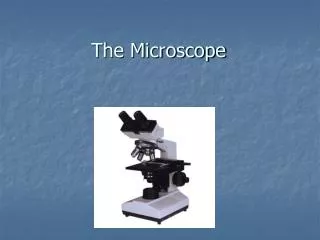
The History • Many people experimented with making microscopes • Was the microscope originally made by accident? (Most people were creating telescopes) • The Greeks & Romans used “lenses” to magnify objects over 1000 years ago.
The History • Hans and Zacharias Janssen of Holland in the 1590’s created the “first” compound microscope • Anthony van Leeuwenhoek and Robert Hooke made improvements by working on the lenses Robert Hooke 1635-1703 Anthony van Leeuwenhoek 1632-1723 Hooke Microscope
The History The “First” Microscope Zacharias Jansen 1588-1631
How a Microscope Works Convex Lenses are curved glass used to make microscopes (and glasses etc.) Convex Lenses bend light and focus it in one spot.
How a Microscope Works Ocular Lens (Magnifies Image) Objective Lens (Gathers Light, Magnifies And Focuses Image Inside Body Tube) Body Tube (Image Focuses) • Bending Light: The objective (bottom) convex lens magnifies and focuses (bends) the image inside the body tube and the ocular convex (top) lens of a microscope magnifies it (again).
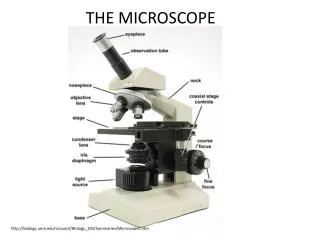
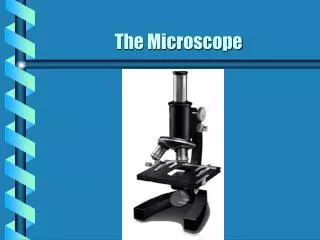
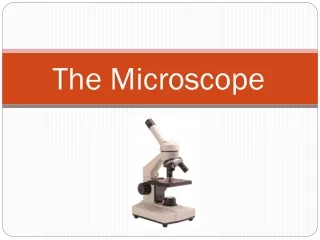
Ocular Lens Body Tube Nose Piece Arm Objective Lenses Stage Stage Clips Coarse Adj. Diaphragm Fine Adjustment Light Source Base Skip to Magnification Section
Body Tube • The body tube holds the objective lenses and the ocular lens at the proper distance Diagram
Nose Piece • The Nose Piece holds the objective lenses and can be turned to increase the magnification Diagram
Objective Lenses • The Objective Lenses increase magnification (usually from 10x to 40x) Diagram
Stage Clips • These 2 clips hold the slide/specimen in place on the stage. Diagram
Diaphragm • The Diaphragm controls the amount of light on the slide/specimen Turn to let more light in or to make dimmer. Diagram
Light Source • Projects light upwards through the diaphragm, the specimen and the lenses • Some have lights, others have mirrors where you must move the mirror to reflect light Diagram
Ocular Lens/Eyepiece • Magnifies the specimen image Diagram
Arm • Used to support the microscope when carried. Holds the body tube, nose piece and objective lenses Diagram
Stage • Supports the slide/specimen Diagram
Coarse Adjustment Knob • Moves the stage up and down (quickly) for focusing your image Diagram
Fine Adjustment Knob • This knob moves the stage SLIGHTLY to sharpen the image Diagram
Base • Supports the microscope Diagram
Magnification • To determine your magnification…you just multiply the ocular lens by the objective lens • Ocular 10x Objective 40x:10 x 40 = 400 So the object is 400 times “larger” Objective Lens have their magnification written on them. Ocular lenses usually magnifies by 10x
Caring for a Microscope • Clean only with a soft cloth/tissue or special lens paper • Make sure the microscope is on a flat surface away from the edge of the table • Don’t bang it • Carry a microscope with 2 HANDS…one on the arm and the other on the base
Using a Microscope • Start on the lowest magnification • Don’t use the coarse adjustment knob on high magnification…you’ll break the slide!!! • Place slide on stage and lock clips • Adjust light source (if it’s a mirror…don’t stand in front of it!) • Use fine adjustment to focus - start with objective close to slide and adjust away from the slide
References • http://www.cerebromente.org.br/n17/history/neurons1_i.htm • Google Images • http://science.howstuffworks.com/light-microscope1.htm