Download
1 / 47
470 likes | 473 Views
Learn how to set up CITRIX for HQ ACPERS BOA using any version of Citrix Version 4 or above. Follow step-by-step instructions to configure the settings and connect to the application.

E N D
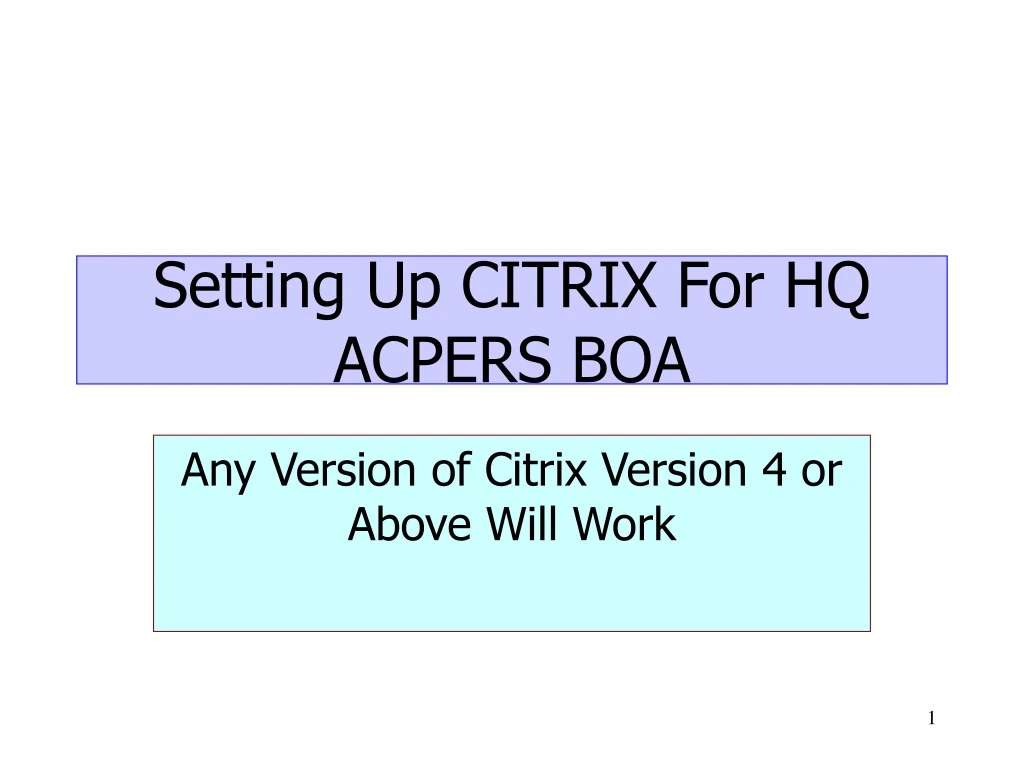
Setting Up CITRIX For HQ ACPERS BOA Any Version of Citrix Version 4 or Above Will Work
Click this to make sure TCP/IP is showing
Don’t worry about this box after you configure… this box will auto populate
IP Addresses IP addresses 128.190.159.170 128.190.159.171 128.190.159.172
Click this down and you’ll see 3 categories to add your IP addresses. If you don’t use these categories the application will still work but you will need to add IP s to the primary
Enter the IP address 128.190.159.170 then click ok
After you add primary IP, add click down to add back up IP addresses
Click add and then add the next IP addresses click ok then click add again for backup 1 and 2 and add the remaining IP addresses
After you enter your last IP addresses click ok… then Click the Firewalls Button
Click on the Firewalls Button.. Click on Alternate Firewall connection, then OK
Your screen now looks like this after you enter all the IP s and clicked ok • make sure TCP/IP is showing • if it is not showing you will not connect • If you have not connected, repeat the process. If that doesn’t work contact IM and have them • check for local firewall issues
Drop this down until HQ Business Objects Shows and select it
After you select the application the description auto populates Click next
This is fine Click next
Then drag down to the bottom selection and choose 128 bit and then click next
Hurray!!!!!!!!!!!!!!!! Click finish
This is as far as you can go without the HQ BOA Password
After you get your passwords enter the first set here
Which gets you to BOA itself login here with your BOA password
You must use your password twice … once for NT once for BOA …. the passwords from one box do not automatically roll over to the other box because the NT box has more on it than just HQ BOA
When you log in you must login into NT (the server) and BOA (the application) each time. When you reset your password on one box this does not automatically mean that the password on the other box has been automatically reset
A few extra tidbits Look at your status bar and You’ll see an icon
This is the ICA connection And tells you if you’re connected .. Double click it
This shows that you have connected and what you have connected to
You can use this icon to get out of BOA when the application proves to be …… stubborn Once you are in the application the ICA show which application Your are connected to and which server