Download
1 / 17
170 likes | 309 Views
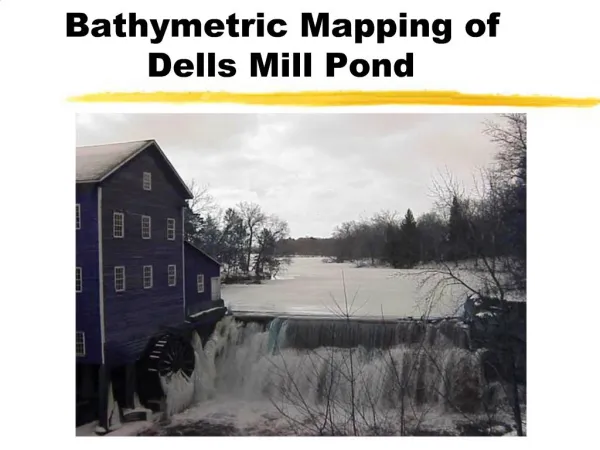
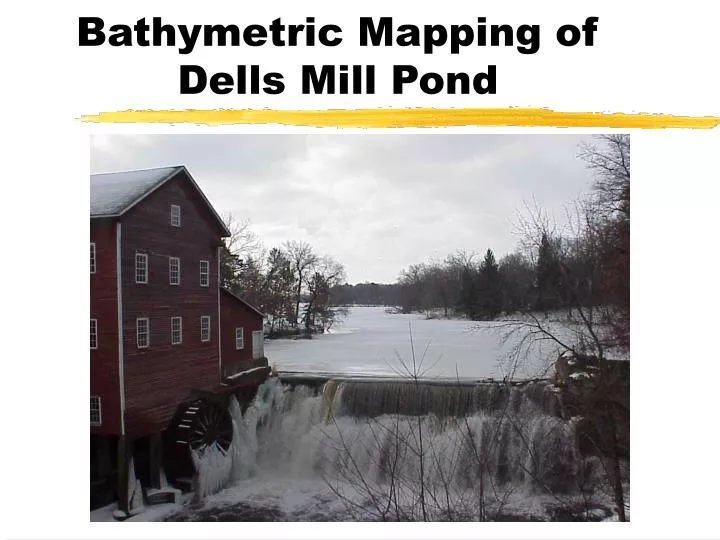
Bathymetric Mapping of Dells Mill Pond. Tools of the Trade. This is the Trimble GeoExplorer. It allows the user to set data categories and use them to store data to be transferred to the computer for use in the map. This is a Humminbird depth locator this is used with the GPS to acquire

E N D
Tools of the Trade This is the Trimble GeoExplorer. It allows the user to set data categories and use them to store data to be transferred to the computer for use in the map. This is a Humminbird depth locator this is used with the GPS to acquire water depths, which are stored in the GPS and later put in the map.
More Tools Moving about the lake is made easier by using an electric trolling motor like this one. They are easy to use, and starting and stopping is very convenient. I used a boat like this one. A flat bottom for stability and it does not need a lot of water to float in. The seats were handy for setting the GPS and depth sounder on.
GPS The GPS is a very unique and useful tool. It uses satellites in space to locate a way point on earth. These way points are then used to make the map. There are several different steps that must be taken to get the GPS set up before use. 1. System Setup: After the GPS has been stored for a while it needs to find the satellites again. 2. Enter Data Dictionary: This is a program that the GPS uses, it allows the user to select the type of data to be saved, whether it is, point, line, numbers, or one of the many that are available.
Data Dictionary This is an example of a Data Dictionary. The features are on the left side, I have entered Depths. On the right are the Attributes, for this I have entered the depths: 2,4,6. When I crossed a depth change I would enter it in the correct attribute.
Getting the Shape The first step to the mapping process is to make an outline of the pond. I used the GPS and the boat to follow the shoreline. Once that was completed I went to the computer and saved the data for later use, with Pathfinder Office.
Collecting Data Getting out on the water and actually getting the information that is needed was the fun part of this project. The best way that I found was to go in a zig-zag pattern. Every time a depth change was crossed its way point was entered into the GPS for later use. Getting good data is important for having an accurate map. I worked on both ends of the pond, while doing this I found that the north end had more irregularities than the south end. Because of this I had to spend more time on the north end getting very accurate information. When I got to the south end I was able to go over it quickly because it didn’t change very much.
Information Processing The first step in getting the data from the GPS to the computer is to select the data transfer option. This will allow you to get the information and start making the map.
Information Processing 2 This is the Data Transfer option. In this step the files from the GPS that are to be transferred are selected, also the place where it is to be saved is selected. This process transfers raw data from the GPS to the computer. Because of government scrambling the information must be corrected. The UFCORS is a web site that provides the necessary information, for correcting.
Correcting Files This is the web page that is used to correct the GPS Data. Certain numbers and other information must be entered into the form, then the file for correcting the files will be sent.
Get Unzipped Because the files are zip files I had to unzip them. This was easy enough, I used the program WinZip. The files were changed to a format that could be used by the computer. Now I was able to correct the data to be very accurate.
Formatting Using Pathfinder and the differential correction option along with the correction files from the internet, all information was corrected. This moves all data points to the correct position, doing this makes the map very accurate.
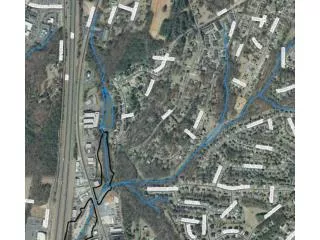
Starting the Map Here is a sample of a map. The outline of the shore and some of the data have been added to the view the next step will be to add the rest of the depths. Then every depth category will be connected.
Connect the Dots Here is the map with some of the raw data from the GPS on the shoreline map of the pond. There are three depths with different colors. Connecting the dots at each color will give depth contours for each value.
Getting Close Here is the map before the final touch-up stage some of the lines run together, and some don’t go anywhere. These are all things that will be fixed before the final stage.
Wrapping it up Here is the final map the keys have been inserted, the depths labeled, and the whole thing has been cleaned up. Now all that is left is to publish it, and get it out to the public.
Useful Tools Howie’s Funware- This was used to take pictures of the computer. ArcView- This program was used in the map making process. Pathfinder- Another mapping program. Power Point- Used to make this presentation.