Download
1 / 6
0 likes | 10 Views
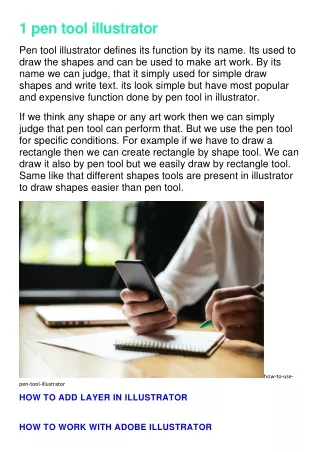
If you're handling a 3/16 brake line or need to fit inverted flare fittings, hereu2019s a step-by-step guide on how to effectively use a brake line flaring tool.

E N D
Introduction When working on automotive brake systems, precision is crucial. One essential tool for this task is the brake line flaring tool. This tool is designed to create precise flares in brake lines, ensuring secure and leak-proof connections. If you're handling a 3/16 brake line or need to fit inverted flare fittings, here’s a step-by-step guide on how to effectively use a brake line flaring tool.
1. Gather Your Materials Before you start, ensure you have all the necessary materials at hand. You’ll need a brake line flaring tool, a 3/16 brake line, inverted flare fittings, and a pipe cutter. It’s important to have a clean workspace to prevent contaminants from affecting your brake lines. 2. Cut the Brake Line Begin by measuring and cutting the 3/16 brake line to the desired length using a pipe cutter. Ensure that the cut is straight and clean. A rough or angled cut can compromise the integrity of the flare and lead to leaks. After cutting, use a deburring tool to smooth the edges of the cut line, removing any sharp burrs that could affect the flare or fittings
3. Set up the Flaring Tool Install the brake line into the flaring tool’s clamp. Ensure that the line is positioned correctly and that the tool is properly adjusted for the size of the line. The brake line flaring tool usually comes with different die sets for various line sizes. Select the die that matches your 3/16 brake line and attach it to the tool. 4. Create the Flaring Align the flaring tool’s punch with the end of the brake line. Slowly tighten the tool’s handle to push the punch into the line, forming a flare. The flaring tool will shape the end of the brake line into a uniform flare that fits securely with inverted flare fittings. Be careful not to over-tighten, as this can deform the flare or cause damage to the line.
5. Inspect and Test After flaring, remove the brake line from the tool and inspect the flare. It should be even and smooth, with no cracks or deformities. Test the fit with the inverted flare fittings to ensure a proper connection. If the flare does not fit correctly, you may need to re-flare the line or adjust your technique.
Conclusion Using a brake line flaring tool may seem challenging at first, but with practice and attention to detail, it becomes a straightforward task. Properly flaring your 3/16 brake line ensures a reliable and secure connection, crucial for the safety and performance of your vehicle's braking system.