Download
1 / 10
100 likes | 109 Views
Simple parking lot striping machines are the best ones for parking lots that occupy a lesser area, whereas <br>bigger or more complicated work requires machines with more paint capacity and additional attachments, for <br>a wider range of tasks.<br>

E N D
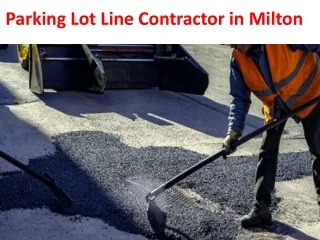
Professional line painting on an asphalt parking lot needs preparation, accurate measurements, line stripping machine, and cleanup.
Step 1: Preparation Even with the good supplies, a line striping work will not be prolific come if the paint is applied to a utilized surface that isn’t in good enough shape. Initial work starts with clearing the area of any debris, like dust, weak asphalt also vegetation. The next step involves is, repairing any cracks, potholes bisecting your lines.
Continued… We are going to explain the 4 steps which are recommended in cities like Hamilton and Mississauga stripe your parking lot with the following full four steps of asphalt maintenance.
Step 2: Measurement Standard parking lot areas have the measurement of 18-feet long by 9-feet wide, with a 24-foot-broad driving lane between each row of parking spaces. Measuring equipment like tape will ensure your lengths are exactly what you need, and straightedges like boards, parking lot protractors, will help you derive an accurate angle.
Continued… You’ll also need to pay attention to where you'll be placing symbols like directional arrows, handicap spaces. Don’t forget to utilize the local codes to make sure it is in compliance with regulations and accessibility.
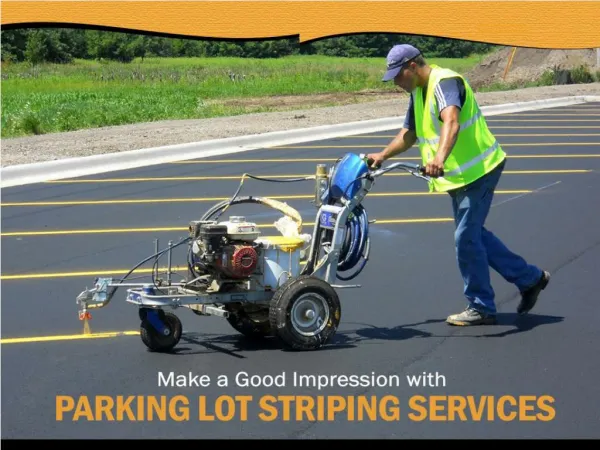
Step 3: Paint the Lines With all your lines and symbols portrayed, it’s the right time to start painting. This can be done manually by hand, but that can be a huge task —especially if you have a big parking lot area to stripe. It is suggested to use a line striping machine which makes the task easier and quicker, ultimately giving you superior results.
Continued… Simple parking lot striping machines are the best ones for parking lots that occupy a lesser area, whereas bigger or more complicated work requires machines with more paint capacity and additional attachments, for a wider range of tasks.
Step 4: Dry and Clean Up Your Equipment The work isn’t over after the paint has been applied. It might look good, but it’s still it is susceptible to damage, so it’s mandatory to keep traffic away from lines until it gets dry completely. Utilization of cones and attention ribbon is recommended to alert drivers that the area is closed.
Continued… Most of the information is proved by manufacturers of paint containers, drying times may differ, depending on the variety of chemicals and temperature. Most of the parking lot line painting contractorsfrom Hamilton and Mississauga will recommend you above mentioned 4 steps to apply, guaranteeing the best long-lasting result.