Download
1 / 35
350 likes | 370 Views
Introducing new features in Speedstack 2014 including the Copy/Paste Material Properties option for quick material exchange and the Laser (Stacked) option for adding stack vias. The tool also retains drill properties, allows deleting all drills at once, and offers enhancements in the Stack Up Wizard and Material Library mode. Control Impedance structures can now be edited and recalculated, and there are improvements in the Symmetry mode and toolbar options.

E N D
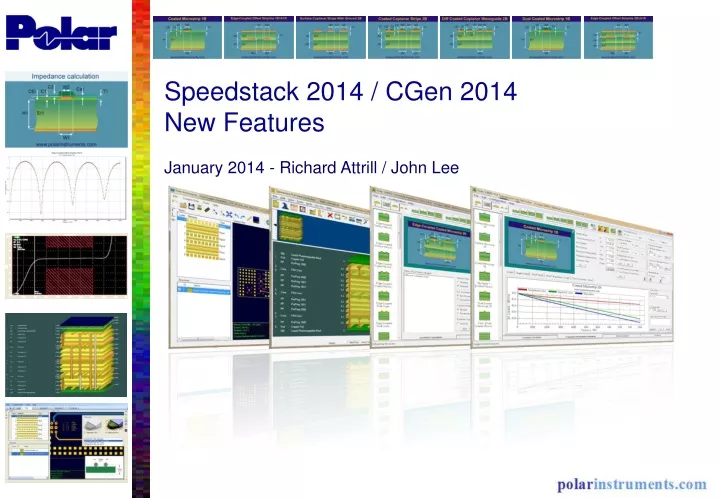
Speedstack 2014 / CGen 2014 New Features January 2014 - Richard Attrill / John Lee
Speedstack 2014 – New Copy / Paste Material Properties option A new option has been introduced to copy existing material properties and then paste them to other multiple selected materials within the stack up. This provides a method to exchange materials very quickly within the stack (for instance, swapping all prepregs from one type to another.) This powerful feature will be found especially useful for high layer count stack ups.
Speedstack New Copy / Paste Material Properties option (contd) Copy Material Properties New ‘Copy / Paste Material Properties’ options. Paste Material Properties
Step 1: Select existing material and Copy Material Properties • Select an existing material, in this case the Prepreg 1080 between layers 1 and 2 • Select the Copy Material Properties toolbar option • The Prepreg 1080 properties (attributes) are recorded
Step 2: Select materials and Paste Material Properties • Select existing materials, in this example six sheets of prepreg materials (Prepreg 3080 and 1651) between layers 3 and 6 • Select the Paste Material Properties toolbar option
Step 2: Select materials and Paste Material Properties (cont’d) • Chose which properties you would like to paste to the selected materials. For this example all Property Groups have been selected. • Selecting Apply will update all the selected materials within the stack with the previously recorded material, for this case the Prepreg 1080.
Step 3: Review the stack up Review the stack up changes. When changing multiple materials simultaneously it is important to review the stack up. It may be necessary to recalculate impedance structures especially if dielectric height and copper thickness parameters have changed.
Drill enhancements – new ‘Laser (Stacked)’ option A new ‘Laser (Stacked)’ option has been introduced that automatically adds stack vias to the stack up in a single operation. Previously, it was necessary to add each via individually.
Drill enhancements – new ‘Laser (Stacked)’ option (cont’d) The completed stack up with stacked laser vias.
Drill enhancements – now retains properties The drill properties are now retained between each ‘Add Drill’ operation. This speeds up the process of adding drills, especially when multiple drills of the same type are being added to the stack up.
Drill enhancements – new ‘Delete All Drills’ option Delete all drills on the stack up in a single operation
Target thickness – tolerance in percentage or absolute This option has been enhanced to support both percentage and absolute tolerances
Stack Up Wizard – enhancements when in Material Library mode New symmetrical mode option, enables quick selection of planes and mixed layers Material selection enhanced. It is now possible to select multiple sheets of Prepreg that will be placed between each Foil / Core within the stack up Stack Up Thickness (with and without solder mask) is calculated as soon as materials are chosen from the Material Library. It is now easy to monitor the overall stack up thickness within the Stack Up Wizard option
Stack Up Wizard – enhancements when in Material Library mode This is the 8 layer stack up created by the new wizard
Library Mode / Virtual Material Mode • Library Mode – uses real materials to generate stack ups by referencing the Speedstack material library. This method provides an absolute definition of the stack up down to the exact materials used in the build. • Virtual Material Mode – uses ‘virtual’ materials to generate stack ups. This is useful for exploring design options before committing to real materials.
Symmetry mode – current mode highlight improved Symmetry mode on Symmetry mode off
Toolbar options and menu entry enhancements Materials are now grouped into rigid / flex / other Rigid Materials Flex Materials Other Materials
Toolbar options and menu entry enhancements (continued) All stack up editing options now available when controlled impedance structures already exist on the stack up Controlled Impedance tab selected When the Controlled Impedance tab is selected, all stack up editing options are now enabled. Users may now make changes to a stack that has existing structures and then recalculate the structures using the ‘Rebuild and Calculate’ option ‘Rebuild and Calculate’ option
The following sequence of slides illustrates the creation of coupons from Speedstack via CGen – the sequence is representative of an actual panel used by Polar for a correlation study.
CGen: Stackup exported from Speedstack for a test panel of coupons 6 layer stack used for SPP, SET2DIL and impedance coupons
SPP Coupon: Layer 1 Lower structure is single-ended, upper structure is differential
SPP Coupon: Layer 1 detail Lower structure is single-ended, upper structure is differential
SPP Coupon: Layer 4 Lower structure is single-ended, upper structure is differential
SET2DIL / SET2SEIL Coupon: Layer 1 Lower structure is single-ended, upper structure is differential, reference “thru” structure at bottom-left
SET2DIL / SET2SEIL Coupon: Layer 1 detail Lower structure is single-ended, upper structure is differential, reference “thru” structure at bottom-left
SET2DIL / SET2SEIL Coupon: Layer 4 Lower structure is single-ended, upper structure is differential
SET2DIL / SET2SEIL Probe Exit and Lead-In traces It is necessary to maintain a single-ended impedance of 50 Ohms until the traces become a differential pair
SET2DIL Trace Widths and Separations Trace width (W1) and separation (S1) values will typically be imported from Speedstack, but can be manually entered in CGen
SET2SEIL Trace Separation Typically a value of 7x the substrate height to the nearest plane is used for the value here
For more information: Contact Polar now: Phone USA / Canada / MexicoKen Taylor ( 503) 356 5270 Asia / Pacific Terence Chew +65 6873 7470 UK / EuropeNeil Chamberlain +44 23 9226 9113 Germany / Austria / Switzerland Hermann Reischer +43 7666 20041-0 www.polarinstruments.com