Download

1 / 32
460 likes | 892 Views
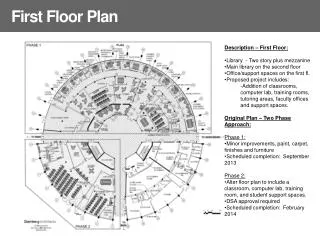
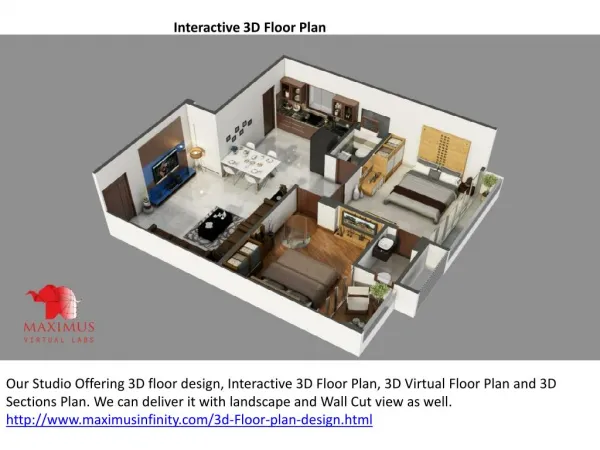
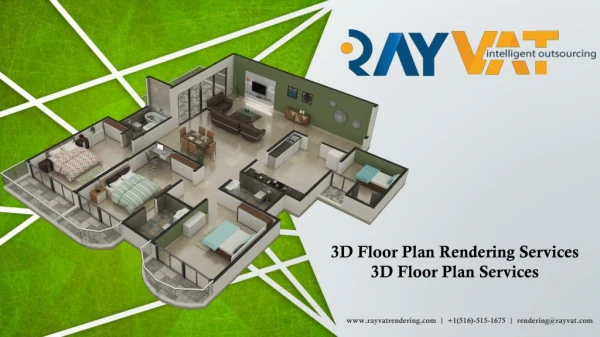
FLOOR PLAN BASICS. Learning Targets. Evaluate the various activity zones in a home. Identify factors to consider when evaluating a floor plan. Analyze the advantages and drawbacks of various floor plans. Floor Plan. A diagram that shows the arrangement of rooms.

E N D
Learning Targets • Evaluate the various activity zones in a home. • Identify factors to consider when evaluating a floor plan. • Analyze the advantages and drawbacks of various floor plans.
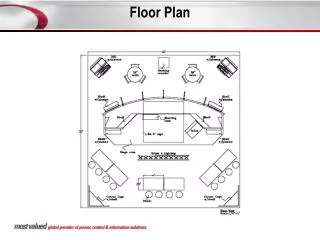
Floor Plan • A diagram that shows the arrangement of rooms. • Presented as if viewed from above. • Includes information about size & location of: • Walls • Doors • Windows • Stairs • Closets • Cabinets
Activity Zones • Private: space for sleeping, relaxing, bathing, dressing, etc. • Ex: bedrooms, bathrooms • Service: where household work is done. • Ex: laundry room, workshop, garage, kitchen? • Social: part of the home for activities and entertainment • Ex: living, dining, family, & recreation rooms, hallways, deck/patio etc.
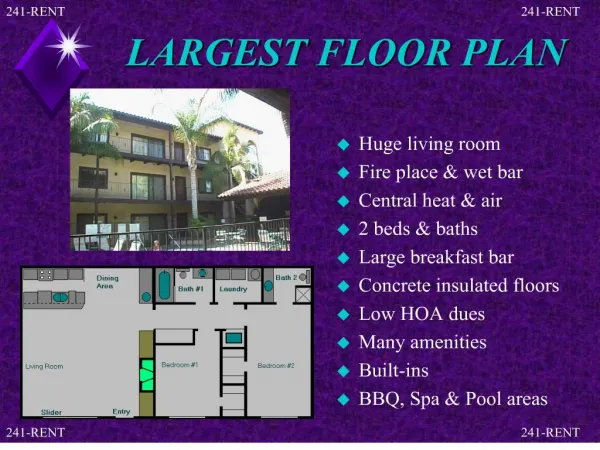
Types of Floor Plans • Open • Few dividing walls separate rooms • Spacious • Flexibility for entertaining • Closed • Walls separate rooms; self-contained • Greater privacy • Better zone separation
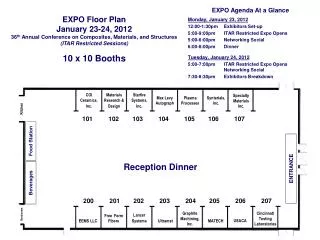
Evaluating Floor Plans • Zones • Traffic Patterns • People should be able to walk freely from room to room • Hallways should be as short as possible • 3-4 ft. for circulation • Size & Shape of Rooms • Economy of Construction • Place areas of plumbing back to back • Useable Wall Space • Not broken by doors & windows • Storage
Floor Plan Options • One-Level • Two-Level • Split-Level • Split-Entry
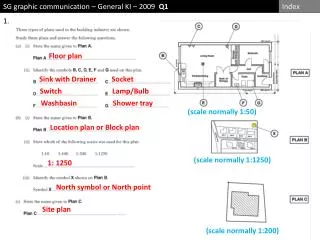
Terms to Know • Blueprint • Architectural/construction drawing • Architectural Symbols • Shorthand that uses symbols to represent structures and furnishings • Scale Drawing • Drawing done on graph paper where each square represents a specific measurement • Template • Cutouts of furnishings that can be traced onto a scale drawing
Learning Targets • Understand common blueprint symbols. • Understand clearance space. • Create functional furniture arrangements. • Complete a scale drawing of a room and its furnishings.
Arranging Furniture • Consider Structural Features • Don’t block doors, windows, vents, or outlets • Determine the function of the room • Activities that take place in the room • Create functional groupings • Place pieces together that meet one purpose or activity
Arranging Furniture • Arrange your major furnishings first • then, accessorize! • Divide large rooms into functional areas • Use furniture as dividers • Create a focal point
Arranging Furniture • Consider traffic patterns • Logical and Convenient • Walk easily from place to place • Consider standard clearance space • Furniture styles should be consistent with the style of the home
Arranging Furniture • Avoid placing large furniture pieces on diagonals • Wasted spaced • Consider design elements & principles • Consider views from one part of the home to another • Use groupings to direct attention toward or away from certain views
Arranging Furniture • Use open planning techniques • Make small rooms appear larger • Be careful not to overcrowd!
Learning Targets • Understand various types of architectural drawings. • Understand common blueprint symbols. • Use proper clearance space on a scale drawing. • Create functional furniture arrangements. • Complete a scale drawing of a room and its furnishings.
Terms to Know • Blueprint • Architectural/construction drawing • Architectural Symbols • Shorthand that uses symbols to represent structures and furnishings • Scale Drawing • Drawing done on graph paper where each square represents a specific measurement • Template • Cutouts of furnishings that can be traced onto a scale drawing
Drawing to Scale • Various Scales • 1”=1’ • 1/2”=1’ • 1/4”=1’ • A 1/2 inch scale means the drawing is one-half the size of the object it represents • The smaller the scale, the more general the information
Using Graph Paper • 1/4” = 1’ • Therefore, each square represents 1 ft. • If your measurements are given in inches, convert to feet by dividing the number of inches by 12 • Ex: 36 inch = 3 ft. • Draw a line that covers 3 squares • How would you draw 6.5 ft.?
Starting to Draw • Outline dimensions of the room first • Add structural details (windows, doors, closets, outlets, etc.) by using the blueprint symbols • Add large furniture first, then smaller furniture & accessories • Consider Clearance Space • Label Traffic Patterns
Learning Targets • Understand various types of architectural drawings. • Understand common blueprint symbols. • Use proper clearance space on a scale drawing. • Create functional furniture arrangements. • Complete a scale drawing of a room and its furnishings.
Professional Drawings • Elevations • Show vertical surfaces as if viewed by someone standing on the ground or floor. • See page 473 in your textbook • Pictorial • Shows several surfaces in the room simultaneously • One or Two Point • See page 481 in your textbook
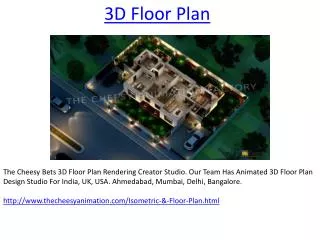
Professional Drawings • Rendering • Shows realistic details such as textures, shadows, shadings, and colors • See page 482 in your textbook • Overlay • Sheet of transparent material that is placed over a basic drawing. • Can show alternative color schemes, furniture arrangements, etc.