Download
1 / 129
1.32k likes | 1.48k Views
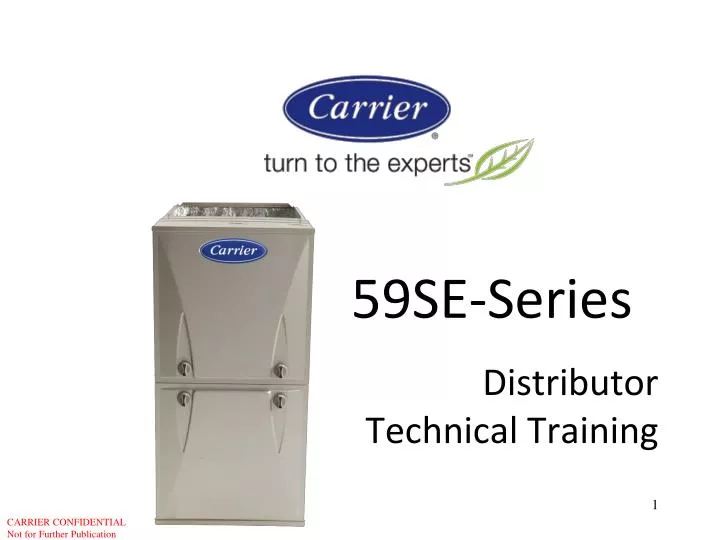
59SE-Series. Distributor Technical Training. Agenda. Product Line Overview New Features Installation Adjustment Servicing. Model Nomenclature System. Overview. > 93 AFUE 4-way multipoise 100 & 120 size 140 size limited to Upflow & Horizontal

E N D
59SE-Series DistributorTechnical Training
Agenda Product Line Overview New Features Installation Adjustment Servicing
Overview • > 93 AFUE • 4-way multipoise • 100 & 120 size • 140 size limited to Upflow & Horizontal • Aluminized steel primary and stainless steel secondary heat exchangers • Direct Vent or Non-Direct Venting
Features • Low height, only 35” • Standard widths • 21.0” for 100 and 120 sizes • 24.5” for 140 sizes • Through-the-top venting • Multiple venting options • Internal Condensate system
Features • Slide out blowers • Ease of access for control board • Two outer doors • Easy door attachments • No sharp edges • Quarter-turn knobs and latches
Features • Newly designed primary heat exchanger • More compact • No eyelets • Updated tube-and-fin secondary • Better efficiency • Eliminated U-bend • Easier to service with slide-out rails
Technologies • True installation flexibility • Venting flexibility • Vent pipes can exit cabinet in three different directions • Low-profile horizontal drain trap position • Easy to re-position the drain trap • Fewer tubes to connect • Drain trap and tubes removed from the blower compartment
Casing DRAFT COPY - CARRIER CONFIDENTIAL
Casing Combustion Air Opening Gas Entry Horizontal Drain Trap Opening Vent or Combustion Air Opening Condensate Drain K.O. J Box K.O. Return Air Opening Combustion Air Opening Gas Entry Vent or Combustion Air Opening Horizontal Drain Trap Opening Condensate Drain K.O. J Box K.O. Return Air Opening 35”
Outer Door Assembly • Two piece door design • ¼ turn door knob attachment • Doors are gasketed • Eliminates door rattling and leakage • Vestibule is sealed • Door does NOT change with furnace orientation • Logo rotates for upflow and downflow positions
Outer Door Assembly • Vestibule functions as the burner compartment • Combustion air piped directly to the vestibule • Multiple locations to connect combustion air pipe • Sealed burner box is not required • Simplifies set-up
Terminations • Direct Vent • Concentric Vent • Field-fabricated 2-pipe • Ventilated Combustion Air • Vent to outdoors • Combustion air from attic or crawlspace • Single Pipe • Uses indoor air for combustion
Ventilated Combustion Air Option The combustion air pipe for the Ventilated Combustion Air Option cannot be terminated in attics or crawlspaces that use ventilation fans designed to operate during the heating season. If ventilation fans are present in these areas, the combustion air pipe must terminate outdoors as a Direct Vent / 2-Pipe system.
Indoor Air For Combustion Option • Use a (minimum) 12-inch piece of PVC • Maximum of 5 feet • Tight radius elbow • Face away for better sound control • Secure pipe to adapter • Pilot drill 1/8” hole • Install sheet metal screw • Seal with silicone 12” (min)
Alternate Indoor Air For Combustion Connection 12” (min) 12” (min)
Supply Air Flanges • Flanges shipped flat • If flanges are not bent, nuisance limit trips could occur • Bend flanges UP for upflow or horizontal coil installations • Remove or bend flanges DOWN for downflow coil installations • No downflow for 140,000 input • Supply opening match current coil opening sizes
Return Air Connections • Upflow • Either Side • Bottom • Any combination of Sides and Bottom • Downflow (100,000 BTUH & 120,000 BTUH) • Bottom only (“bottom” as referenced to furnace in upflow position) • Horizontal • Bottom • Side (side facing down only) • Airflow above 1800 cfm may require both side/bottom return or bottom only return • Remove closure panel for bottom return air
Gas Piping • Gas pipe can enter from either side • Remove K/O on either side gas entry • Install grommet in casing • Flex lines must connect outside of the casing per the NFGC Sediment trap required per NFGC
Optional Right Side Gas Entry • No special fittings for left side entry • Valve inlet is ½” NPT • Install Street Ell, 2” nipple and 90º elbow together • Install Street Ell into gas valve • Remove K/O from casing • Install gas pipe grommet in casing • (Required For Direct Vent) • Install gas line into elbow • Tighten gas line Use backup wrench on gas valve!
J-Box Installation • J-box bracket and cover shipped in loose parts bag • J-box can be relocated to opposite side • Other electrical knock-outs are available
J-Box Installation • Remove 7/8” knockout in casing • InstallJ-box bracket • Attach ground wire to green ground screw • Install cover after all other connections are made • Other electrical knock-outs are available
Typical Disconnect At Furnace Power Cord Installation in Furnace J-Box (Where permitted) NOTE: Power cords must be able to handle the electrical requirements listed in Table 6. Refer to power cord manufacturer’s listings. Remove 7/8” K.O. in casing. Attach J box bracket to casing. 3. Route listed power cord through 7/8--in. (22 mm) diameter hole in casing. Attach power cord to J--Box bracket with a strain relief bushing or a connector approved for the type of cord used. 5. Attach field ground wire to green ground screw on J-Box bracket. 6. Connect line voltage leads as shown in wiring diagram 7. Install cover to J--Box. Do not pinch wires between cover and bracket.
Downflow - Trap ConvertedPSC Inducer Models Route tube through Switch Tube to Port On Collector Box To 15 ib-in
Horizontal Left - Trap UnconvertedPSC Inducer Models DRAFT COPY - CARRIER CONFIDENTIAL
Horizontal Left - Trap ConvertedPSC Inducer Models Route Pressure Switch
Horizontal Trap Grommet Required accessory for Direct Vent applications (only) Maintains a sealed vestibule
Repositioning Vent Elbow • Loosen the Vent Elbow Clamp. • Remove the Vent Elbow. • Re-install in the desired position. • Torque clamp 15 lb-in.
Condensate Trap and Drain Elbow • Clear trap • Shown for clarity • Production Trap • White opaque front/Clear back
Condensate Trap Mounting Screw Hole Expanded View Outlet Relief Port Inlets Front View Back View
Right Side Drain • Production trap will be opaque front/clear back • Connect field supplied CPVC fittings to drain tube • Clamp may be located inside casing • Connect condensate drain to code approved drain or condensate pump approved for furnace condensate
Left Side Drain • Cut the tube as shown • Install formed end of grommet in the left side of the casing • Connect the elbow to the short end of Z pipe • Slide clamps on elbow and pipe • Route Z pipe behind inducer • The inducer can be removed if necessary to install the Z pipe