Download
1 / 38
380 likes | 530 Views
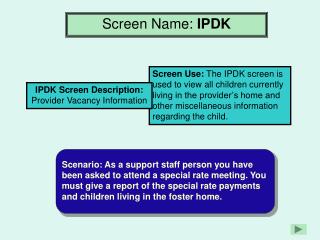
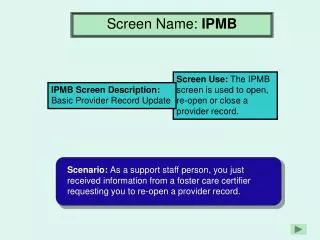
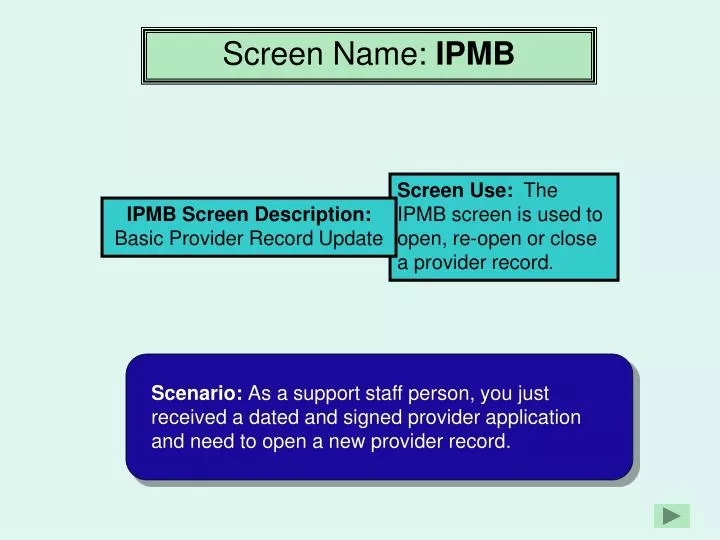
Screen Name: IPMB. Screen Use: The IPMB screen is used to open, re-open or close a provider record. IPMB Screen Description: Basic Provider Record Update. Scenario: As a support staff person, you just received a dated and signed provider application and need to open a new provider record.

E N D
Screen Name: IPMB Screen Use: The IPMB screen is used to open, re-open or close a provider record. IPMB Screen Description: Basic Provider Record Update Scenario: As a support staff person, you just received a dated and signed provider application and need to open a new provider record.
This section of the IIS screens training will teach you how to access the IPMB screen to enter a new provider record.
IPDA,nam=dark, chocolate,new Open a blank DHR screen and Type IPDA,NAM=provider last name, (space) first name,new press Enter.
If the provider is not on the data base, Press F10 to continue.
P12345 04/12/30 555-44-3333 P12345 333-55-4444 12/01/32 If you enter a common name such as Smith, the Potential Provider Display screen appears with a list of names.If your provider does not appear on the list, press F10 to enter the new provider record.
071506 Press the Tab key to the Date Opened field, Type the date the application was signed.
To continue to open a new provider in theIPMB screen, you must determine the ProviderType code. The next slide will display these codes. After selecting the appropriate code, enter it in the ‘TYPE’ field.
Provider Type codes: ‘Type’ field AA = Adopt Home Agency AF = Foster Parent CA = Contracted Agency DC = Day Care Center DF = Day Care Family DG = Day Care Group DI = Day care in Home FA = Sex Abuse Treatment FB = FC Reg/Shelter HK = Housekeeper IF = Intensive Family Service IH = Intensive Home Base IL = Independent Living Facility NP = Nonpaid Provider PT = Parent Training VN = Vendor
fb Press the Tab key to the TYPE field, Type the provider type code.
24tg Press the Tab key to the WKID field, Type load code.
24tg 24 Press the Tab key to the Provider Branch Location field, Type your division number.
24tg Dark, Chocolate This step is not necessary. If you do not enter the provider name, it will automatically fill in for you. Press the Tab key to the Provider Name field, Type provider last name, first name.
24tg 040459 Press the Tab key to the DOB field, Type provider’s date of birth.
24tg 541789565 The curser will move to the SSN field, Type provider’s social security number.
24tg p Press the Tab key to the Name Desig field, Type ‘p’. If you have a second provider, enter the name in the 2: field.
24tg f The curser will move to the Sex field, Type provider’s sex. F for female and M for male.
24tg ETH codes can be found on the Provider Application (form CF 1260A). a The curser will move to the ETH field, Type the provider’s race.
24tg ORIGIN codes can be found on the Provider Application (form CF 1260A). u The curser will move to the Origin field, Type the provider’s origin.
24tg See form CF331 for code details. sep The curser will move to the Mar-Stat field, Type the provider’s marital status.
24tg The Relig, Empl, Income and LEDS fields are not mandatory data entry fields. Refer to the provider application (CF 1260A); if the information is documented on the application enter the data into the appropriate fields.
24tg 3781234 Press the Tab key to the Work Phone field, Type 7 digit provider work phone number.
24tg You must enter a physical address, a P.O. Box address is not allowed in this field. 2748 se milner Press the Tab key to the Street field, Type provider’s street address.
24tg 2748 se milner portland Press the Tab key to the City field, Type the provider’s city.
24tg Press the Tab key to the State field, Type the provider’s state. or
24tg 97232 Press the Tab key to the Zip field, Type the provider’s zip code.
24tg Press the Tab key to the CNTY field, Type a4 digit county code. mult
24tg The curser will move to the A/C field, Type the providers 3 digit area code. 503
24tg The curser will move to the Phone field, Type the providers 7 digit phone number. 2342789
24tg Press Enter to complete the data entry.
A new provider record has been created and a provider number is assigned. 24tg
When all data entries have been completed in the IPMB screen, press the Pause Break key. A blank DHR screen will appear so that you can complete work for other screens.
Quick Review! • If the provider does not appear on the Potential Provider Display list, press F 7 to enter the new provider record. • On the Basic Provider Record Update screen in the Date Opened field you must type the date the application was received. • A physical address is needed in the Basic Provider Update screen; a P.O. Box address is not allowed in this field. • Ethnicity codes can be found on the CF 1260A. T or F T or F T or F T or F See the next slide for the answers.
Check Your Answers If the provider does not appear on the Potential Provider Display list, press F 7 to enter the new provider record. FALSE.Press F10 to enter the new provider record. On the Basic Provider Record Update screen in the Date Opened field you must type the date the application was received. FALSE.You must type the date the application was signed. A physical address is needed in the Basic Provider Update screen; a P.O. Box address is not allowed in this field. TRUE. Ethnicity codes can be found on the CF 1260A. TRUE.
YOUhave successfully completed the DHS IIS Data Entry Screens Training.
Special thanks to Christina Latham-Brown and Leslie Burr in the CAF Training Unit, and all the branches who participated in creating the IIS Data Entry Screens Training.
QUESTIONS? Contact Service Desk Click the ‘X’ to close and return to the Main Menu Created By: Training & Development Specialists: Jenene Hinson Cheryl Hamilton-Jefferson Program System Support Unit 2850 Broadway St NE Salem, OR 97303